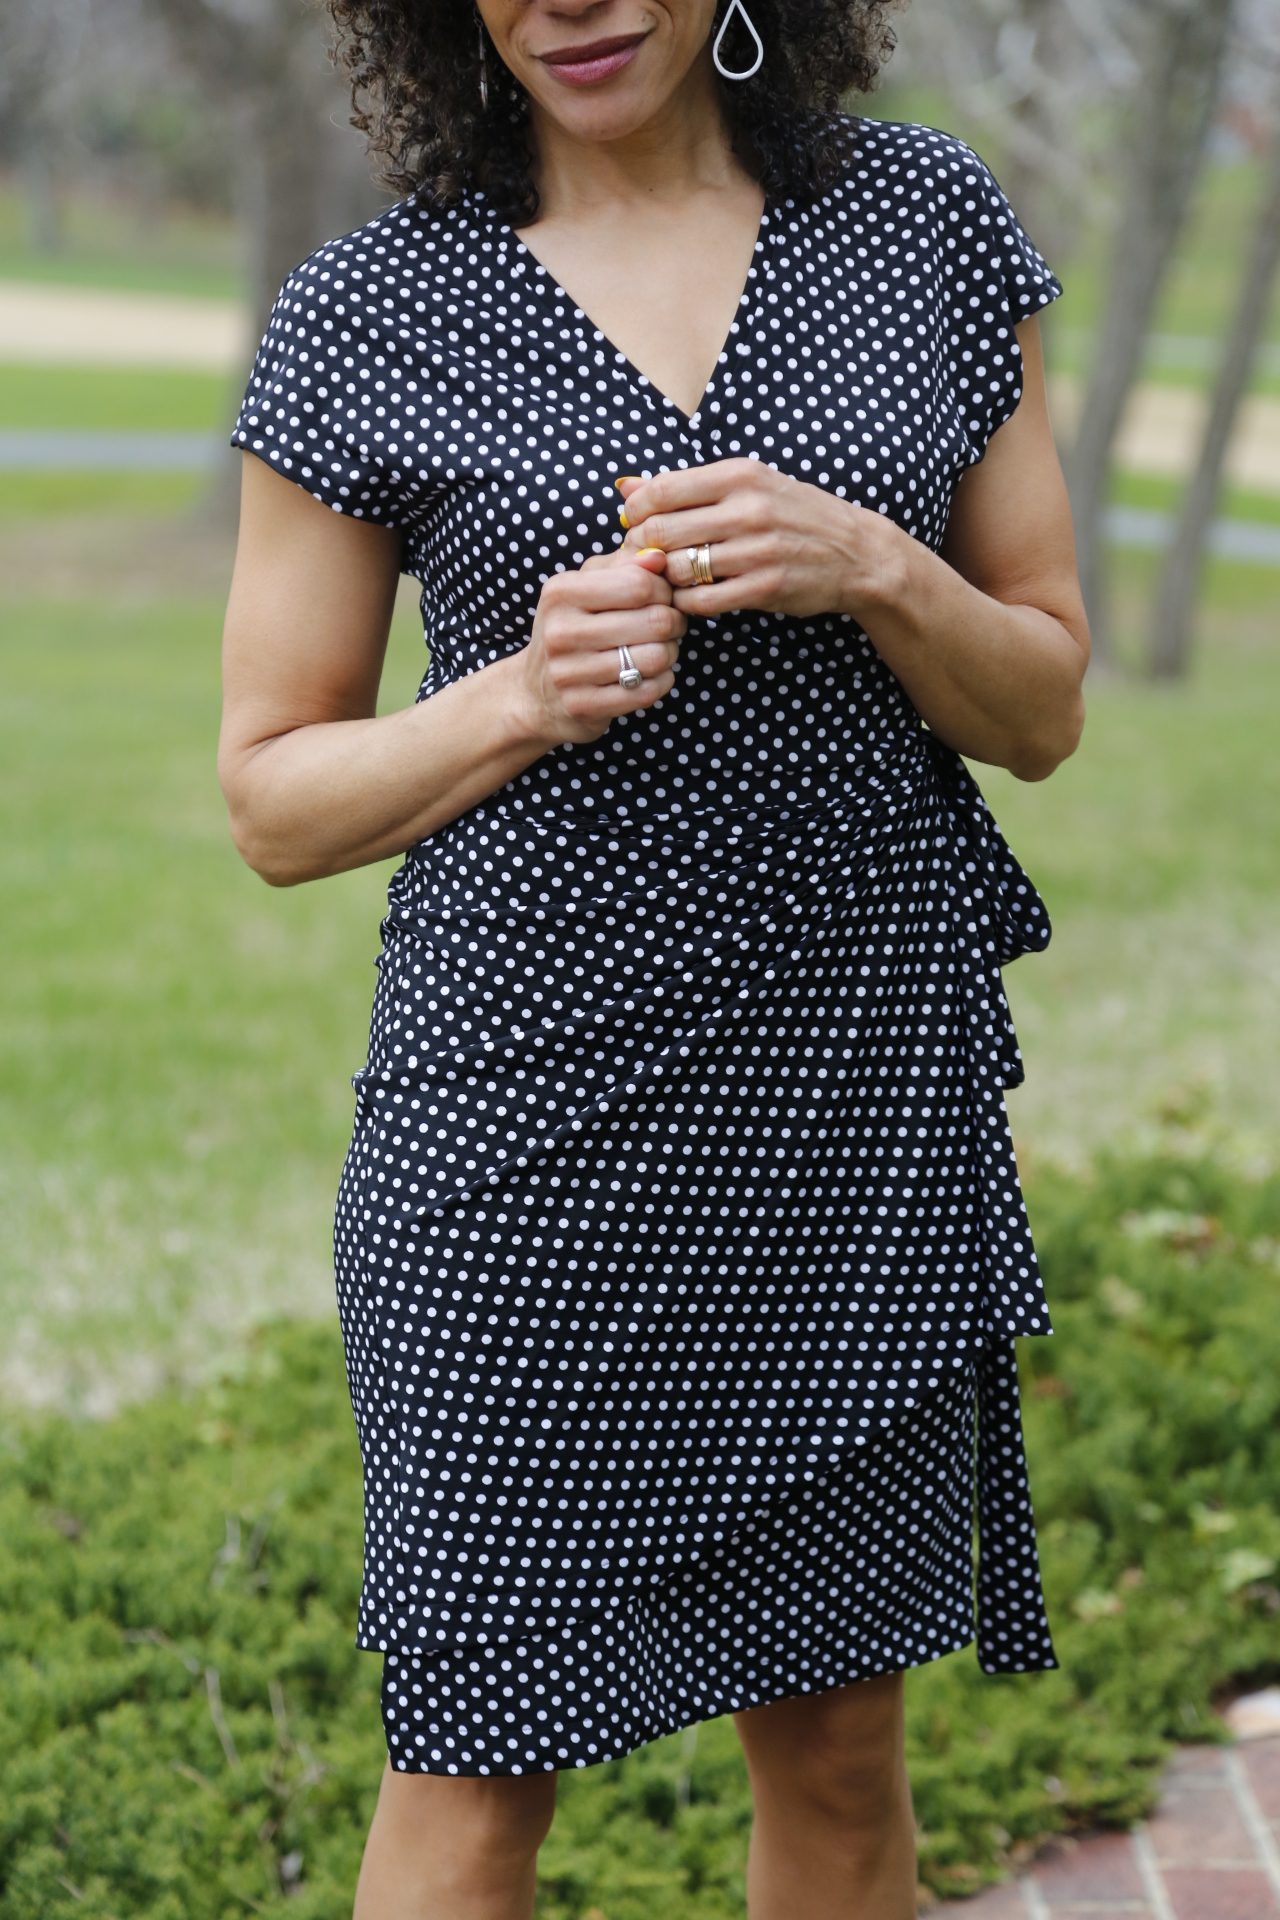
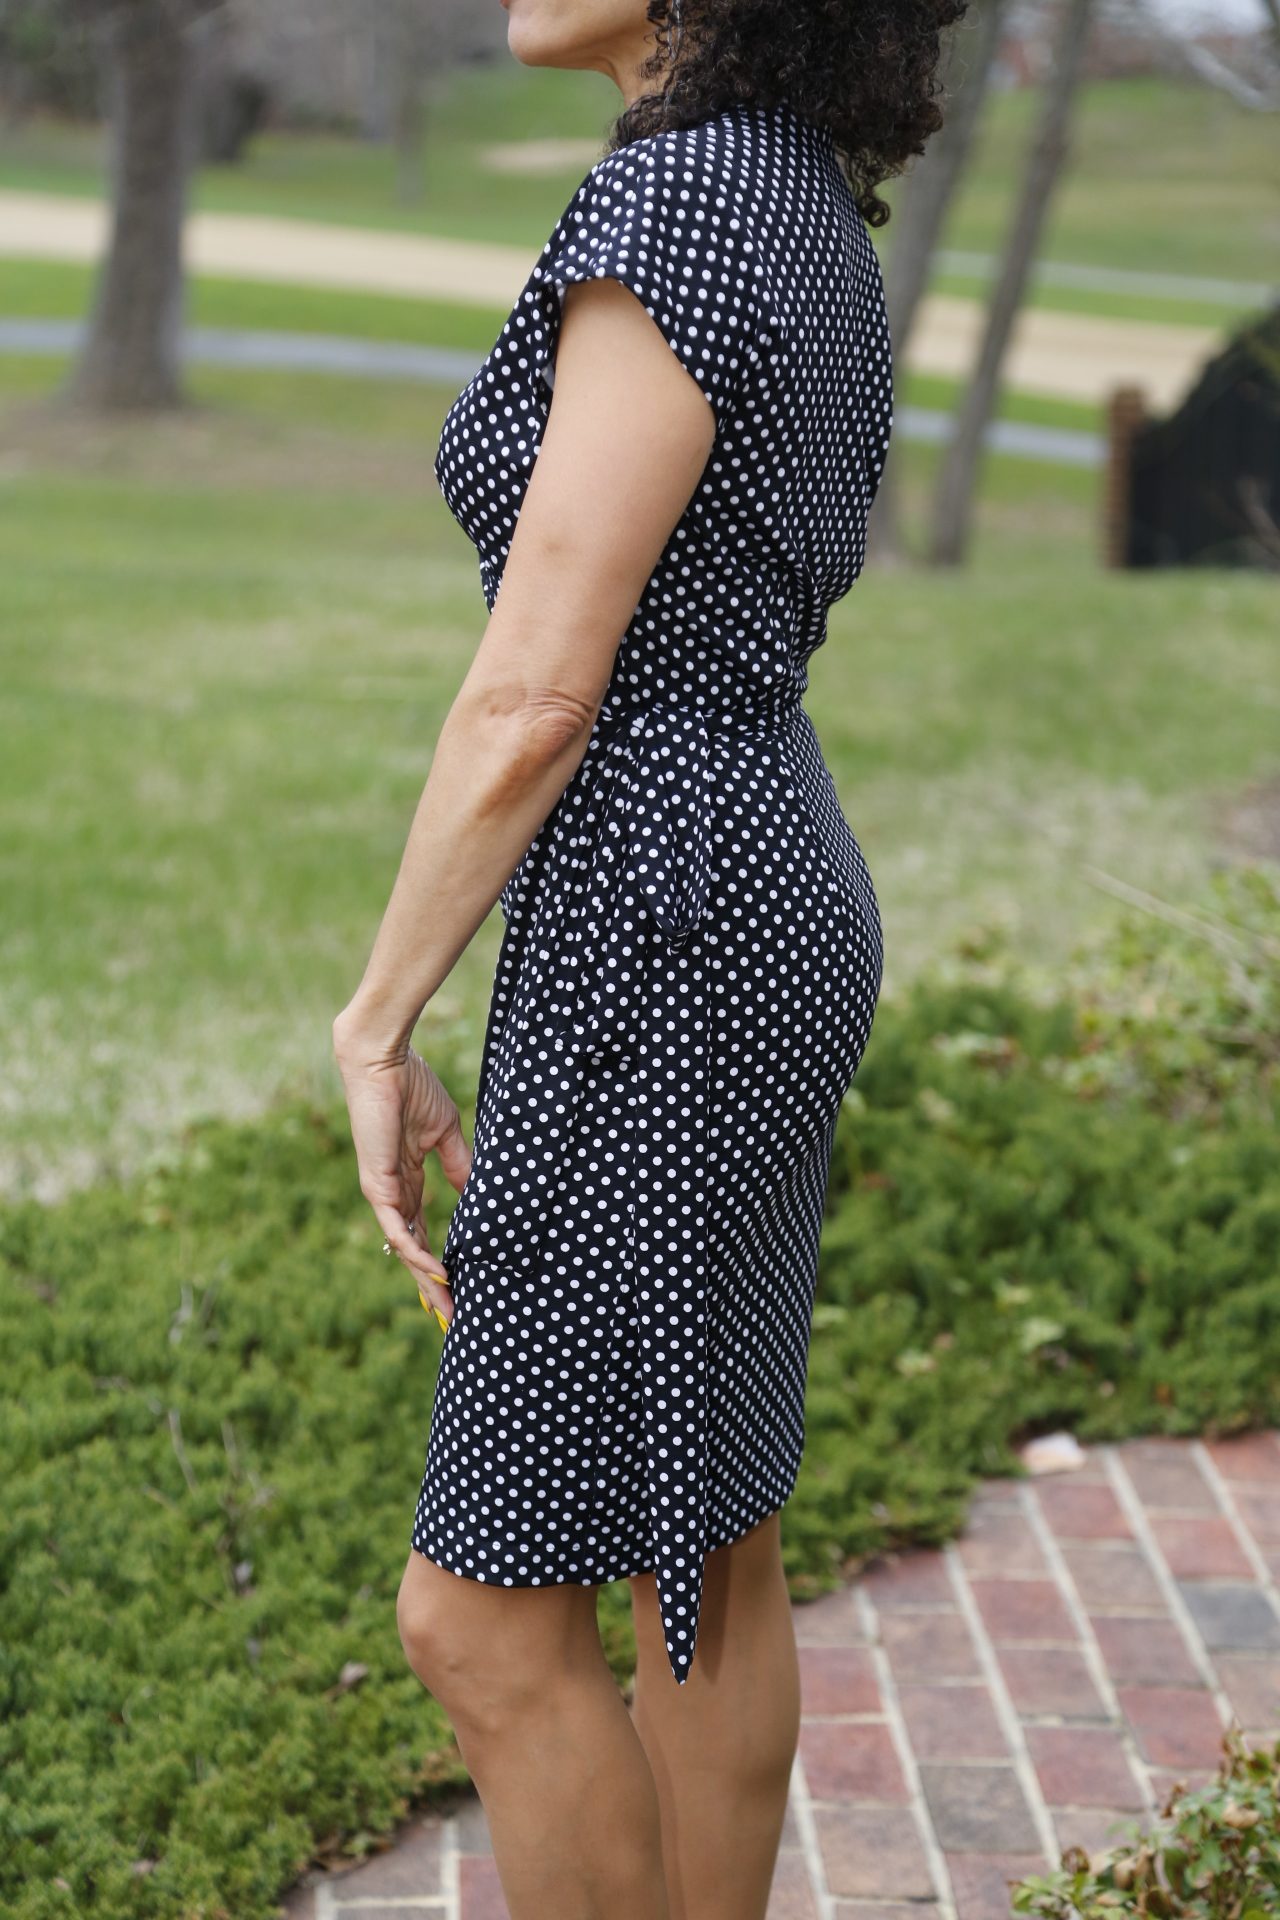
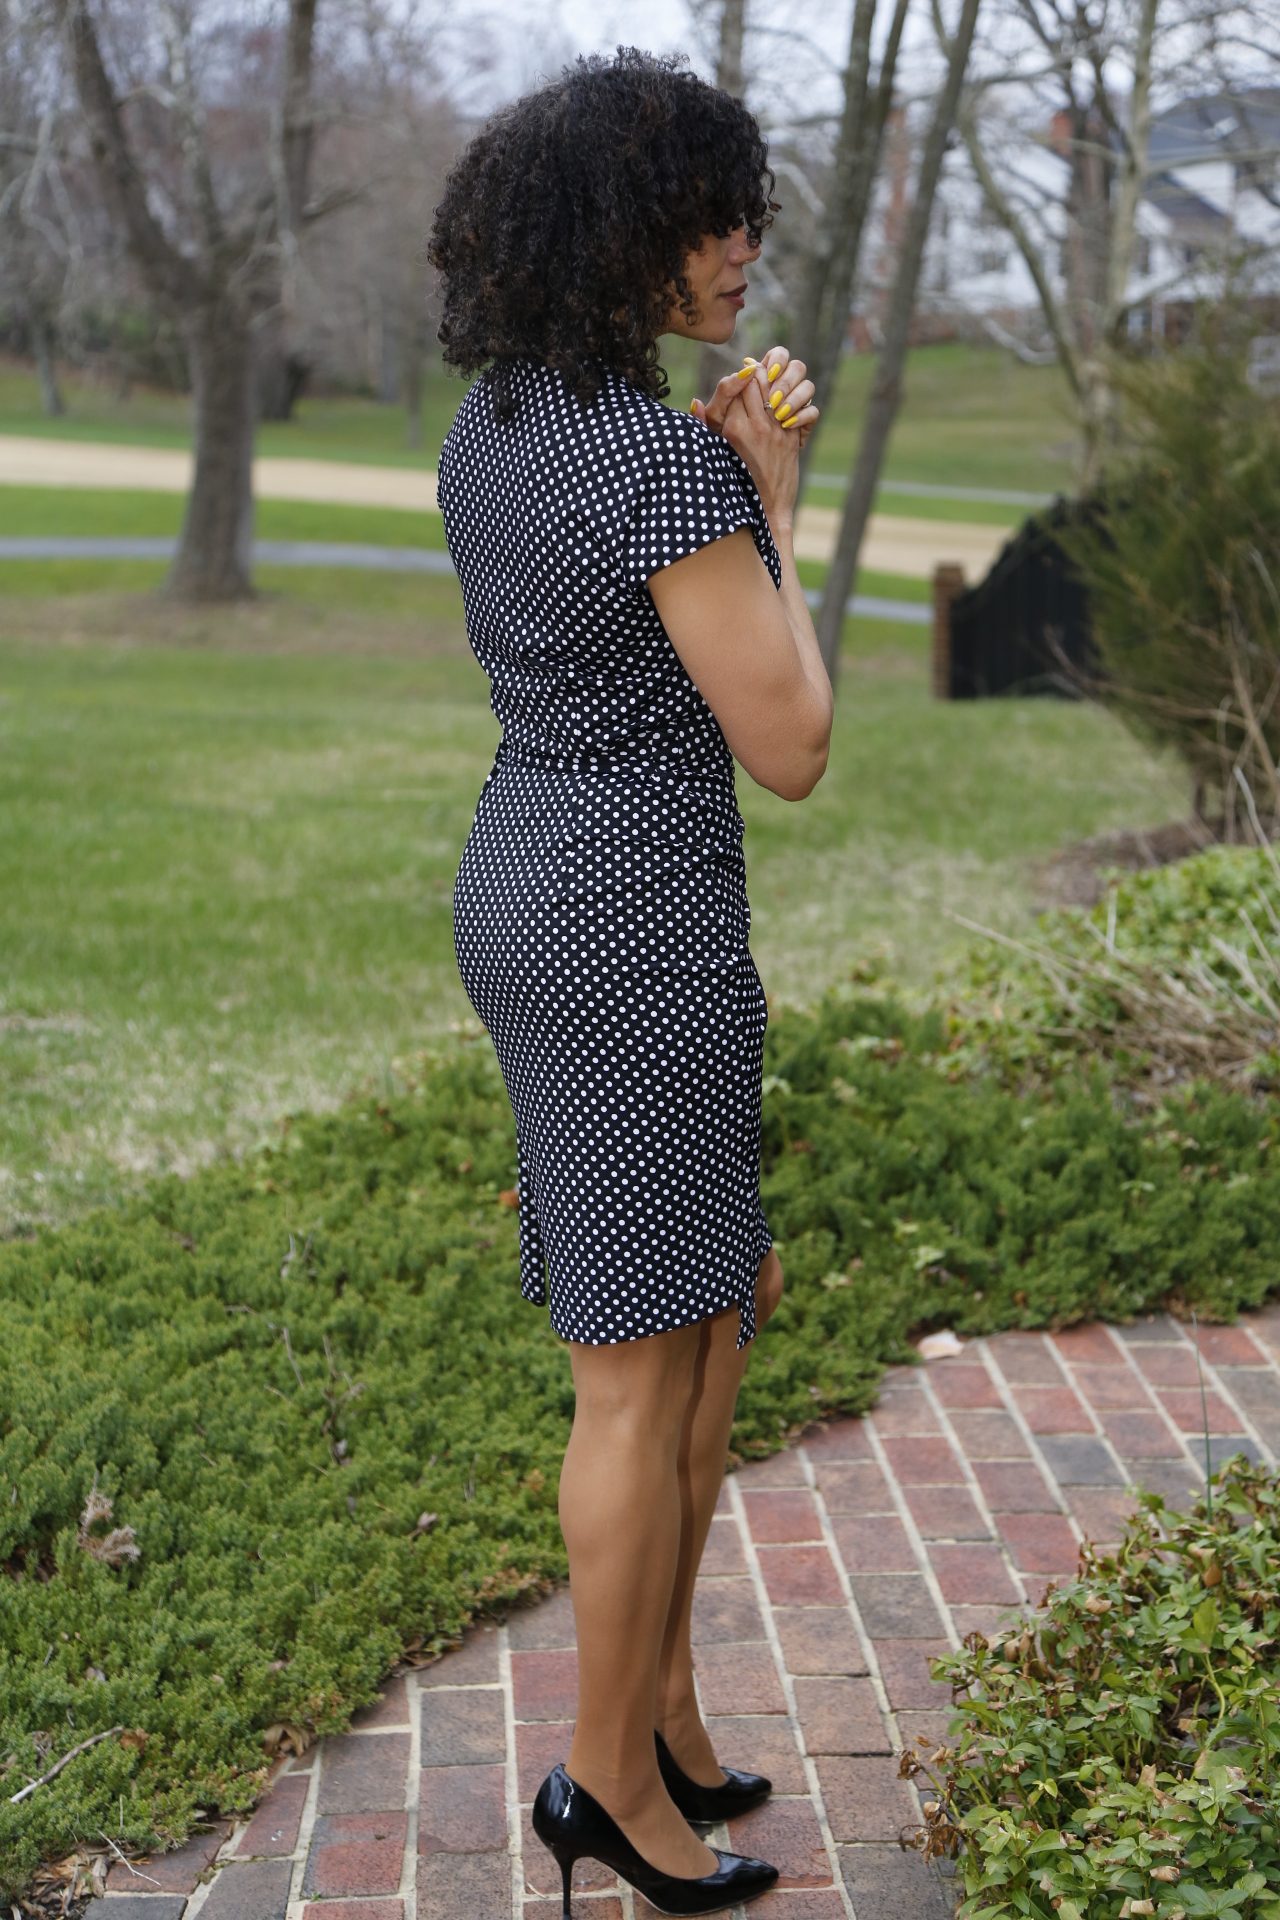
Another addition to the #CapsuleWardrobe. This Butterick wrap dress #6054 is a Maggy London design, who is always good for something classic.
I wanted a more relaxed knit dress, so I opted to cut a size larger, GASP, than I measure in size. My rationale was that a bit more drape through the bodice would be more flattering. In theory, it was a good idea, but I probably should have cut the smaller size 10 top and graded up to the 12 on the bottom. Live and learn.
However, if the sizing creates a snug fit in the skirt, it causes the left front hem to rise to one side as you tie the wrap and you lose the even hem. So my plan did work for the skirt because the front of the dress hangs evenly.
As for fabric, I’m on a roll using what’s in my stash. This black and white polka dot ITY knit is opaque enough that no lining was needed. Hella easy to work with even though, per usual, I serged all seam allowances.
As for construction, it went pretty so smoothly until I hit the pleating on the right front. The directions here were Burda-esque, incomplete and vague. Sigh. But I was not going to be defeated, so I managed to genius it out. Here’s the gist of the process. First, let me say that you can wing it and ignore the instructions all together, or follow along:
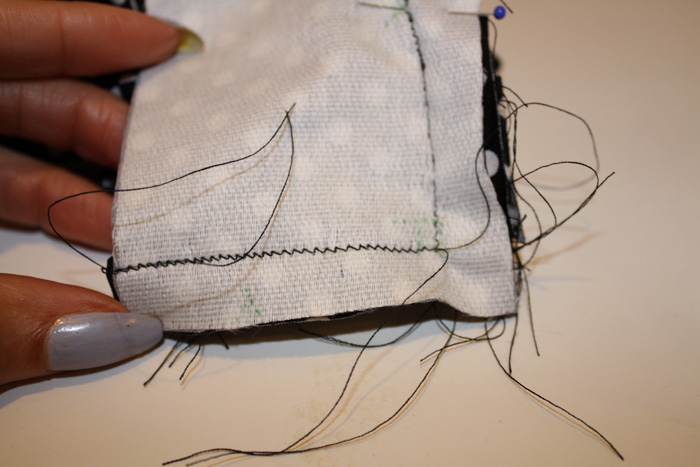
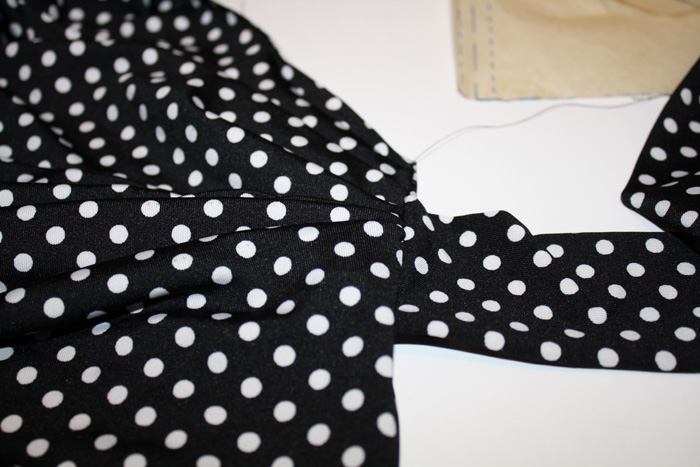
1. Carefully mark all pleating as instructed, small circle, big circles and squares because they will have great meaning later. Usually a small basted “X” is sufficient for me, but here it matters. Pleat exactly as instructed. Here you see the bodice and skirt pleats.
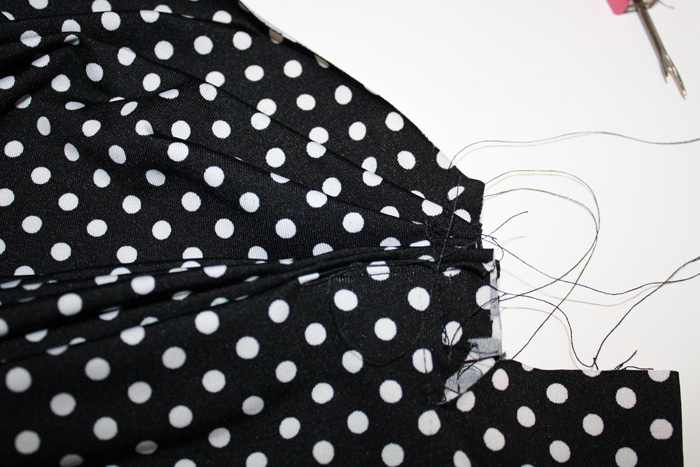
2. Lay the belt on top, again matching as instructed.
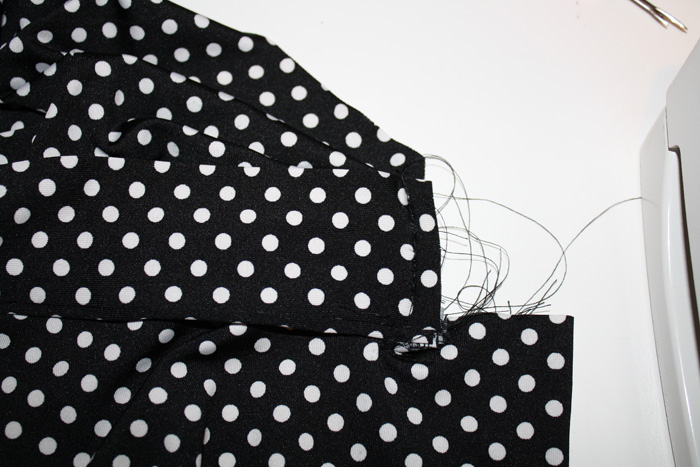
3. Carefully mark the interfaced facing and lay on top of the front and belt, again being careful to match symbols. Because there are so many layers, I used my pointer turner to lift the presser foot for easier sewing.
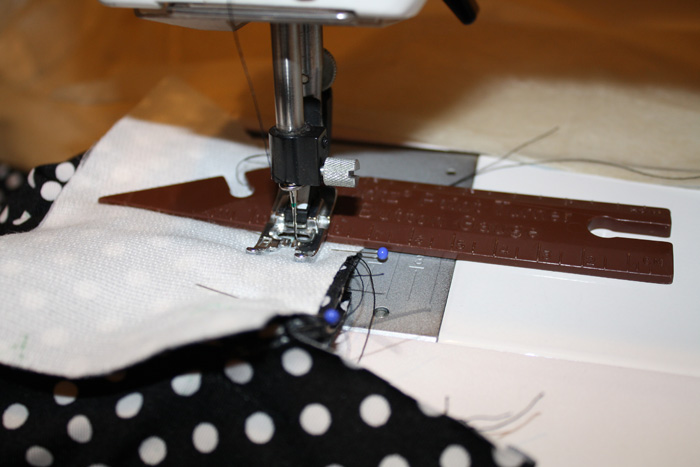
4. Sew from the top of the facing to the square and STOP.
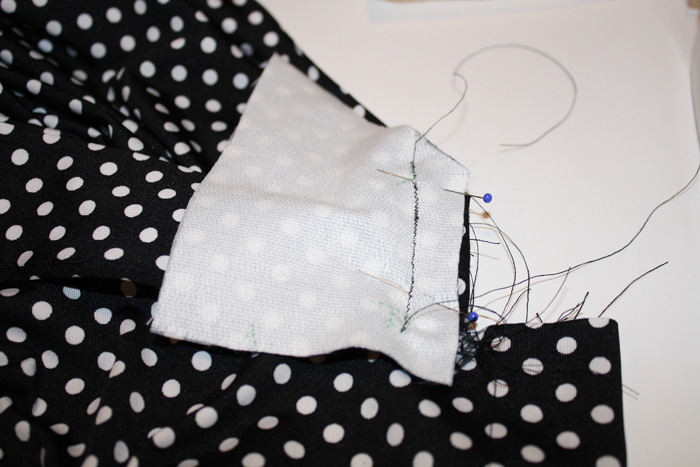
5. Fold the skirt, so that the notch matches the notch on the facing. Stitch from the square to the end of the facing.
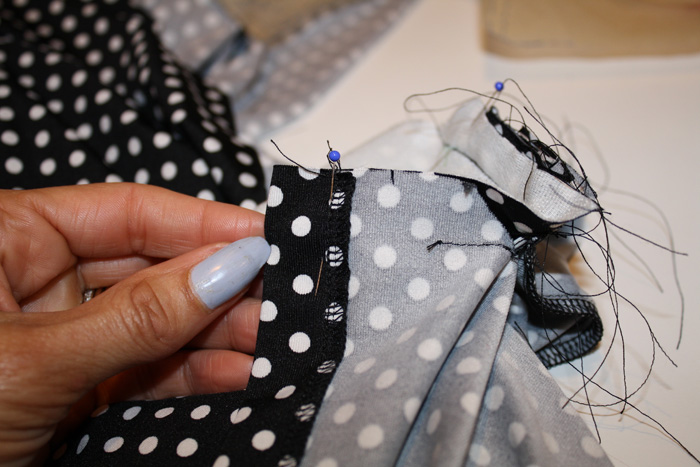
5. Here you see there stitched facing.
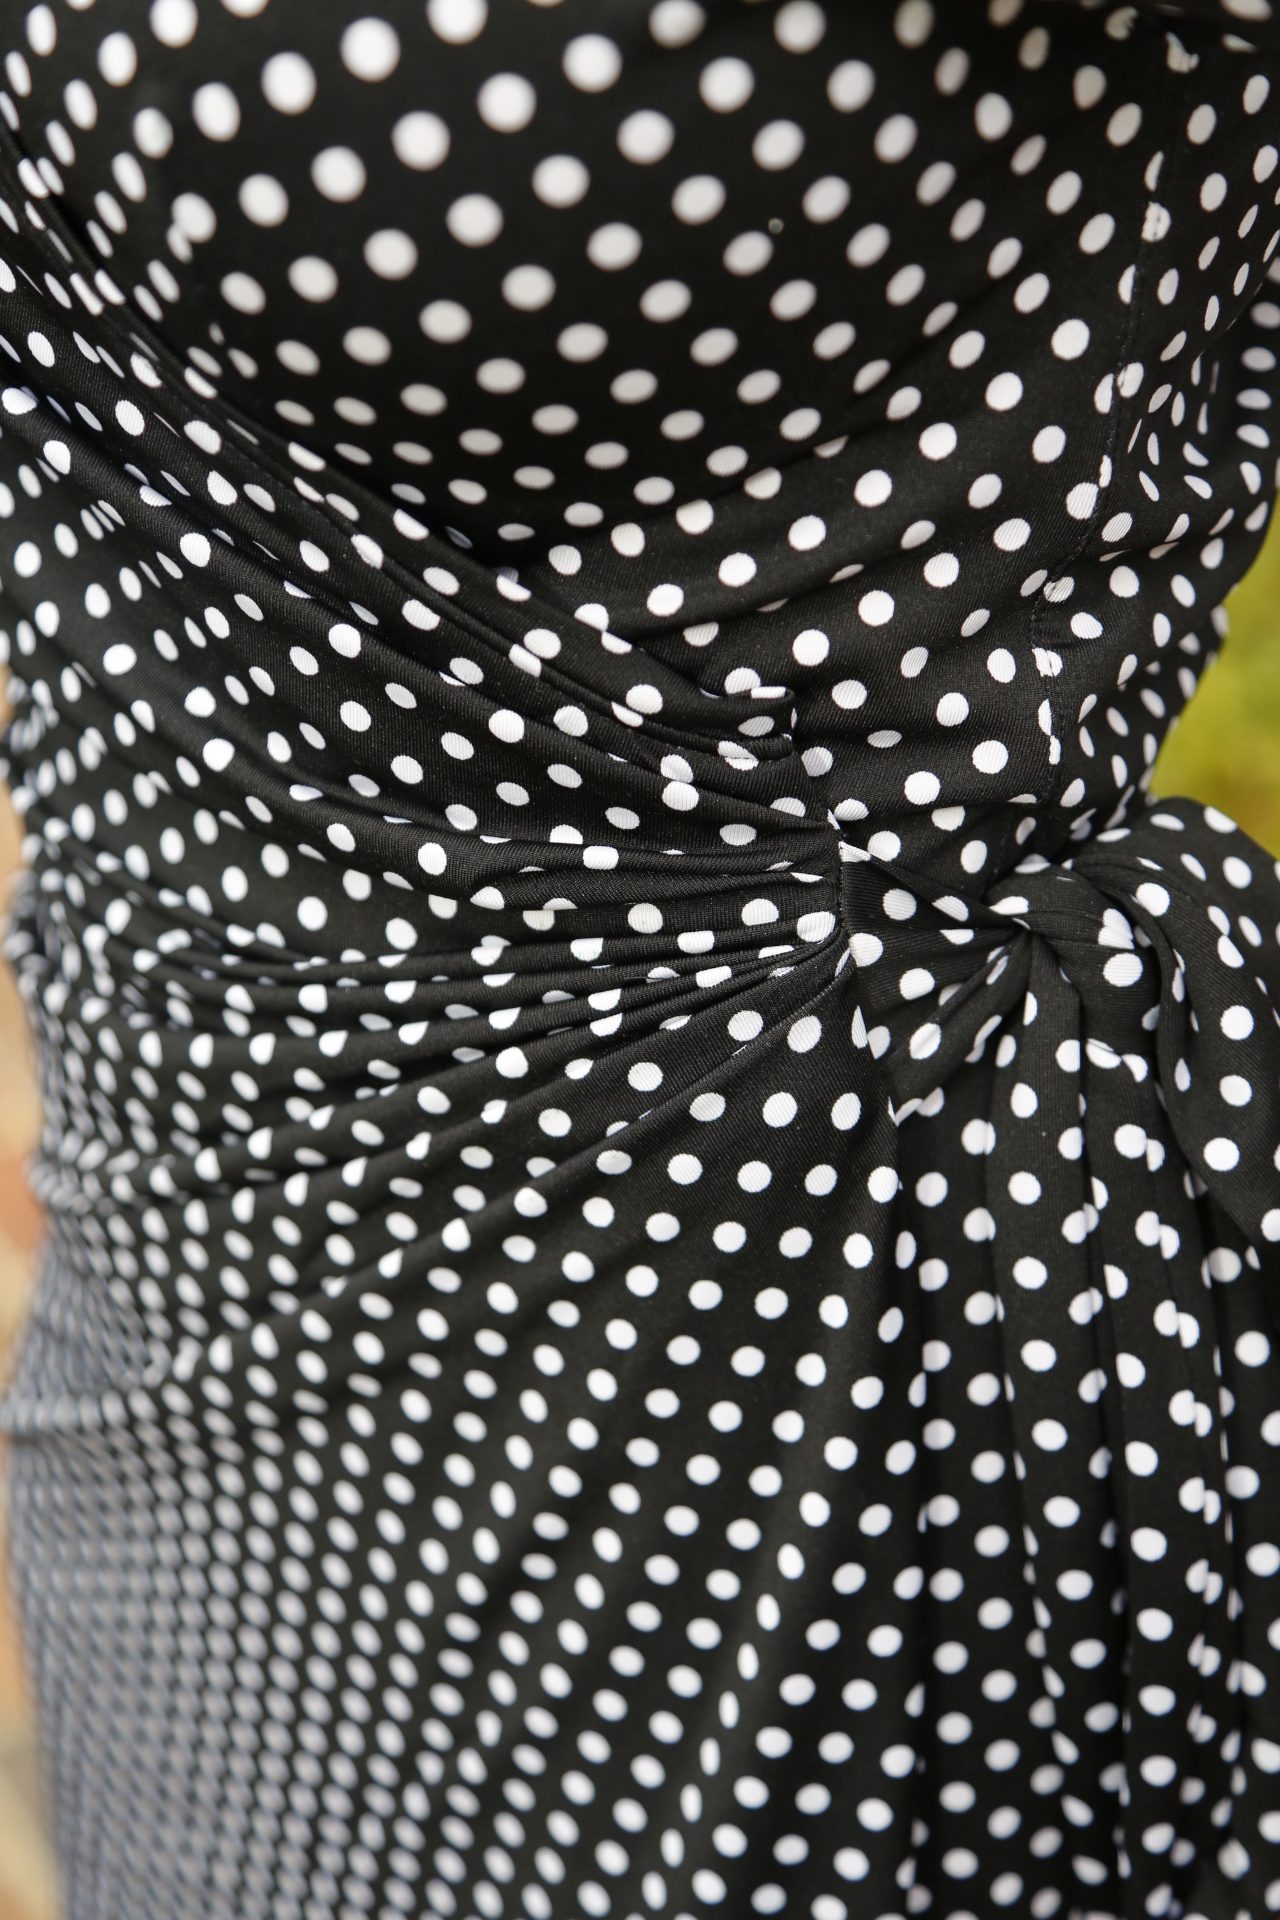
6. Trim and turn. Here the belt is pressed out away from the dress.
IMO, this makes that pleating bulky and if I sew this again, I’ll devise a way to decrease the amount of folds. Here you can see the number of pleats along the left side. Though pretty I think some could be drafted out.
For the neckline, their method creates too much bulk. So I attached a double folded facing, pressed the facing away from the bodice and then top-stitched. I like the look of this much better.
Though I have my quibbles with some of the construction process, I love the dress and it’s comfortable. On to the next piece.
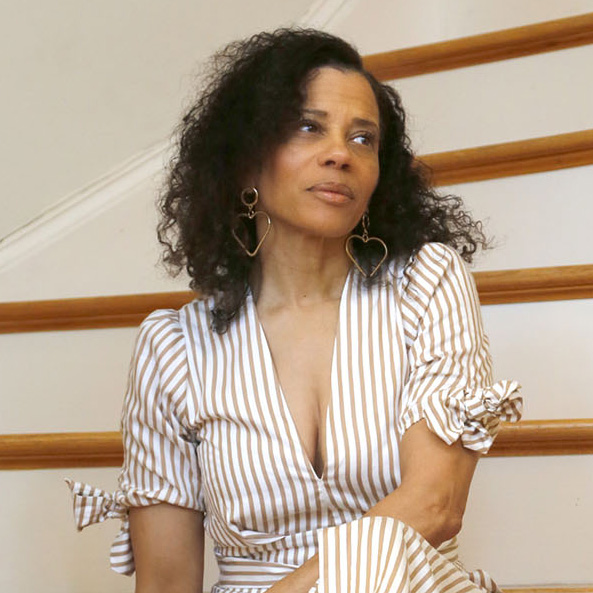
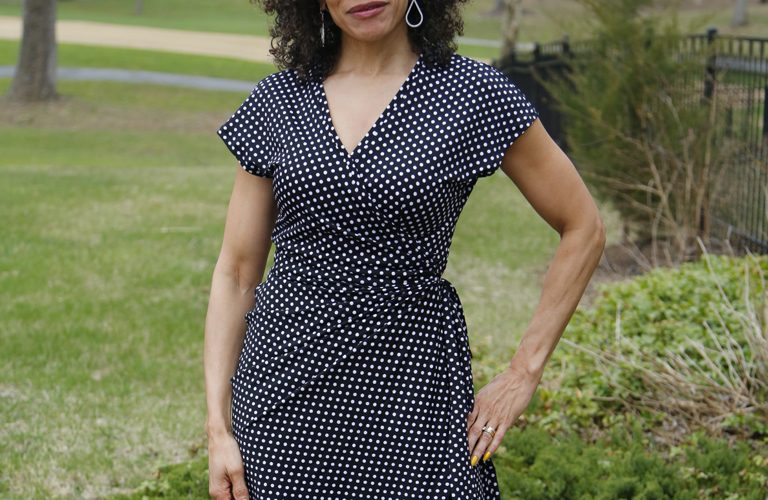
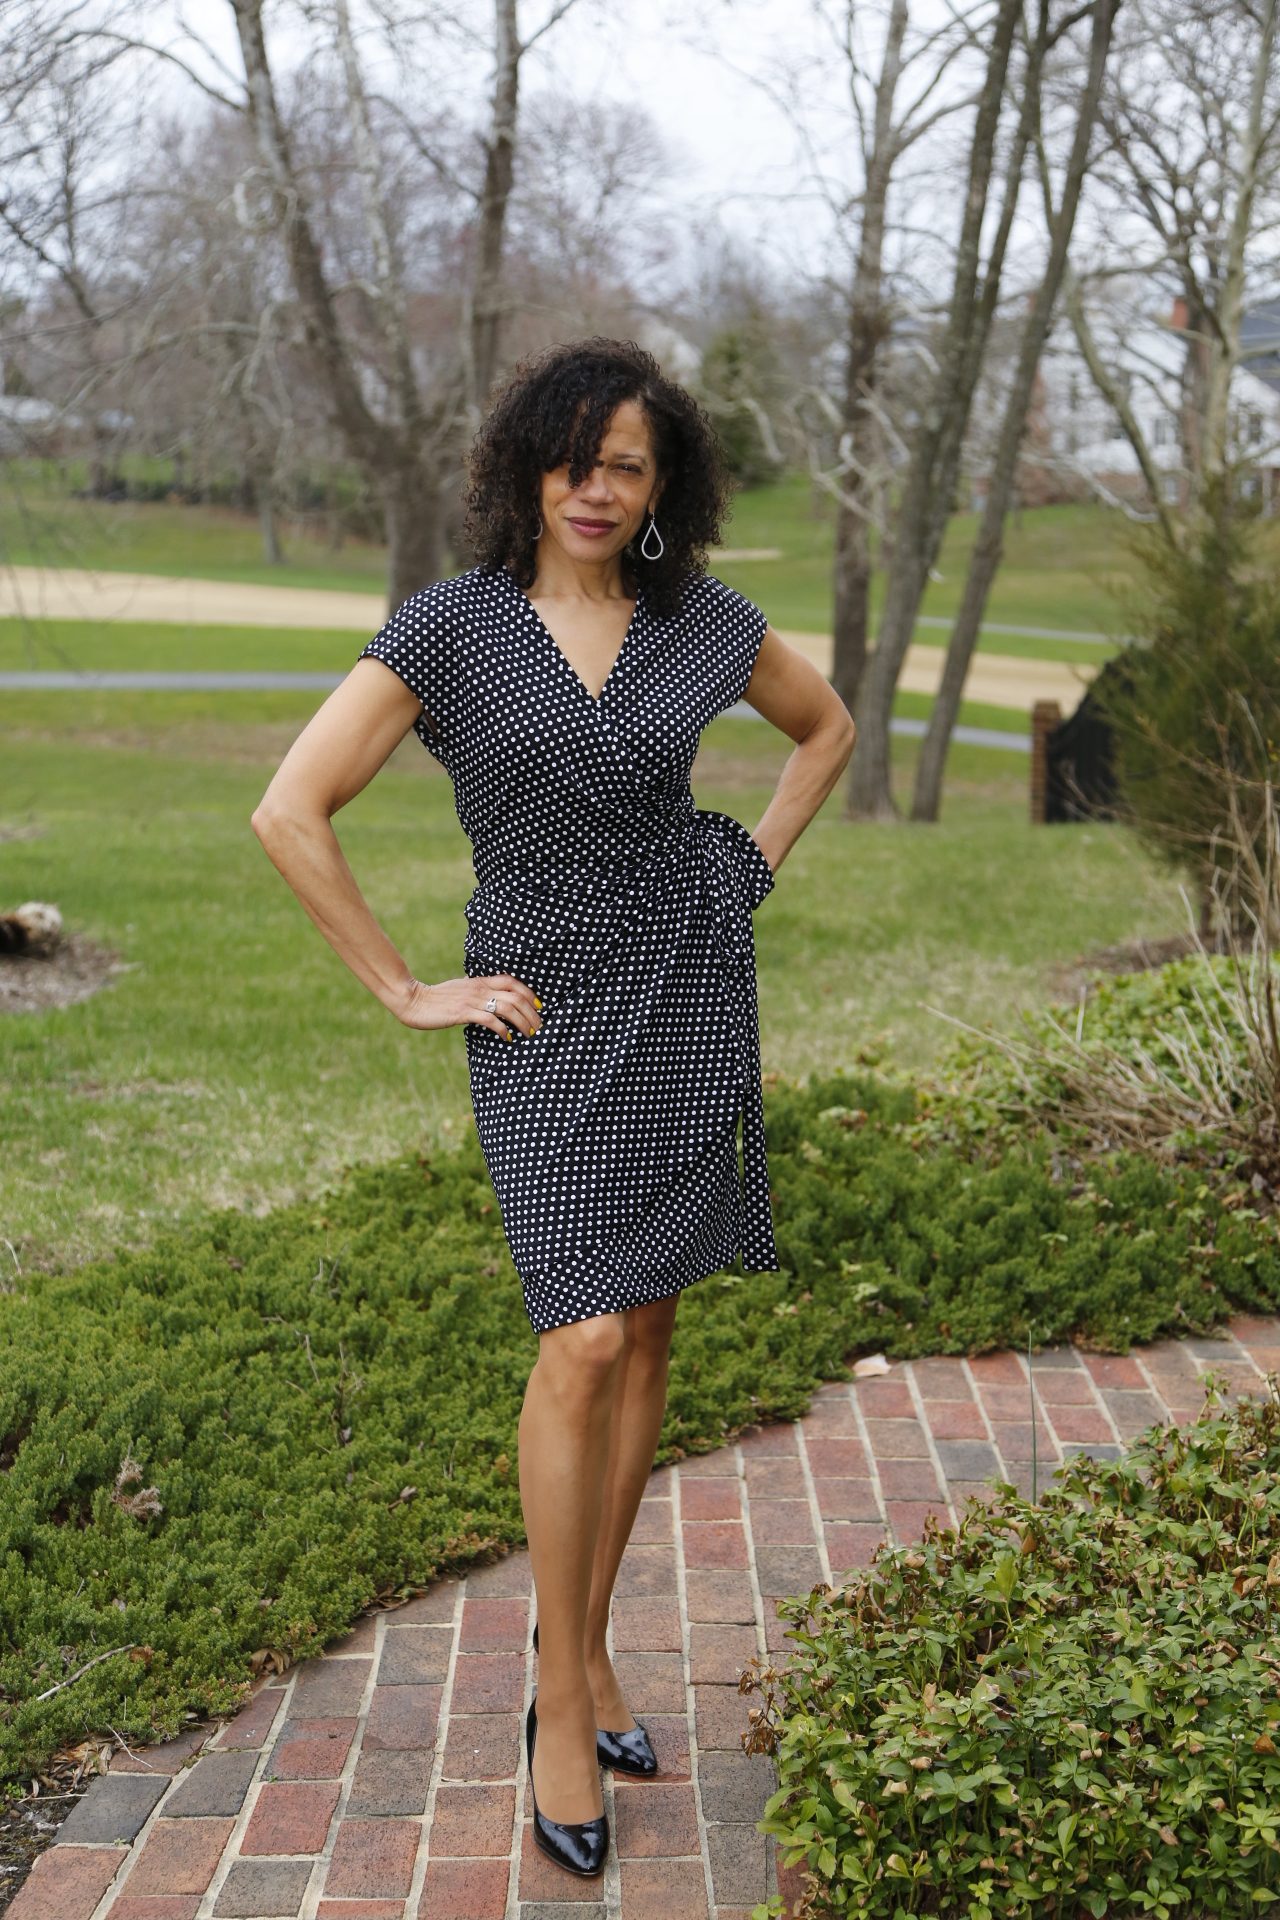




Great look, perfect fit.
Thanks Faye! Fitting is the key.
I love that you’re sewing again! The dress is beautiful and fits you so well. Hopefully there will be more of these and more sewing shared in the future!
Thanks Carolyn. One day I’ll be a productive as you!
Looks really wonderful. I’m having so much fun watching what you’re making. I’ve also never seen a brown version of that Dritz gauge!
Thanks so much! I’m so happy to be sewing again. Lol. That just shows you how old that gauge is. 🙂
Polka dots + wrapped dress = fabulousness! Thanks for the heads up on the pleat instructions.
Thank you so much! It’s a good wardrobe staple once you get past the pleats. 🙂
Hello, Thanks for posting! Right now I’m using this pattern for dresses for a dance group. At what point did you take the basting out of the pleats?
Thanks! Kristen 🙂
My apologies Kristen for the late reply. I’m sure you’re finished with your dress, but just in case. I kept the basting in at the pleats until the end. It was easier to manipulate.
Hello! Your dress looks great! I’ve made a toile and am ready to cut out the real fabric pieces. I don’t understand what purpose the elastic in the bodice/skirt seam allowance serves. Did you stretch it when sewing it in? I did not on the toile as it doesn’t look like the waistline is pulled in on the line drawing. Can you tell me what you think? And would you recommend slightly stretching the front facing when inserting like when inserting ribibng around a t-shirt neck?
Hello Kim, thanks for reaching out to me. It’s been so long since I’ve made this dress. Usually elastic in the seam allowance between the skirt and bodice is an additional way of cinching in the fit at the waist. If it’s measured to the size of you waist or a bit smaller, you’ll have to stretch no matter what your insertion method is. If I recall correctly, the facing on this dress I created wasn’t stretched too much if at all. I hope your dress turns out well.