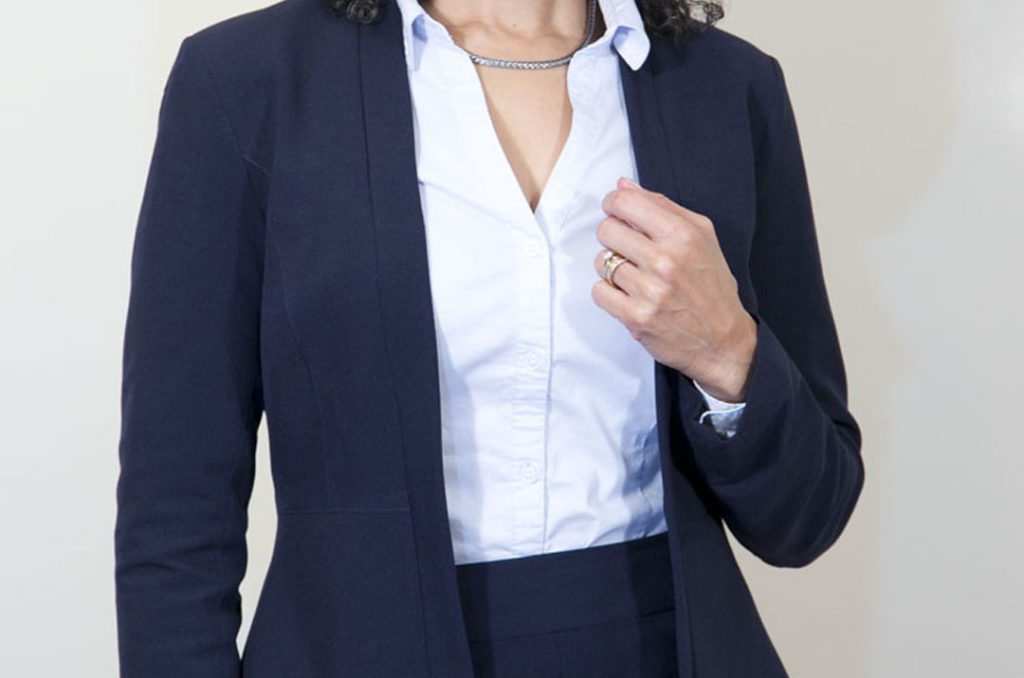
You know when you’re thumb scrolling through Instagram, just mindlessly looking through, your mind wanders…and then you come across something good, worth stopping for.
*Disclosure: This post contains affiliate links. I may receive a commission for purchases made through these links but there’s no extra cost to you. All opinions remain my own though.
That’s what happened when I saw the Nikki Blazer.
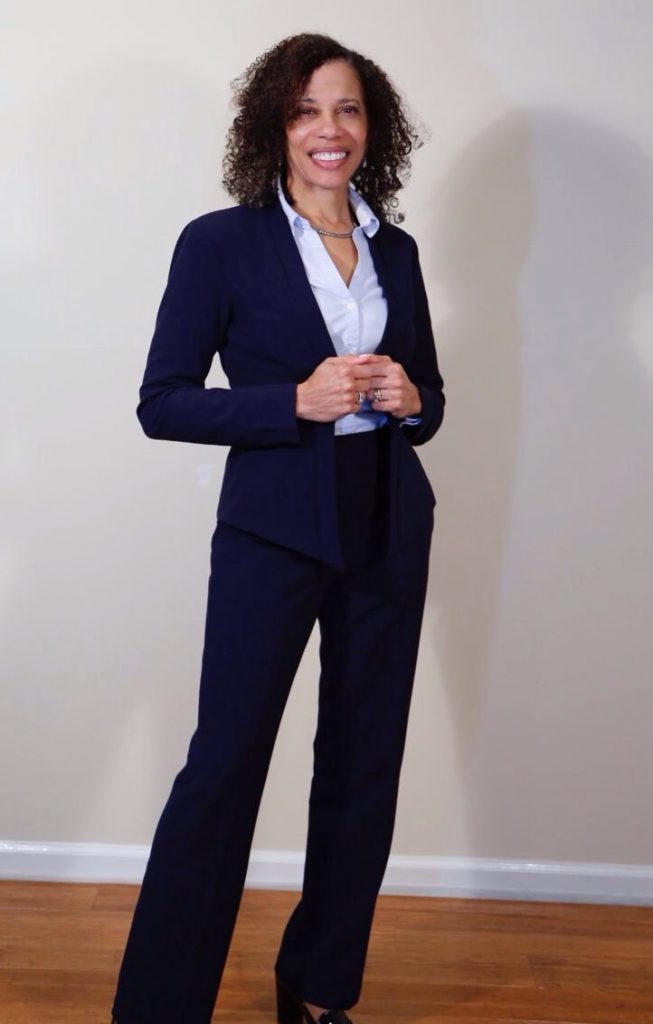
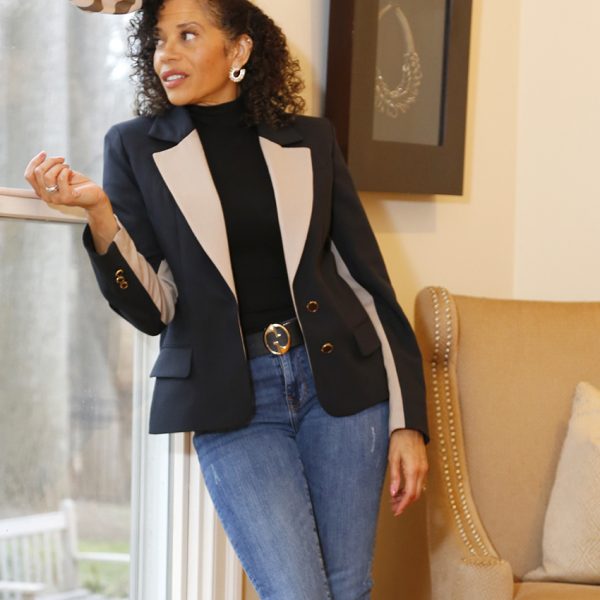
I wanted to build my fall/winter sewing plans around a blazer or two. Well, I found my first candidate. I knew from the moment Eryn of StyleSewMe began her pre-launch of this blazer that it was a winner. You can look at the lines and see it is a well drafted pattern. Collarless, fitted and versatile, but it’s the fitted bodice that drew me in.
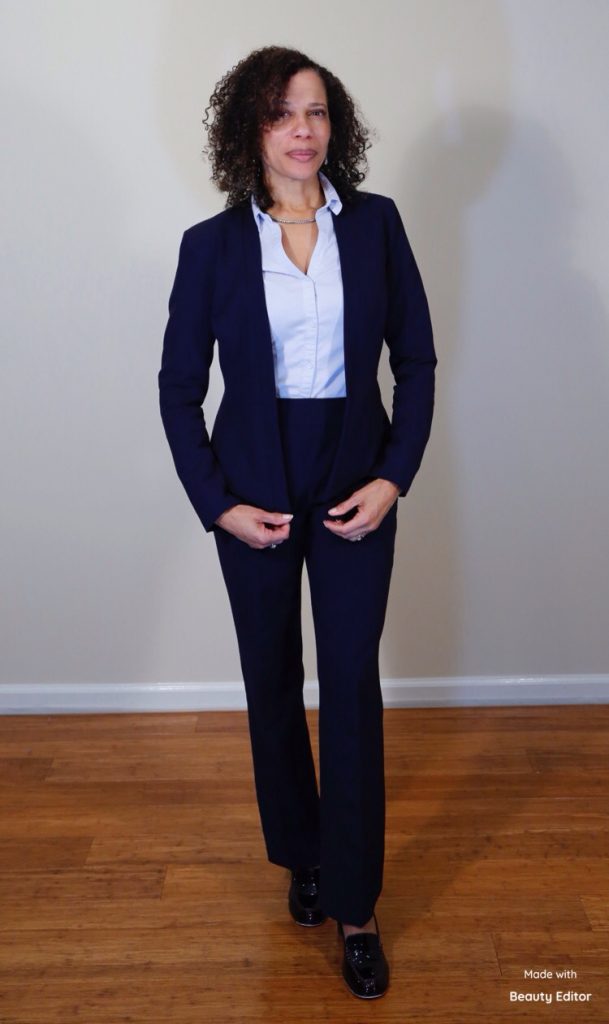
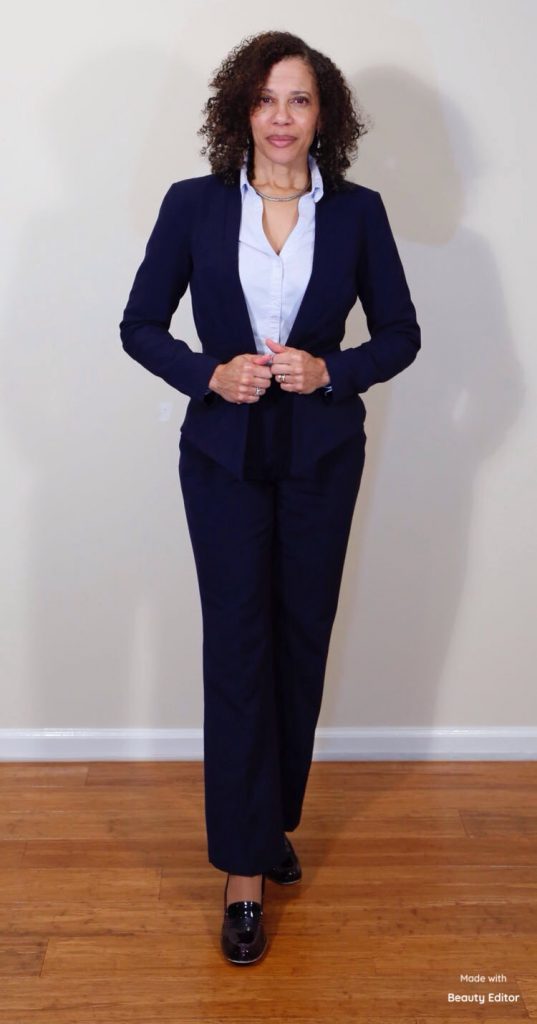
Since this past summer, I’ve been sewing more strategically. Rather than making singular pieces here and there, I want to create a collection. A cohesive set, i.e. a capsule wardrobe. So I chose a few basic patterns as my base. Two blazers, two pair of pants, a shirt and a dress. I’ve completed the pants, Simplicity 8744, which I have yet to blog about, in the same fabric as the blazer, in essence creating a suit. My hope is to get all 6 pieces sewn by mid-January. 😐 Wish me luck!
Alterations
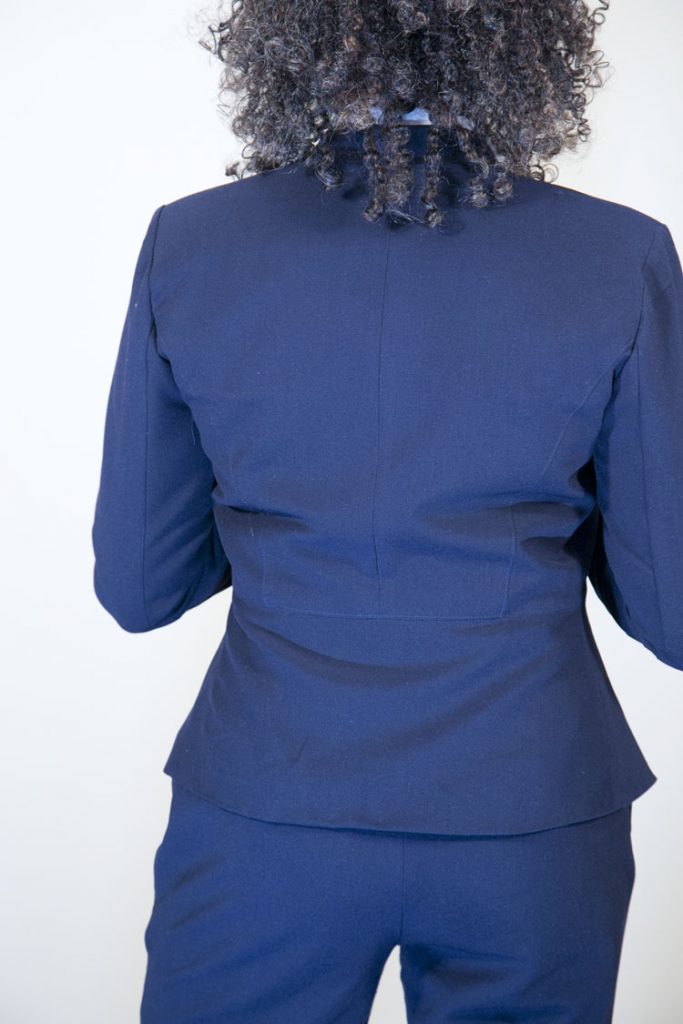
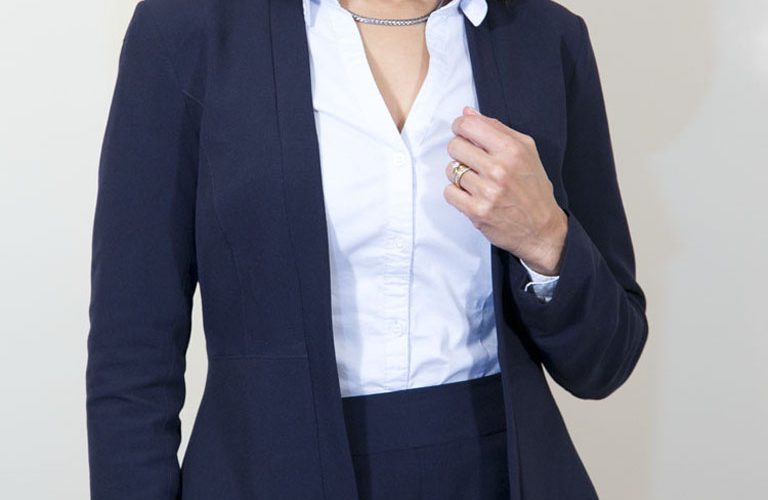
The blazer* is so versatile! Dress up, dress down. This is the business version in a dark, navy drape-y twill. The fit has me the most excited. I’m small through my back, such a non-technical term, lol, so any pattern that either has no center back seam or has that straight back seam is a non-starter for me. I need the curve of my spine to be addressed. Kim Dave is a vlogger who I follow on YouTube and she’s posted a video on zipper bulge. You can use the same principal for re-drafting the back seam. I did adjust mine on this pattern, but not by much.


I also cut an inch from the upper bodice fronts, back and lapel. This raised the waist closer to my natural waist line. Full disclosure, I should have added that inch back to the bottom pieces as I would have liked to have the blazer hit lower on my hips, but I will next time.
One other alteration I made was to create a full lining rather than the partial lining provided. Done in part because this is going to be worn as a workplace suit AND because I just didn’t feel like finishing the exposed seams, so I lined the whole thing. SMH. In the next iteration, I will remember to add a pleat along the center back lining seam for wearing ease.

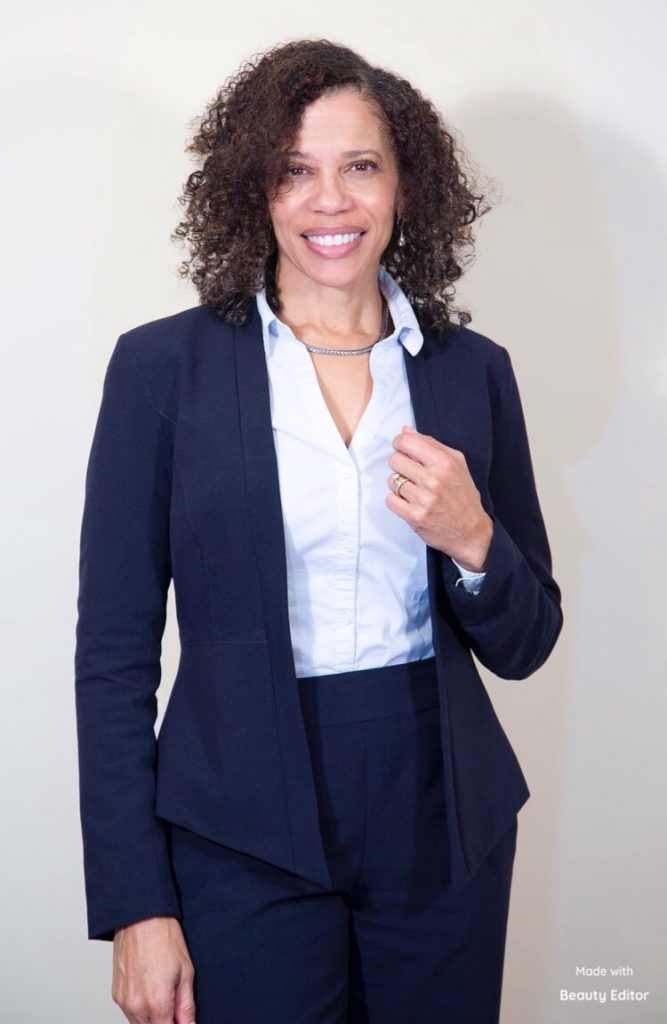
Construction is a breeze, minus me being extra with alterations et al. The pattern instructions are clear and concise, but if you need more detailed instruction and tips, Eryn has posted a sew-a-long video. Her tips on more productive sewing are helpful, too.
This blazer* will definitely show up in my sew queue again.

I can see that you’ll be getting a lot of wear out of this fabulous jacket.
Absolutely! It’s a great basic piece.
What a BEAUTIFULLY sewn Blazer!! You did an amazing job!! I have sewn this once BEFORE and it turned out good, but I WIsh there was GUIDANCE on how to add LINING to this blazer for us advanced beginners. Anyways, Great job!!
Hi Brandy, thank you so much for the kind words. I’m sure you blazer is gorgeous. Adding the lining is easier than you think. I have a few reference books in my sewing library that I use all the time. Youtube is another great source for adding linings in general. Also, I’m happy to help and share a few tips as well. The sewing community is uber supportive and love sharing their collective expertise.