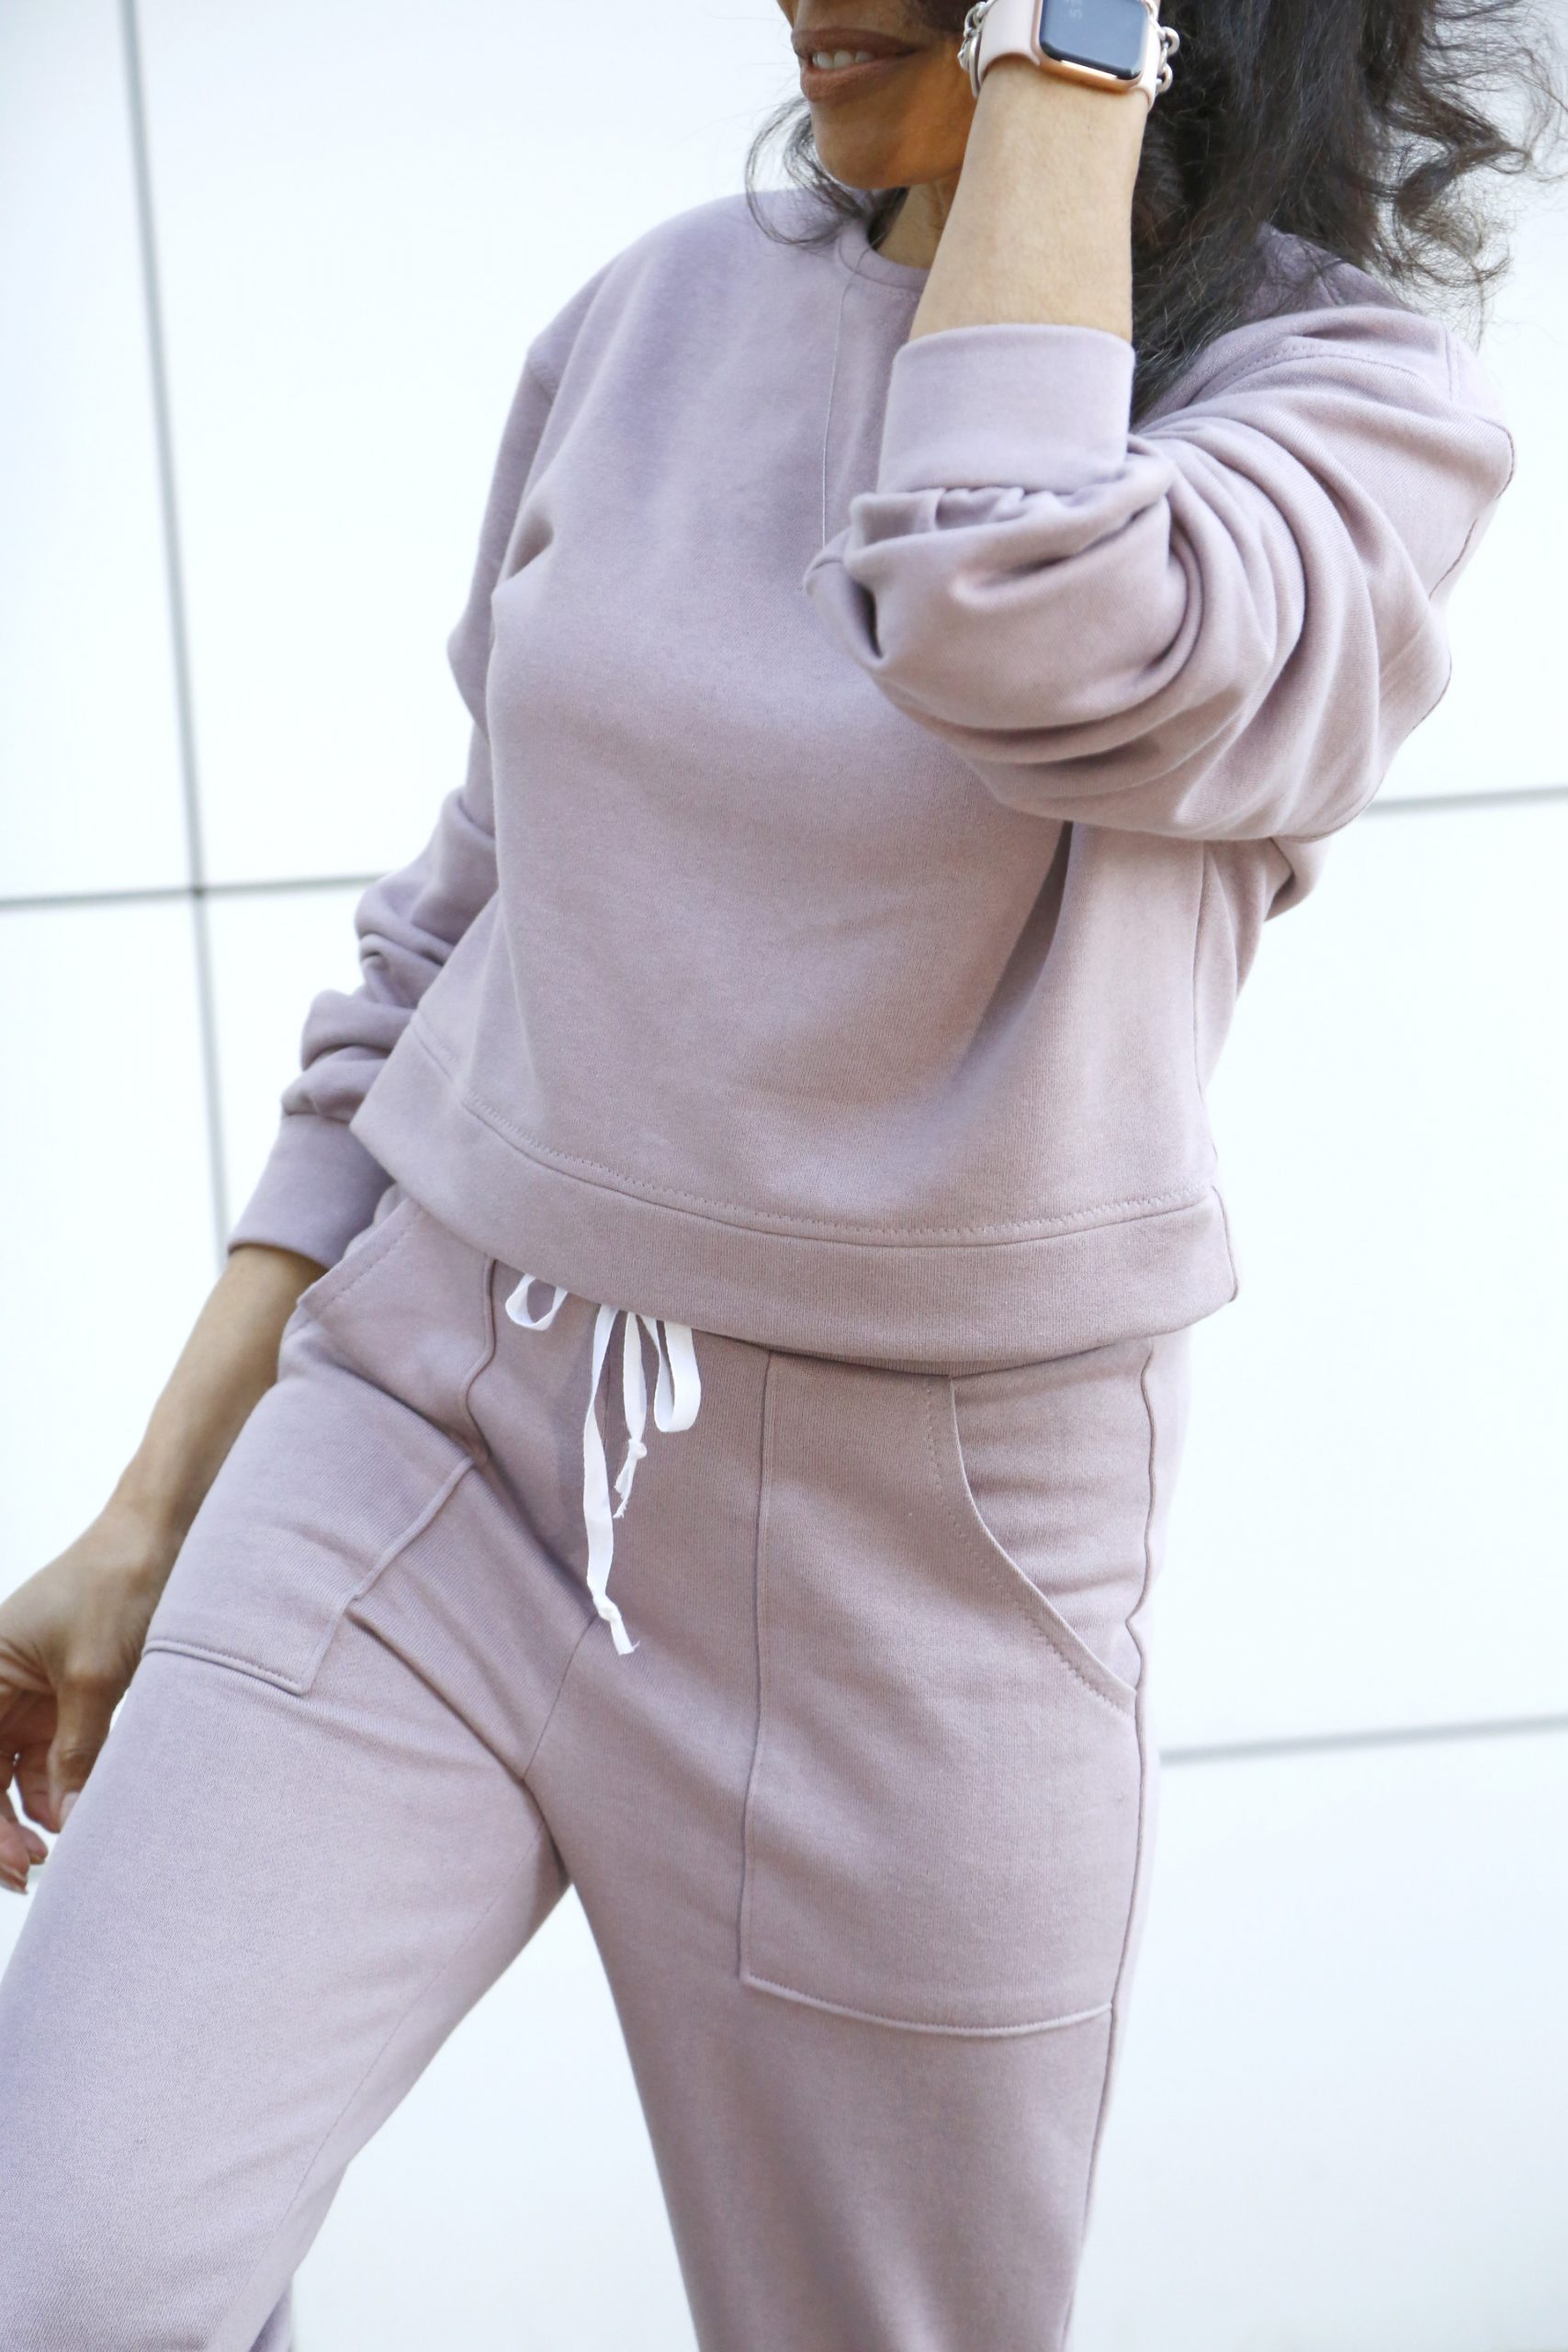
We all love when Spring arrives, but the weather doesn’t allows cooperate. Thanks to Fabric.com, I had the chance to sew this great sweatsuit that’s perfect for the chilly days of Spring. #sponsored
For this DIY two-piece suit, I was gifted this gorgeous Telio Bamboo Rayon that’s a brushed fleece in a lilac- violet, 70% Rayon (Bamboo) and 30% Cotton. Buttery soft and the perfect quality.
For both the top and bottom I used Simplicty’s 9337. An easy pattern to sew, but made even better with a few tweaks. The top can be cut and sew within a matters of hours.
Here’s what you’ll need to make your own!
- 1 1/2 – 2 yards Telio Bamboo Fleece or any similar fleece
- Sewing Machine
- Notions: Pins, Scissors or Rotary Cutter, Thread
- Cutting Mat
- Pattern: Simplicity 9337 View A
Let’s get started!
Step 1
Choose your pattern size according to your measurements, not your ready-to-wear size.
Tip: Iron your pattern pieces first to make the cutting easier.
Step 2
Cut all pieces for View A.
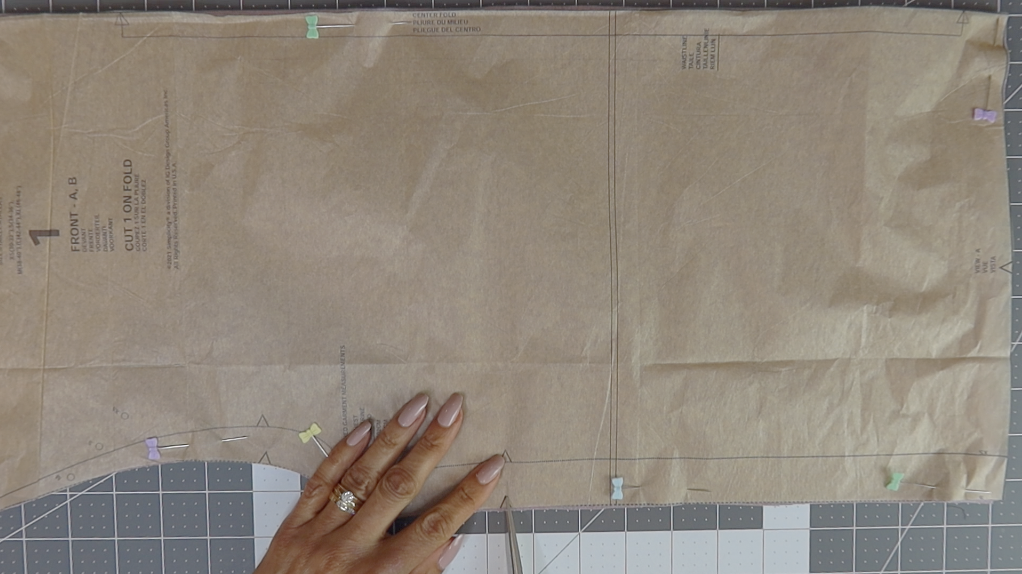
Mark your pattern notches and dots. I use two methods for marking notches.
- I clip the notches.
2. Or for key notches, such as those at the armscye, I stitch the marking.
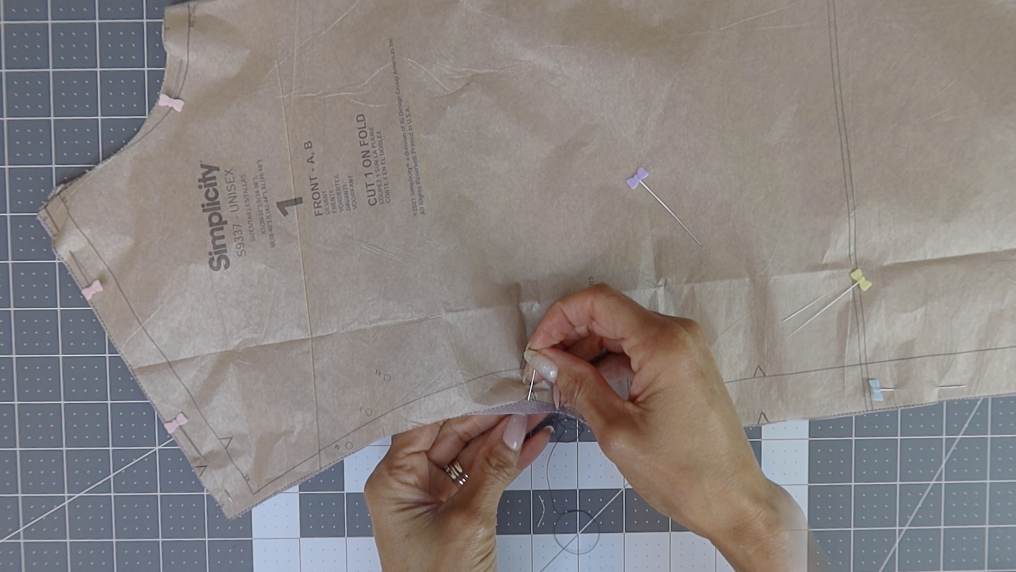
Tip: Remember to sew with a zig-zag stitch, stretch stitch or serger. The seams need to expand and stretch. A straight stitch on knit fabric will break when stretched.
Step 3
Pin the front and back at the shoulders and stitch together
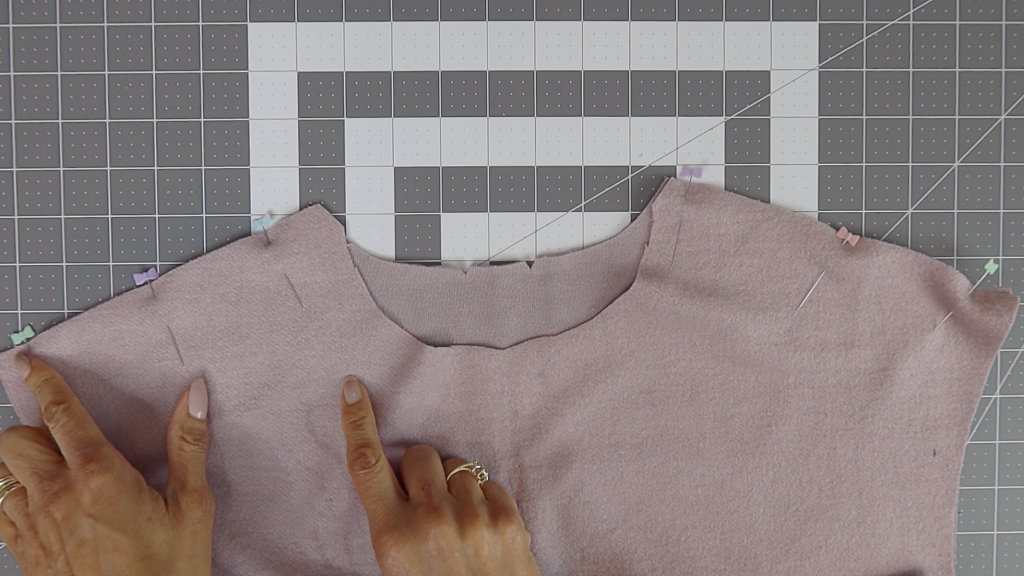
Step 4
Sew the short ends of the neckband together and then fold in half, lengthwise. Pin the neckband to the neck edge matching notches as directed. Baste first, then try on to make sure your comfortable with the width of the opening. Once you are, stitch together with a zig zag stitch or serger.
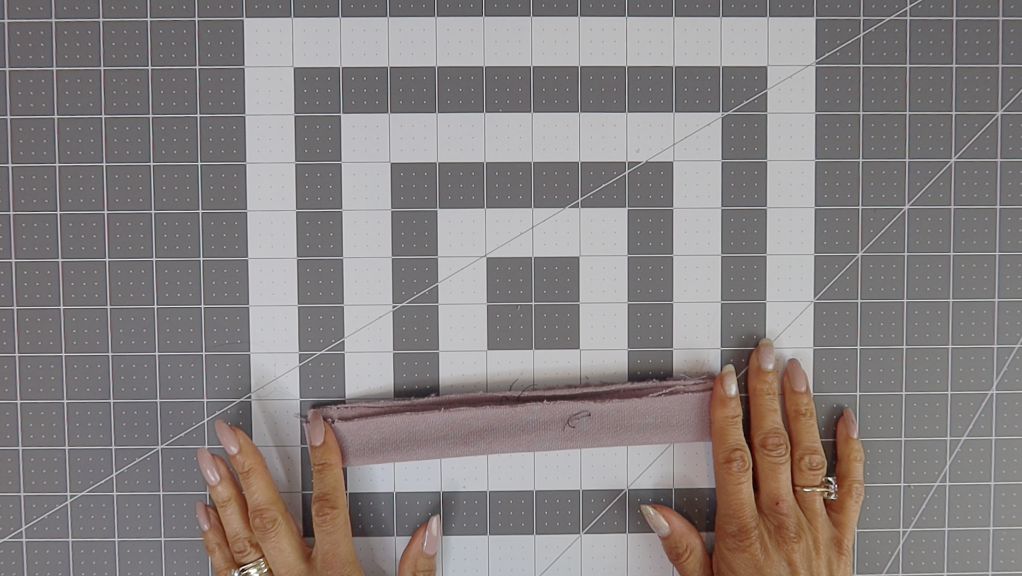
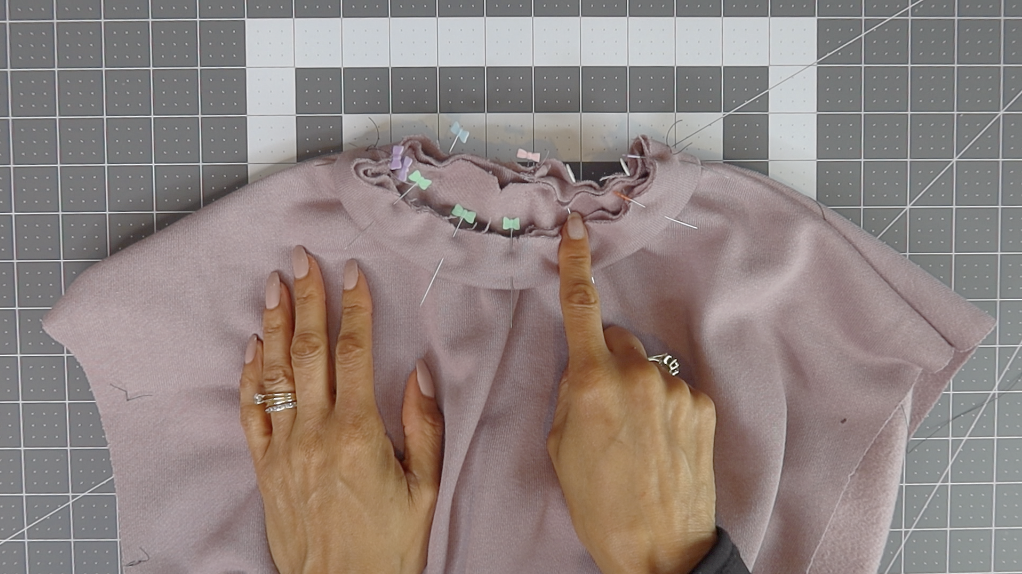
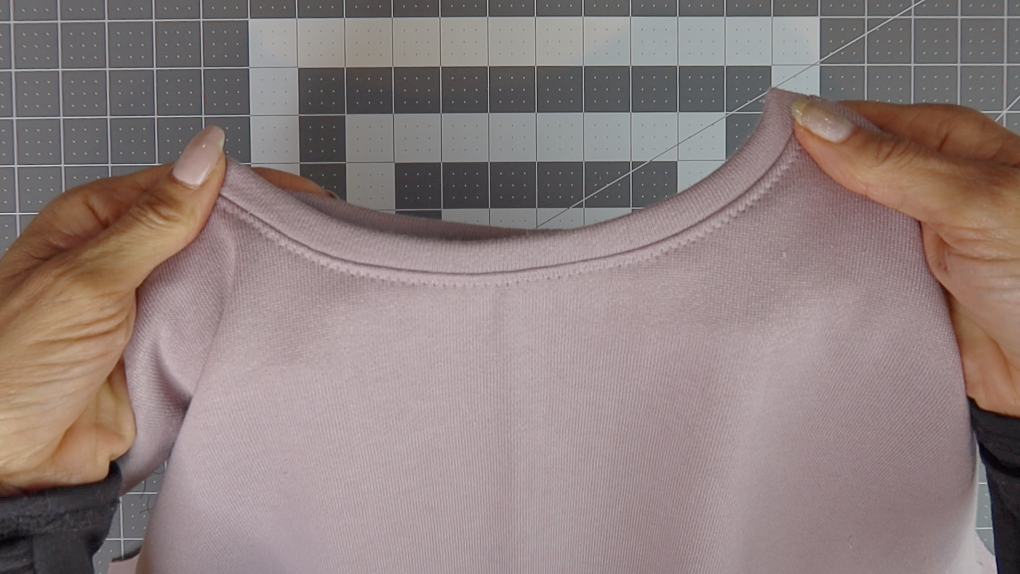
Tip: Top-stitch the neckband with a zig-zag stitch. Try setting your stitch length to 3.0 and width to 2.0
Step 5
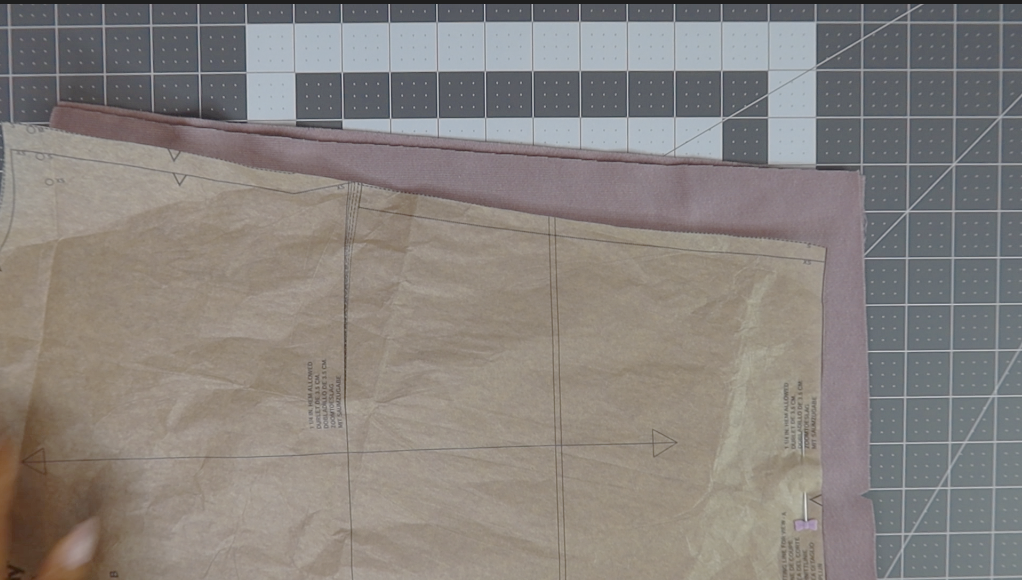
Here I made an alternation. I increased the sleeve length and width. I added an additional inch in length and widened at each side about 1 1/2″.
Step 6
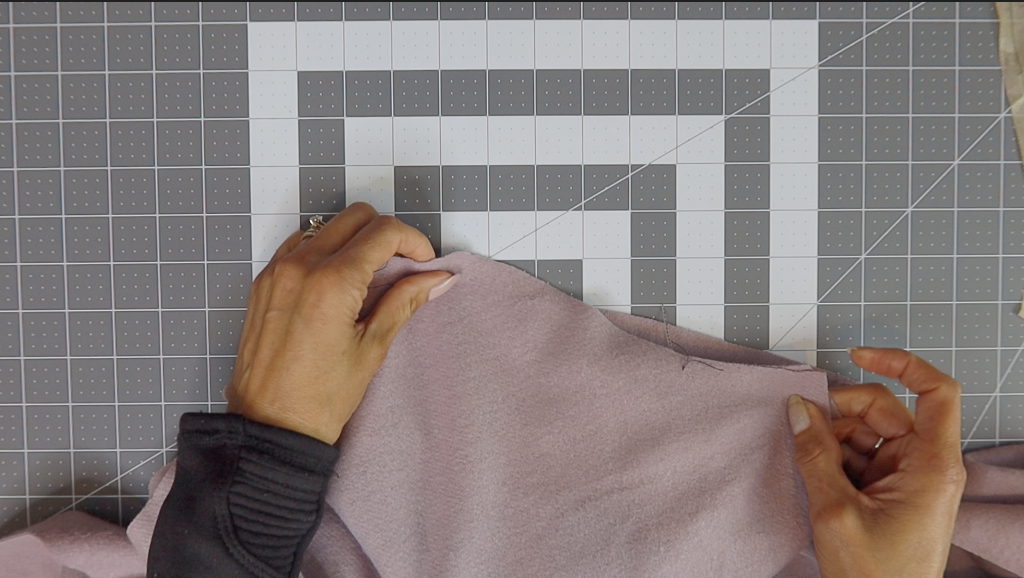
Next the sleeves. Pin the open sleeve to the front and back armhole edge. Match the marking as directed. Stitch together. Then stitch the underarm seam of the sleeve and the side seam in one continuous stitch.
Step 7
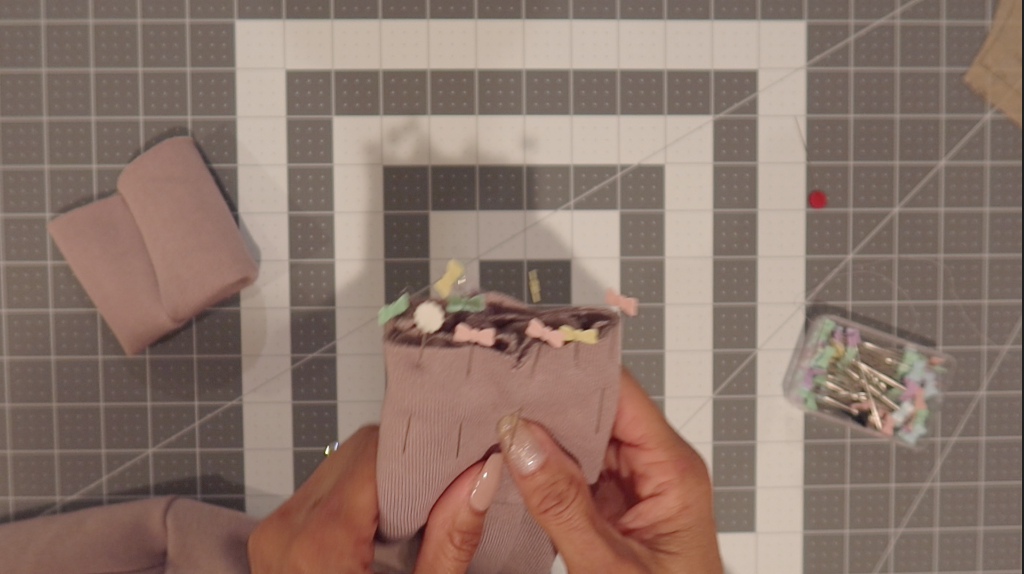
The sleeve cuff is next. Sew each band then fold in half. Baste stitch the lower edge of the sleeve, the pull the baste stitch to gather. The sleeve opening and the cuff opening should match.
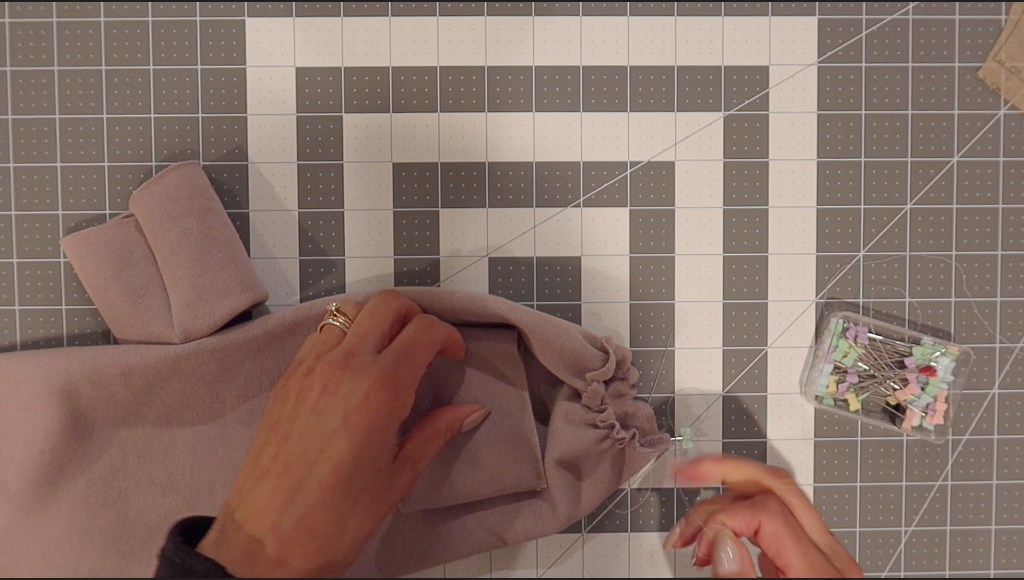
Pin the band to the sleeve edge, then stitch together.
Step 8
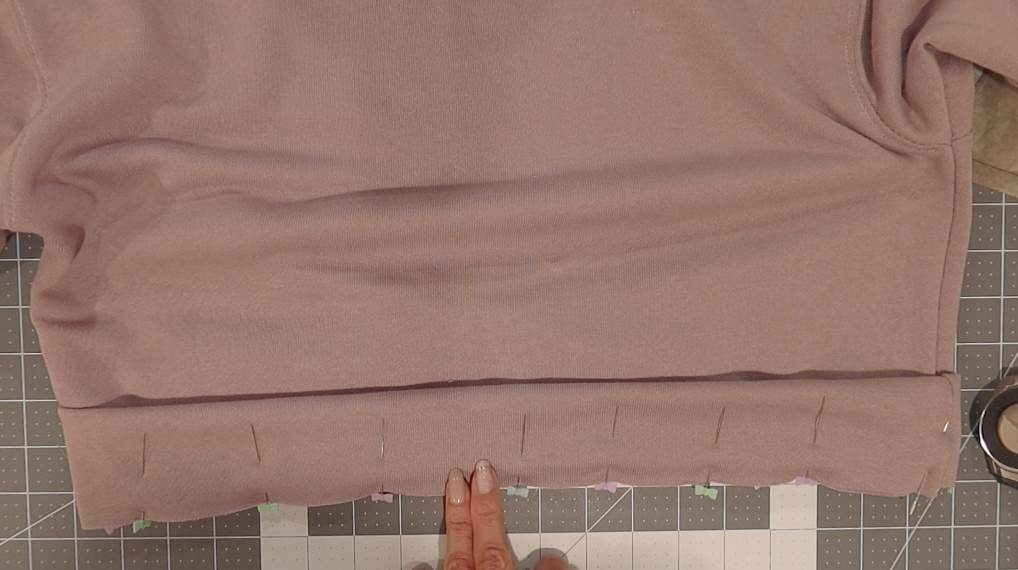
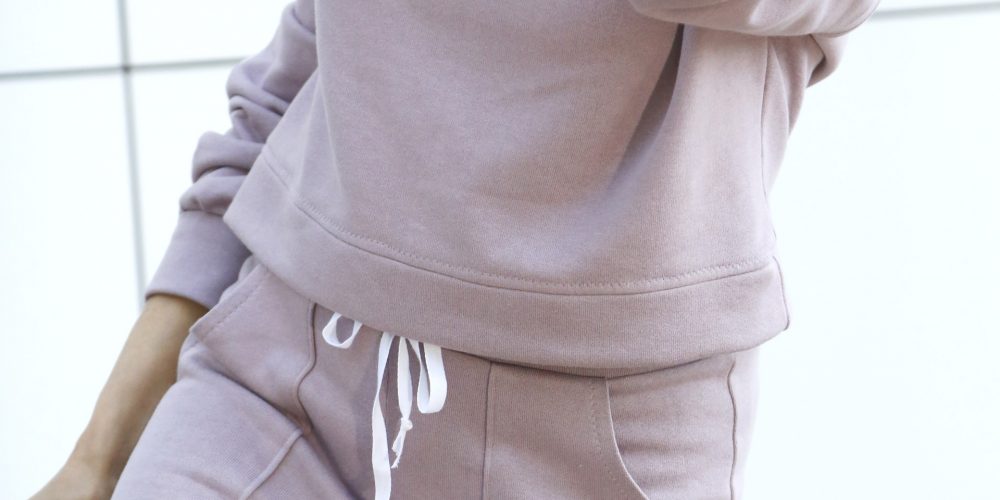
Coming down the home stretch. Try on the sweatshirt now. Determine your desired hem length. I wanted mine cropped so I removed a few inches from the bottom. You can use either the lower band piece or that extra piece of fabric removed from the bottom as your bottom band. Pin either option to the bottom. Stitch in place and you’re done!
The Finished Look!
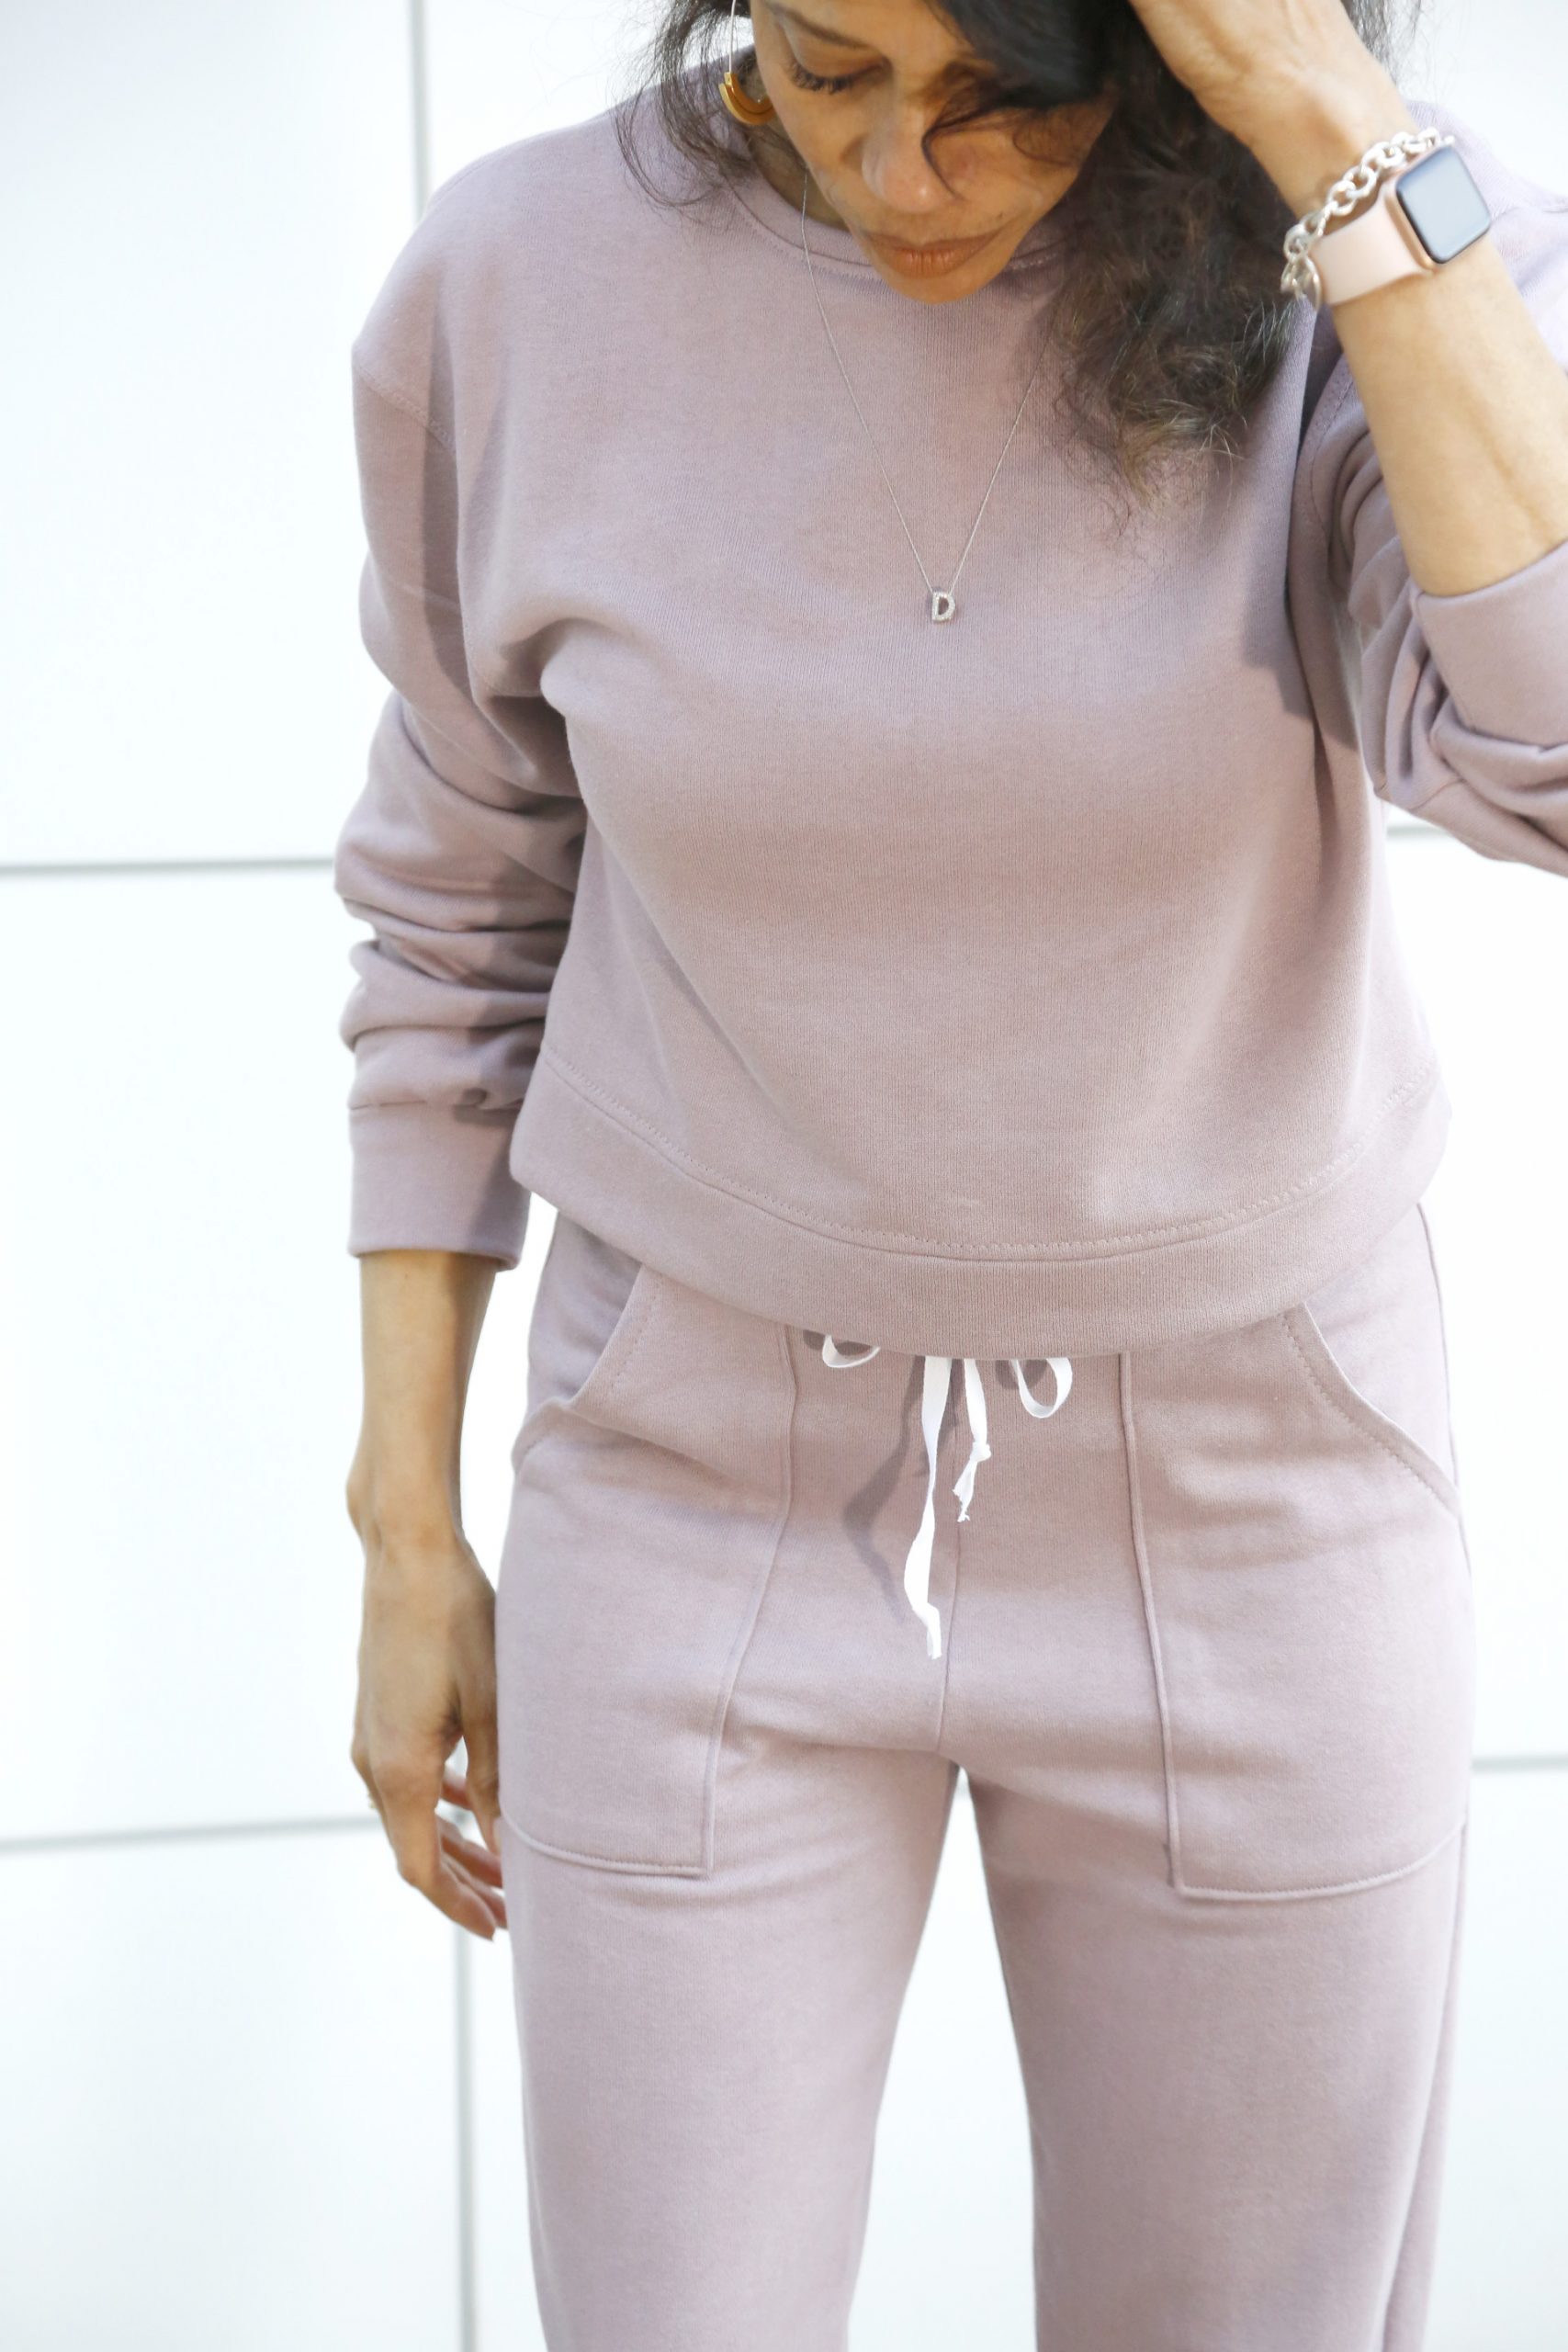
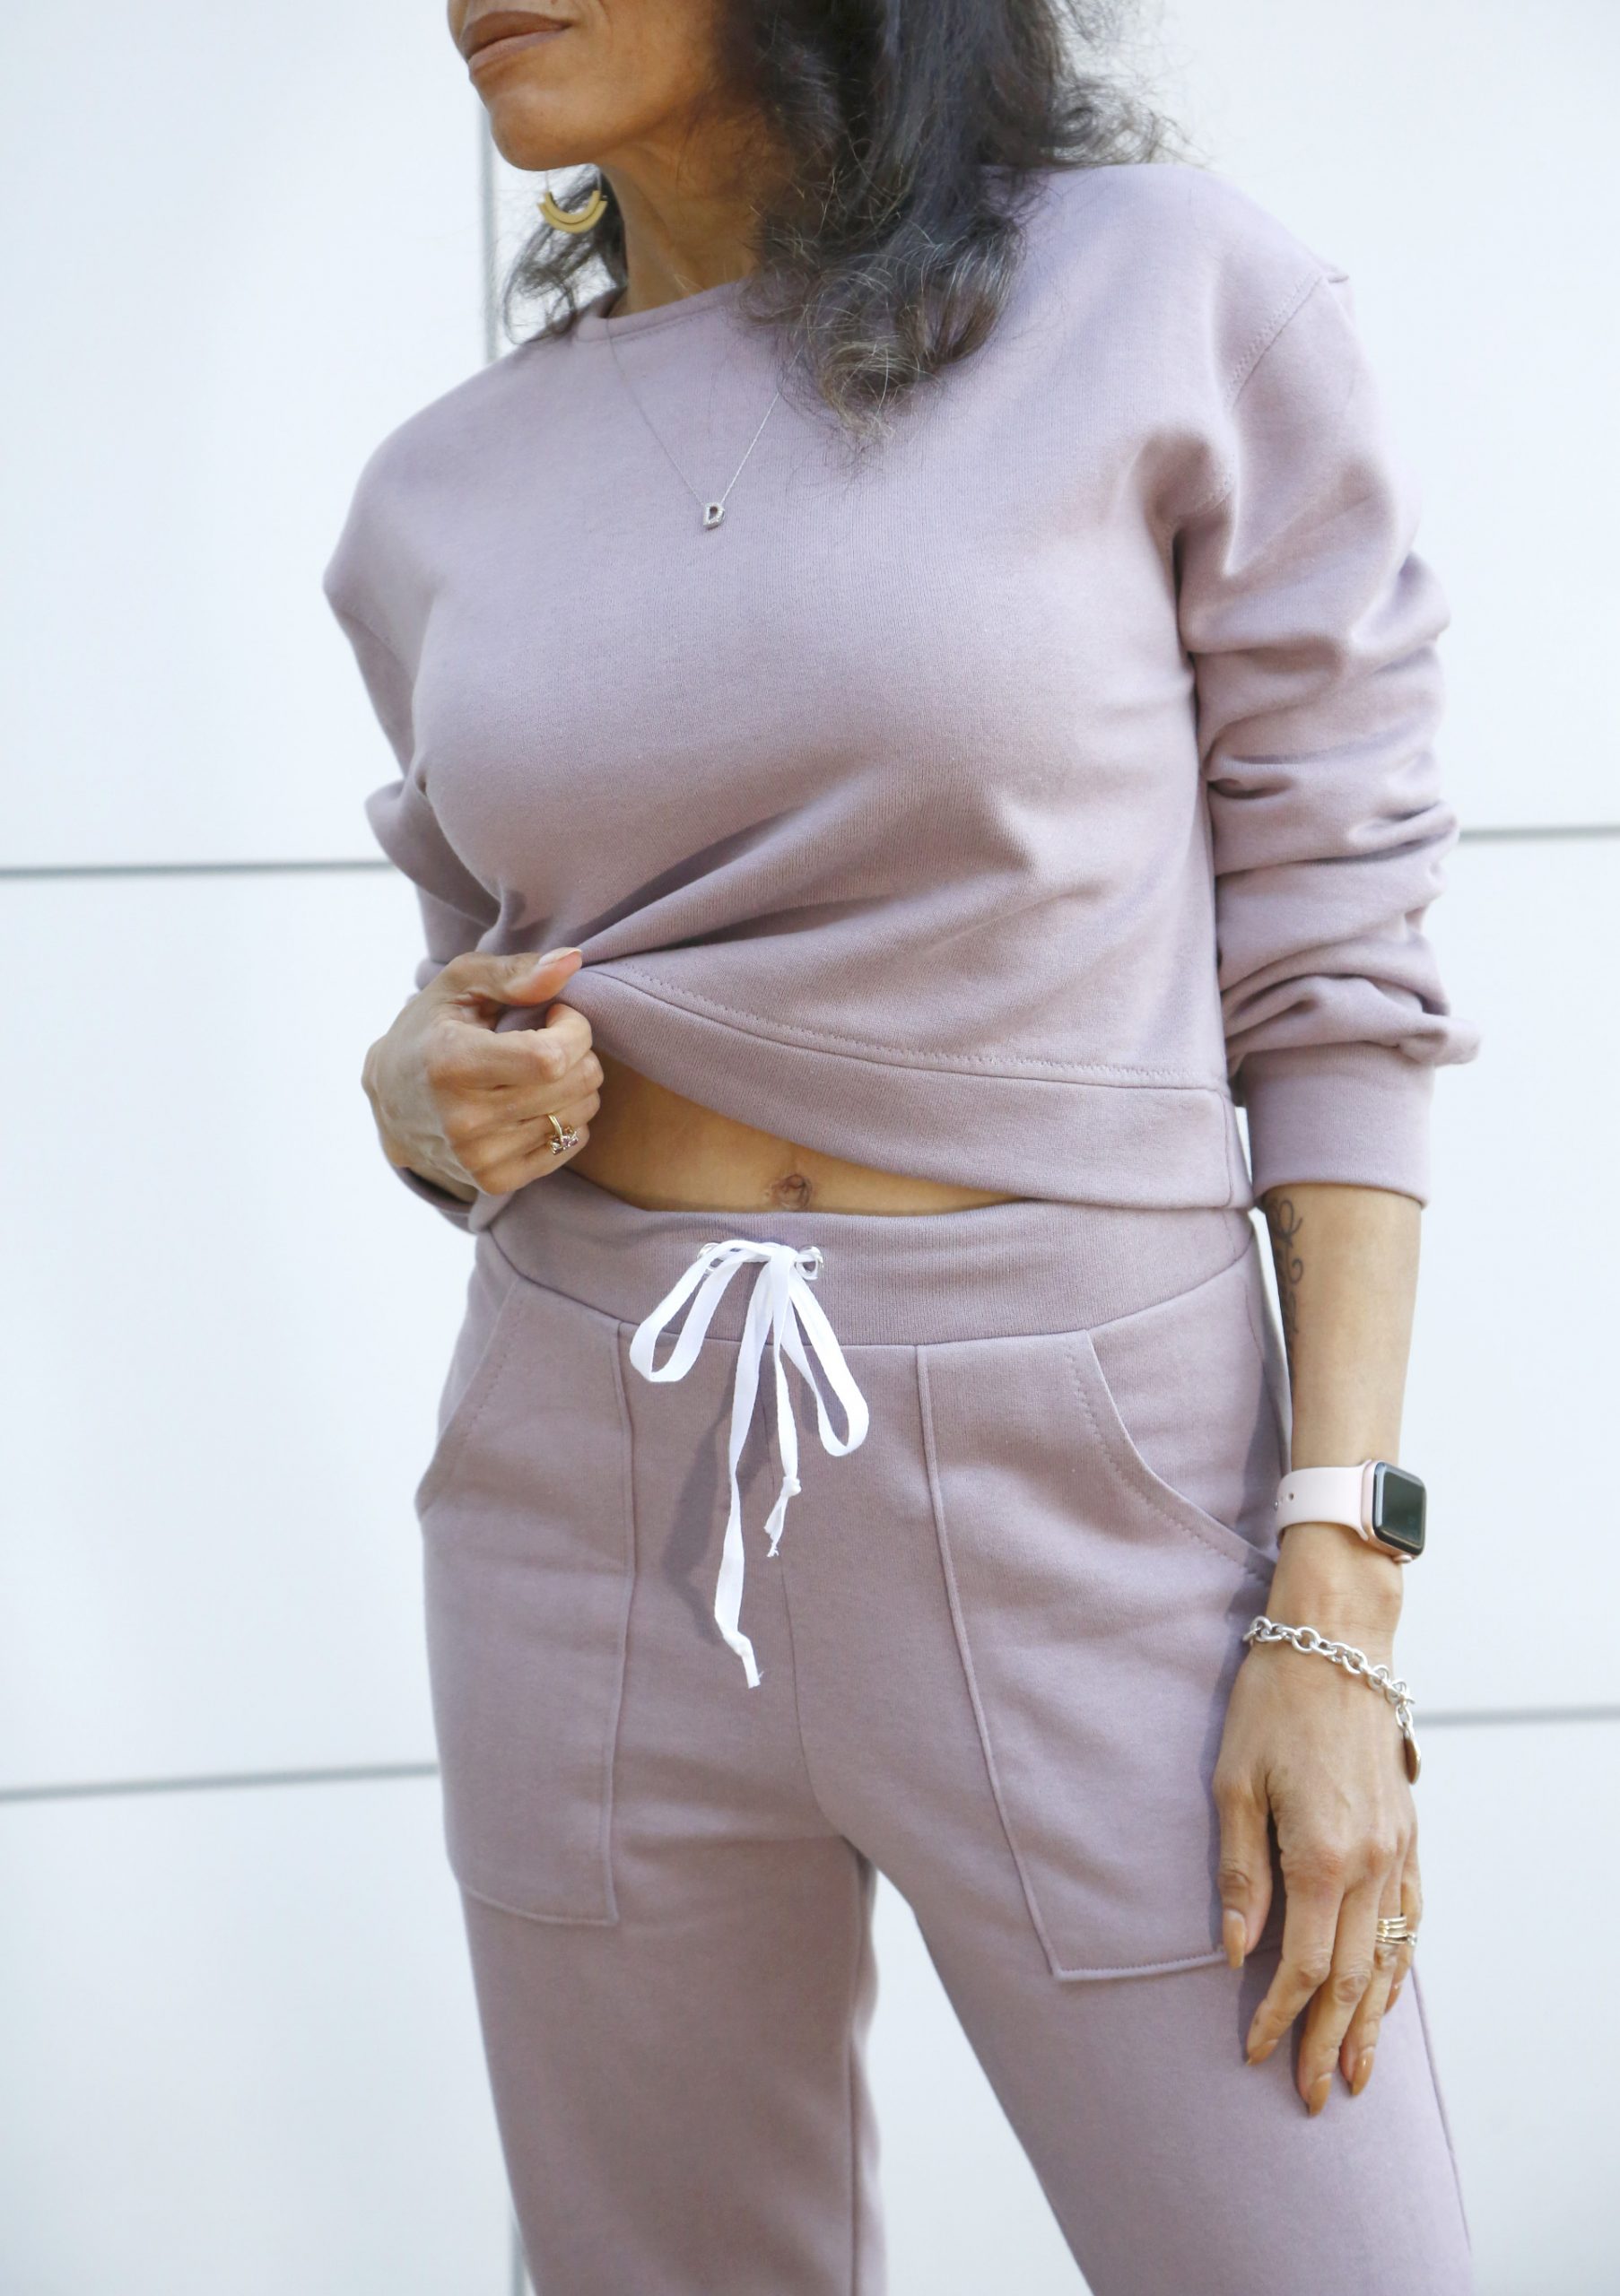
Tip: For a more finished look, top-stitch the shoulder and armhole seams.
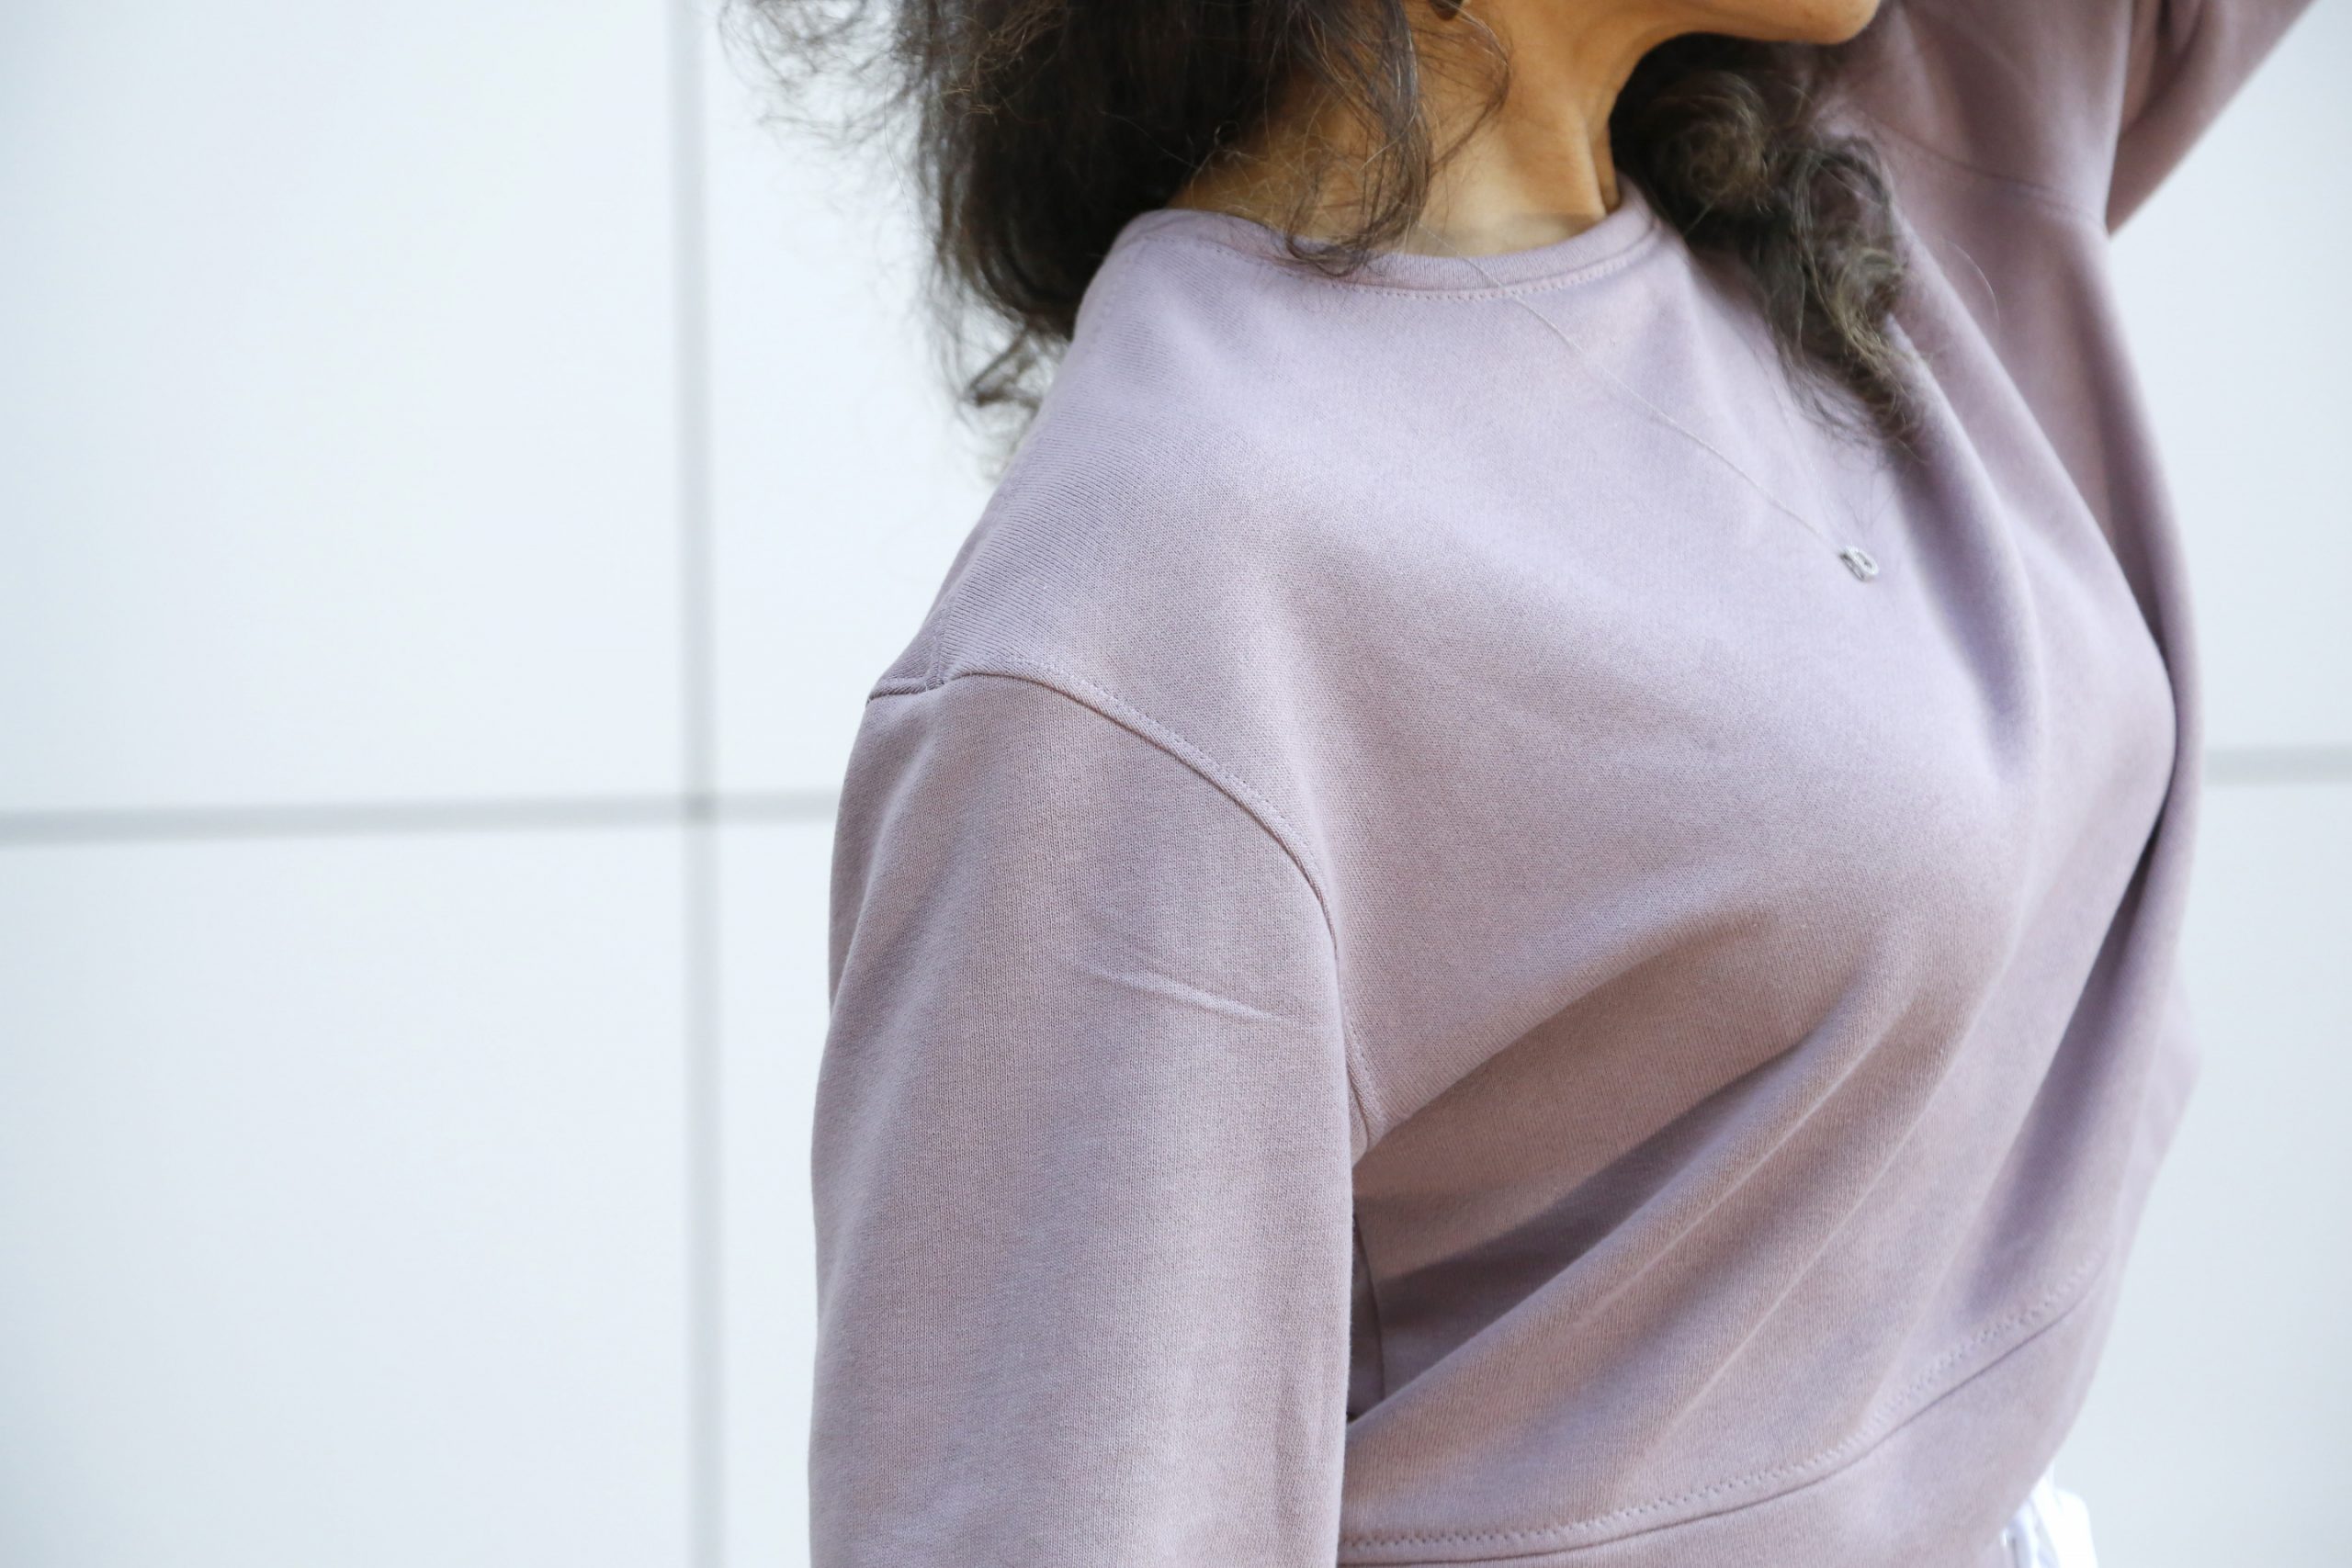
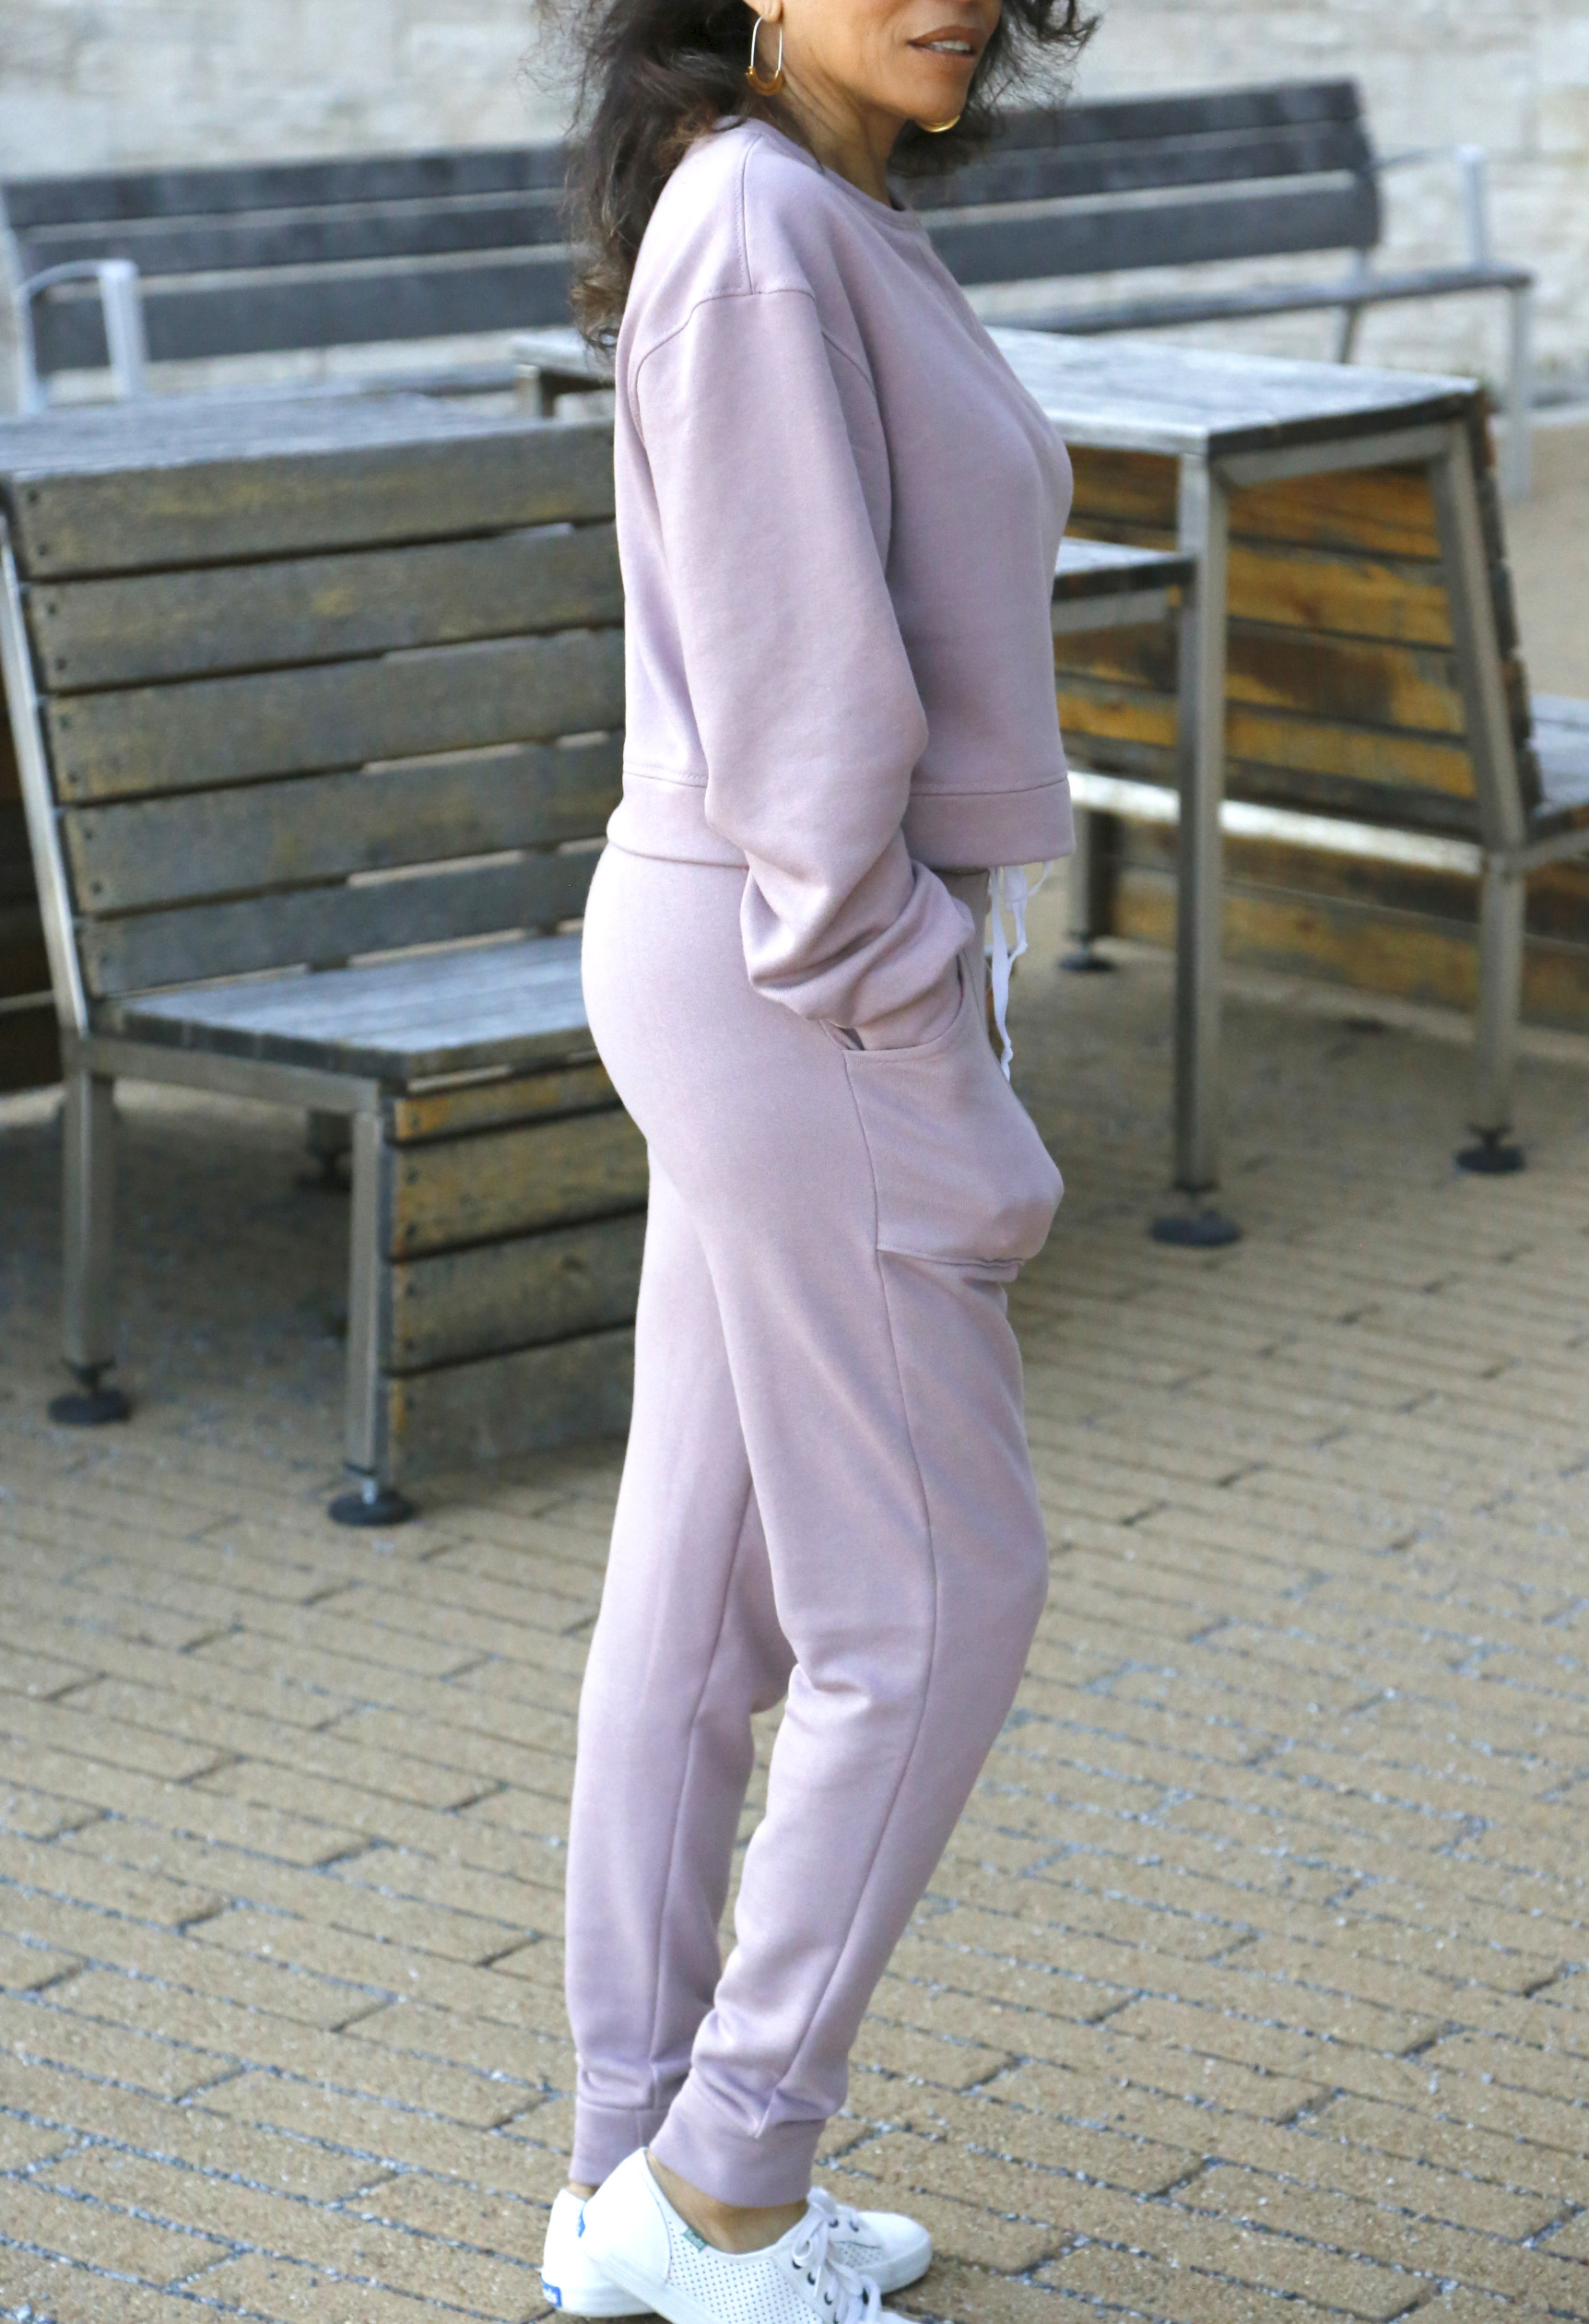
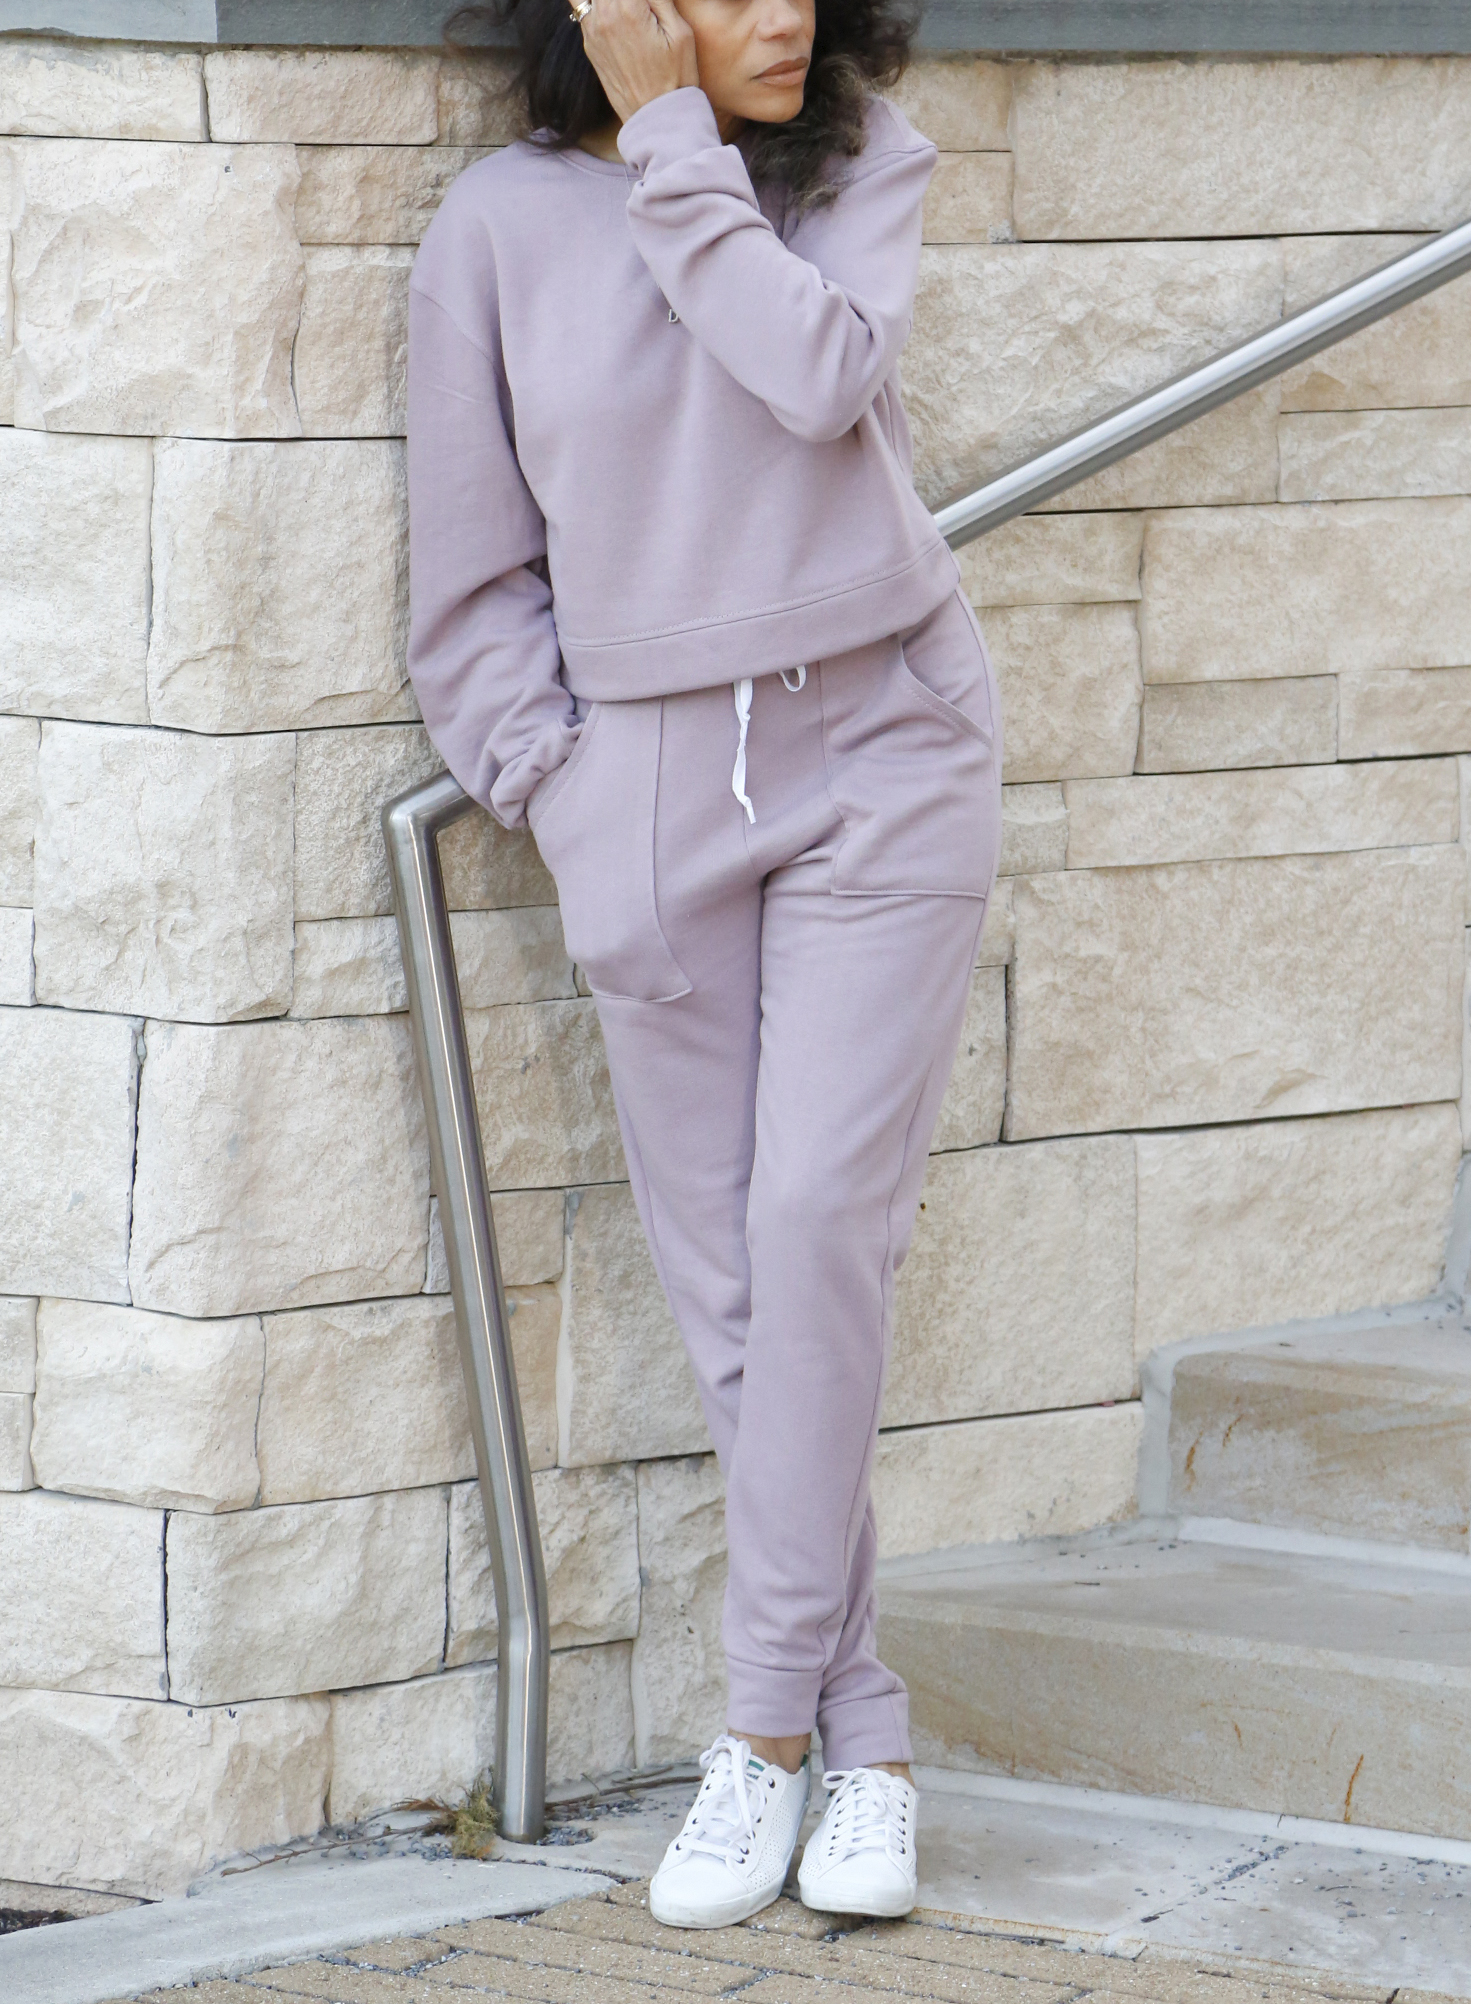
I absolutely love how this turned out! The fabric quality is excellent and easy to sew with. A huge thanks to Fabric.com for sponsoring this post!
On to the next look!



Leave a Reply