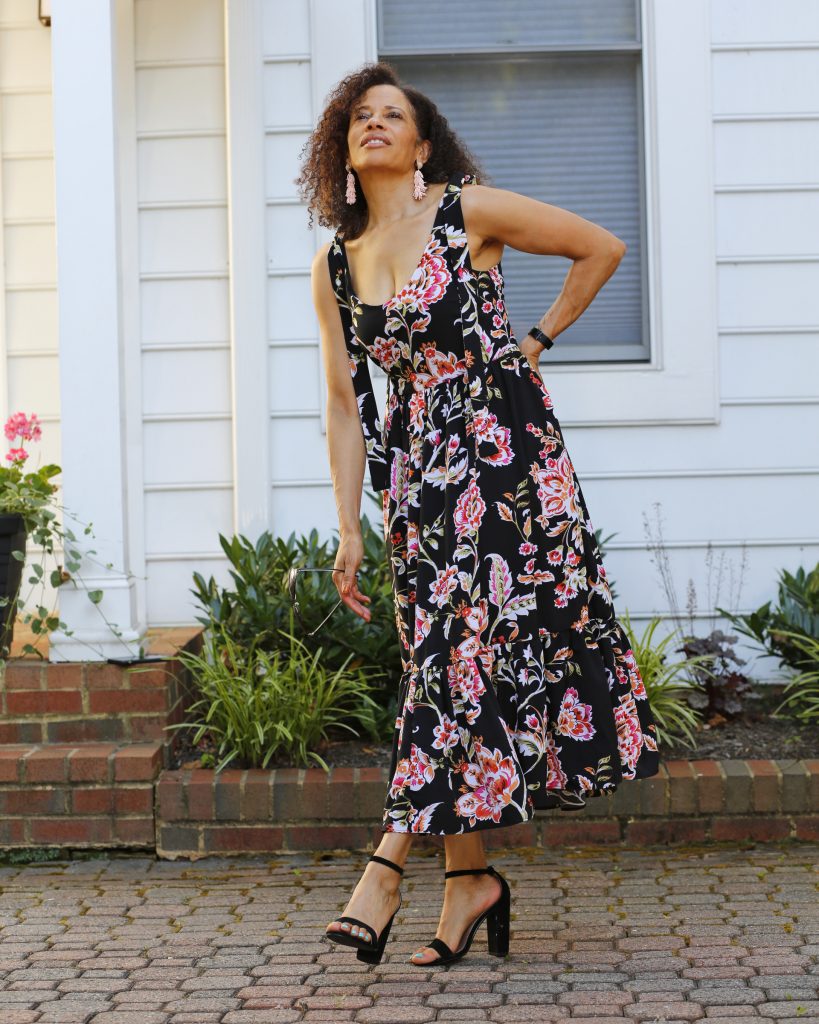
Hey there fam! Welcome to my ongoing addiction to pink and green…well, by way of my beloved black. lol! So I’m still going strong with my spring/summer collection and here’s the latest addition.
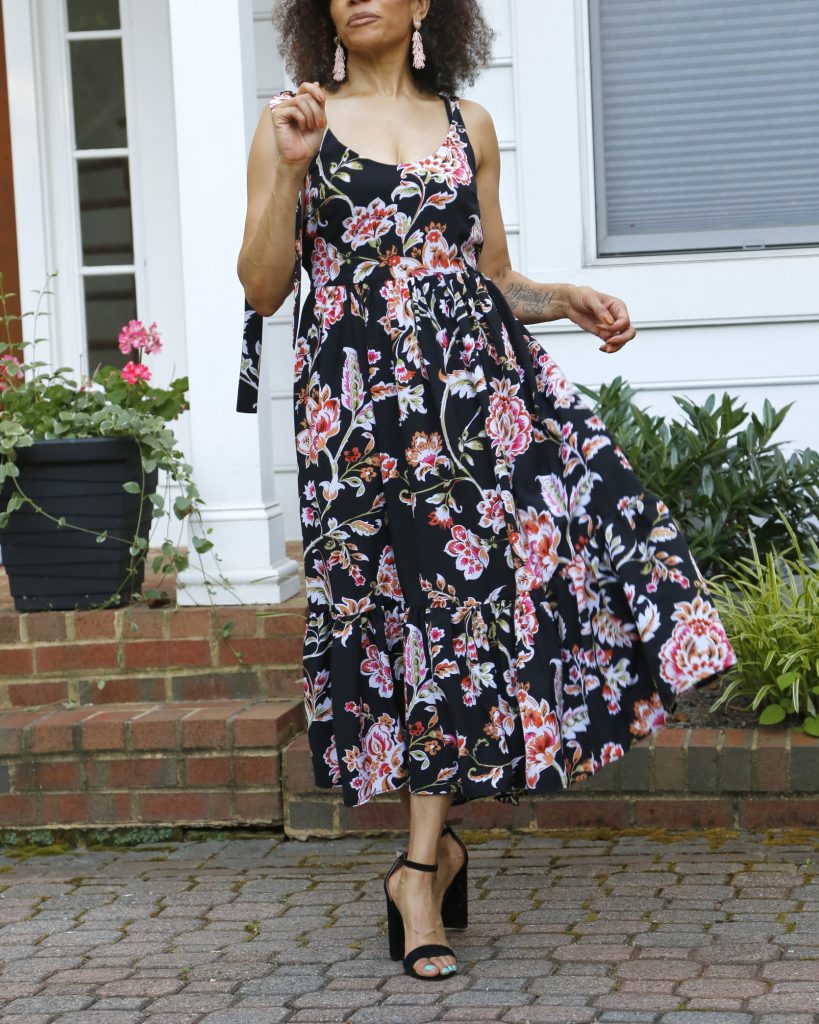
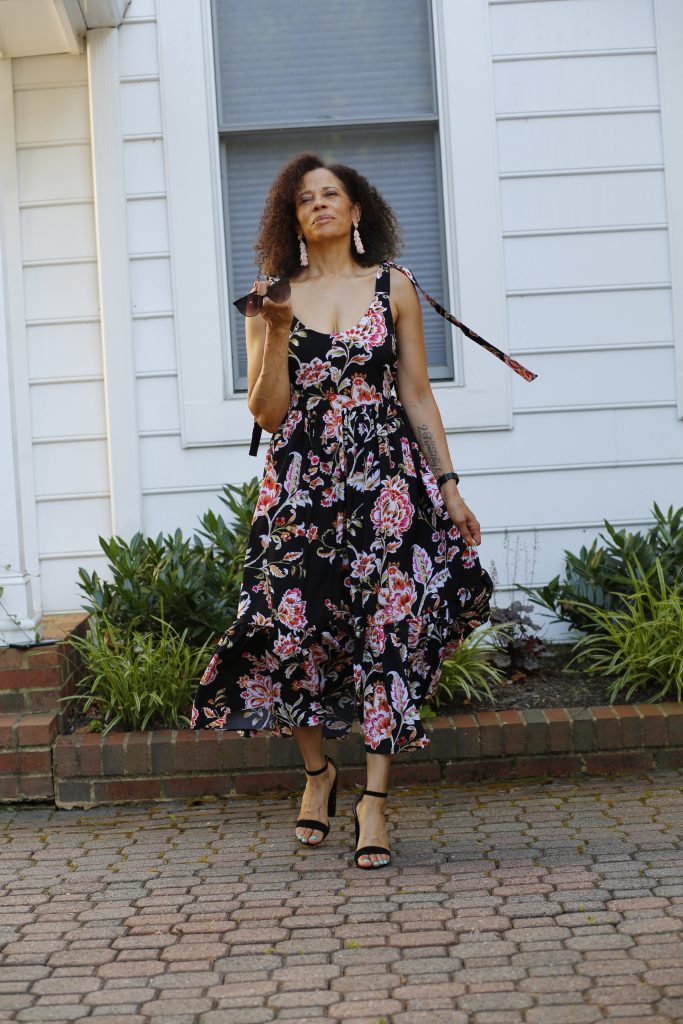
Out of all the trends this summer, I’m really into the tiered dress. It’s a timeless style that can be reinvented a ton of ways and I have so, so many inspiration looks I want to sew. This pattern was another chance to create my own vision of the trend.
Wissew, a French pattern collective, reached out to me with an opportunity to sew from their catalog of patterns. They are a company that’s new to me, but operate under a familiar concept; a marketplace for indie pattern designers. From their website…”Wissew is a marketplace for sewing patterns. On the one hand, we help fashion designers and sewing enthusiasts to live from their passion..”
The pattern offered to me is this gorgeous Camelia Dress by pattern designer, Florence Fernandez. Elegant, simple, sexy and exceptionally easy to sew.
Of course, before sewing I did my normal research and scoped out all of the various versions to get a sense of the fit and construction. I could tell right away I wanted to use, surprise, surprise…something with drape.
My first decision was NOT to but any fabric, but use what was in my stash and this is a stash BUSTER! I used this rayon from Joann Fabrics I purchased last year. On their site it’s listed as a chiffon, but it just seems like a regular-degular rayon/crepe. The only other item needed is a few inches of elastic.
As for the pattern, you can save yourself print time and pattern assembly. The pieces you’ll definitively will need are the bodice front and back tie, the others you can simply cut the rectangles as described in the print instructions.
So how did I do my own thing…let’s dive in shall we. 🙂
ALTERATIONS
- I re-drafted the front bodice neckline slightly. I dropped it by an inch and rounded it rather than the existing V-neck.
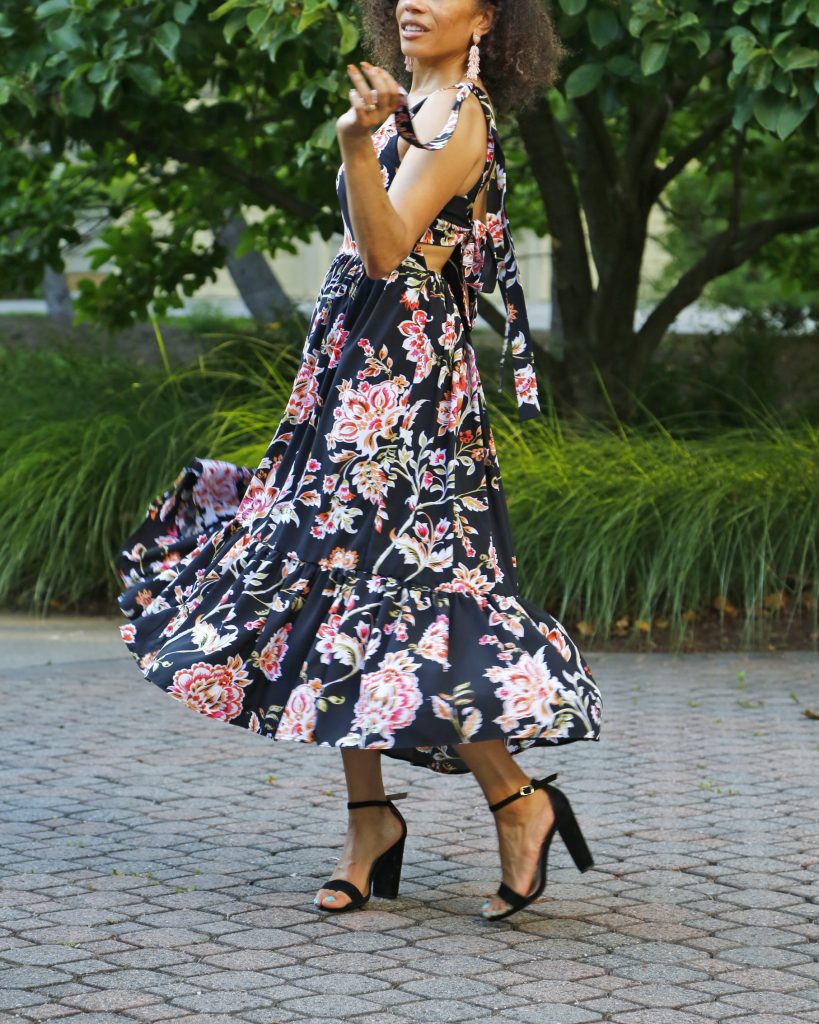
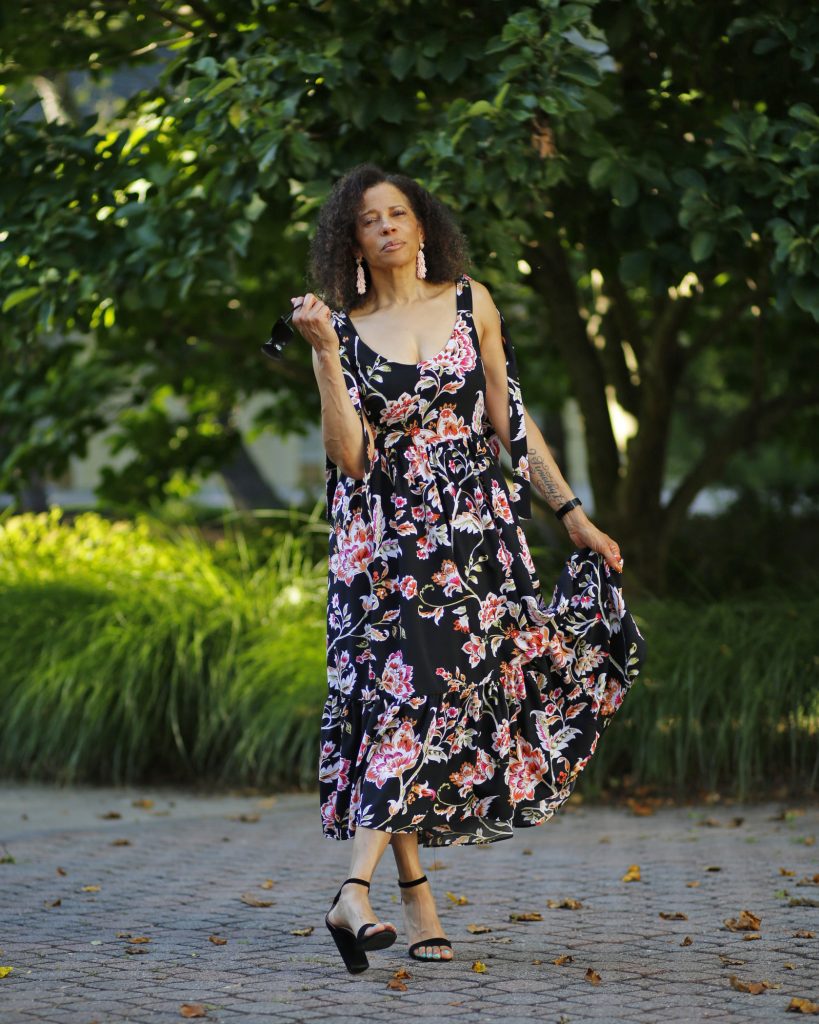
- Instead of the two straps that attached from the front to the back, 4 long straps were sewn that now tie at the shoulder. I’m loving the look of long hanging straps that I’m seeing and just felt like being extra.
- The back tie was narrowed and the peak was decreased for a more subtle look. This was done to expose more of my back and de-emphasize the bow.
- Instead of the suggested elastic size and length, a thinner elastic and longer piece was used to create a more dramatic and sexier drop.
- A second tier was added to the skirt because I wanted this to be a midi-length dress.
- The waist band was omitted.
CONSTRUCTION
I didn’t follow the pattern instructions as translated. Here’s the path I followed…
- The neckline and armhole where intererfaced with light weight knit interfacing and the neckline was under-stitched once sewn.
- The four straps were simply sewn and turned, no top-stitching
- I sewed the bodice front and lining together at the armhole and neckline first, leaving the opening at the strap intersection point. I then inserted the strap and this seam was sewn. This allowed me to turn the strap to the outside without catching it in the armhole or neckline seams and make for a smooth transition between the bodice and strap.
- The back tie was constructed inserting the second set of ties as marked. The folds were pressed down and basted in place.
- The constructed back tie was basted in place at the top of the bodice front between the fabric and lining. This side seam was stitched until 1 1/2″ before the bottom. This 1 1/2′” is where you will attach the skirt front only.
- I created a narrow casing for the elastic along the skirt back only and stitched in place. I inserted the elastic and stitched it in place along the side seams to anchor it. The skirt back was attached to the skirt front leaving the 1 1/2″ overhand that allowed me to attach that to the bodice front only. I then folded under the bodice front lining and attached that over the skirt/bodice front seam to finish the inside.
- From there, I added the second tier to the skirt bottom. I simply doubled the skirt width to determine my second tier width which as narrow hemmed.
- To gather the pieces, I used the zig-zag stitch over cording method which made the process super efficient.
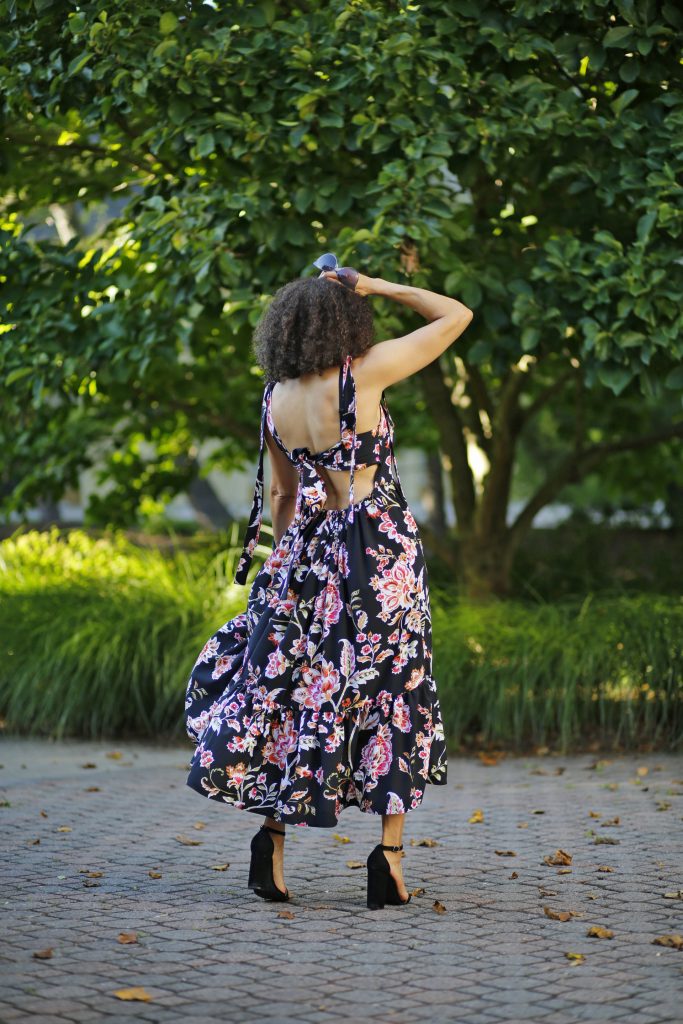
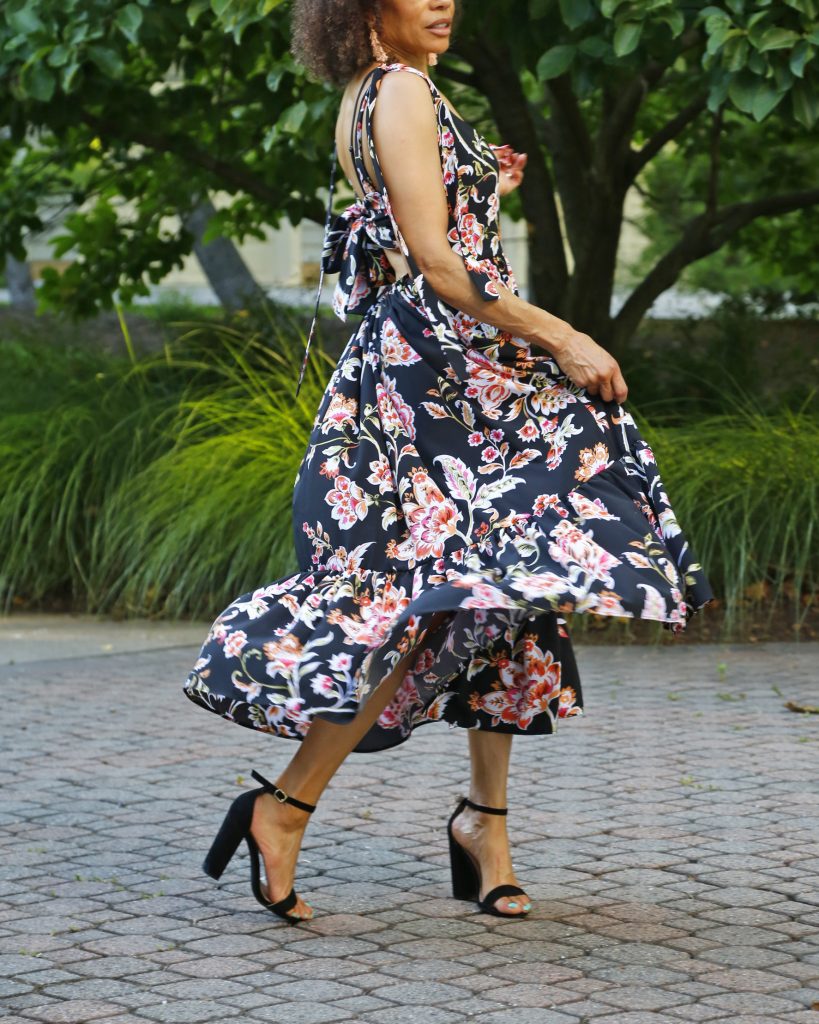
This is a twirl inducing dress. You literally can’t help yourself.
STYLING
Earrings: Pink drop beaded earrings, Stella and Dot
The spring/summer Pink and Green with a dash of neutrals collection going strong!
Sending you DIY LOVE!

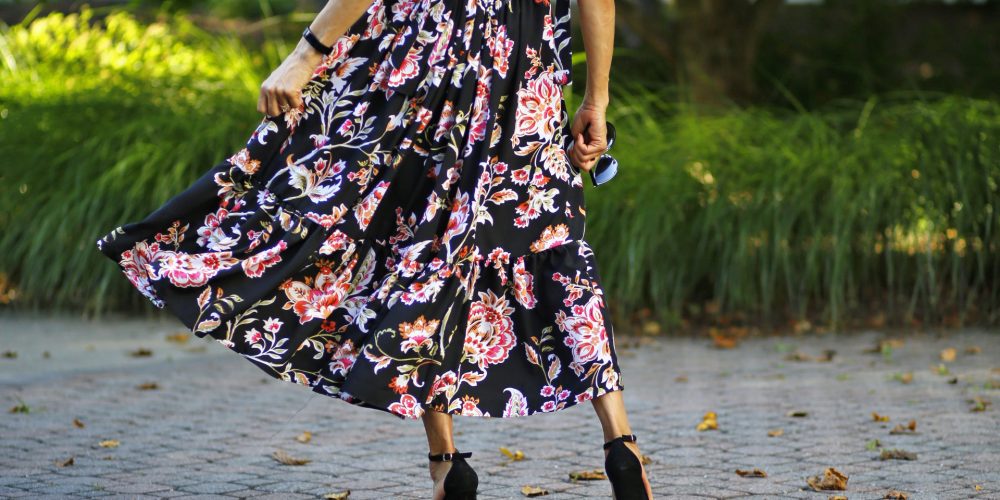
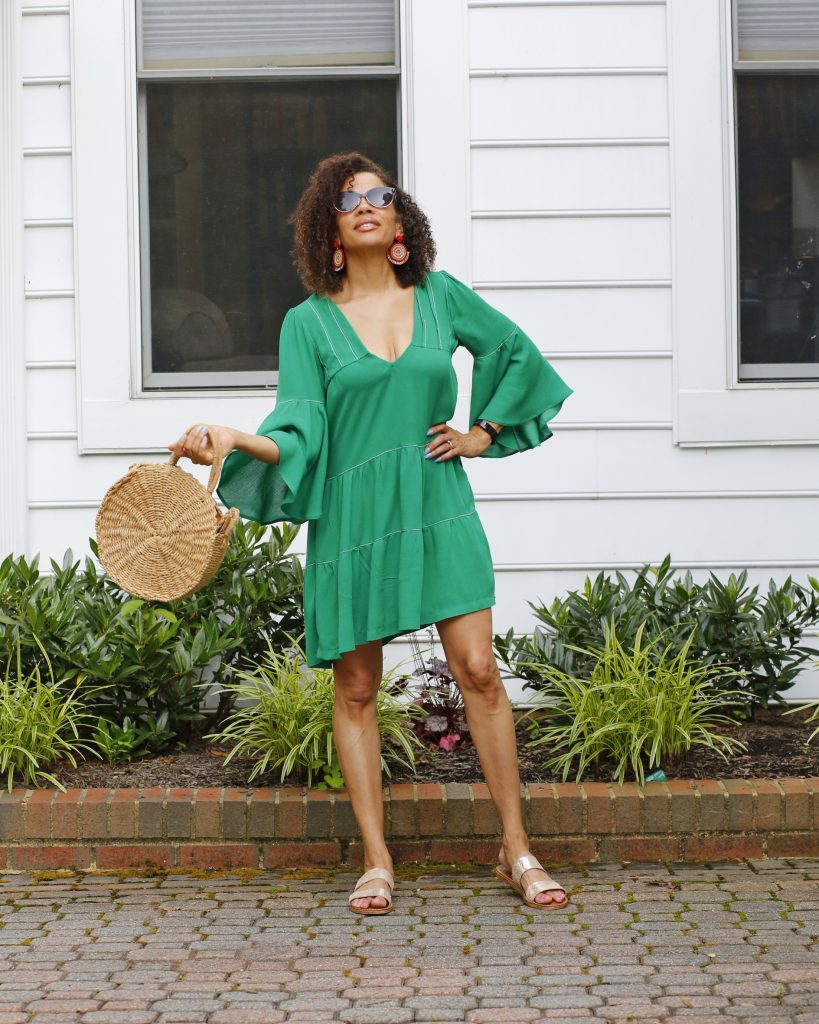


Love this Dei! It is a perfect marriage of fabric and pattern!
Thanks Carolyn! I’m so proud of myself for going to my stash for this.