Hey Loves.
I could be in jeans all day, but I need more tops to support that habit. Lol. So to create this DIY denim and linen look, the Solitude Blouse sewing pattern is a great start.
Happy to be a part of this new collab project with MariaDenmark Sewing Patterns. I’ve followed Maria for a while and have one of her free tee-shirt patterns from years ago, so I knew to anticipate something well drafted. Along with patterns, there is also an online sewing magazine.
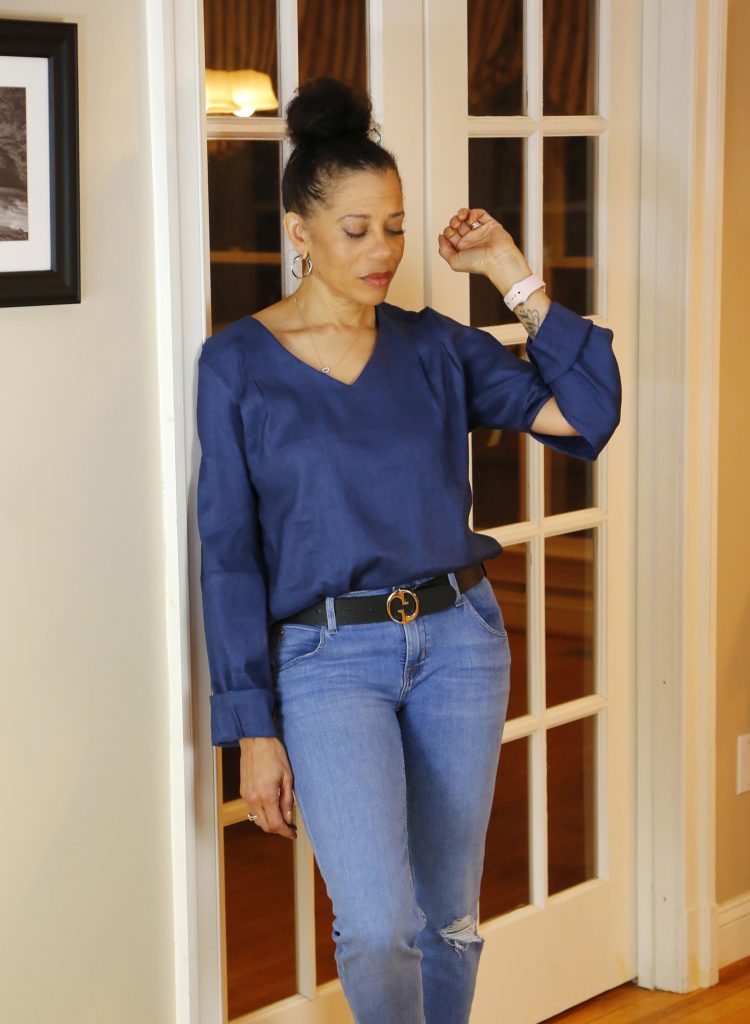
My pattern of choice was the “Solitude Blouse” which you can access the pattern here. There are various neckline styles and sleeve options and I used one of the hacks as inspiration and went from there.
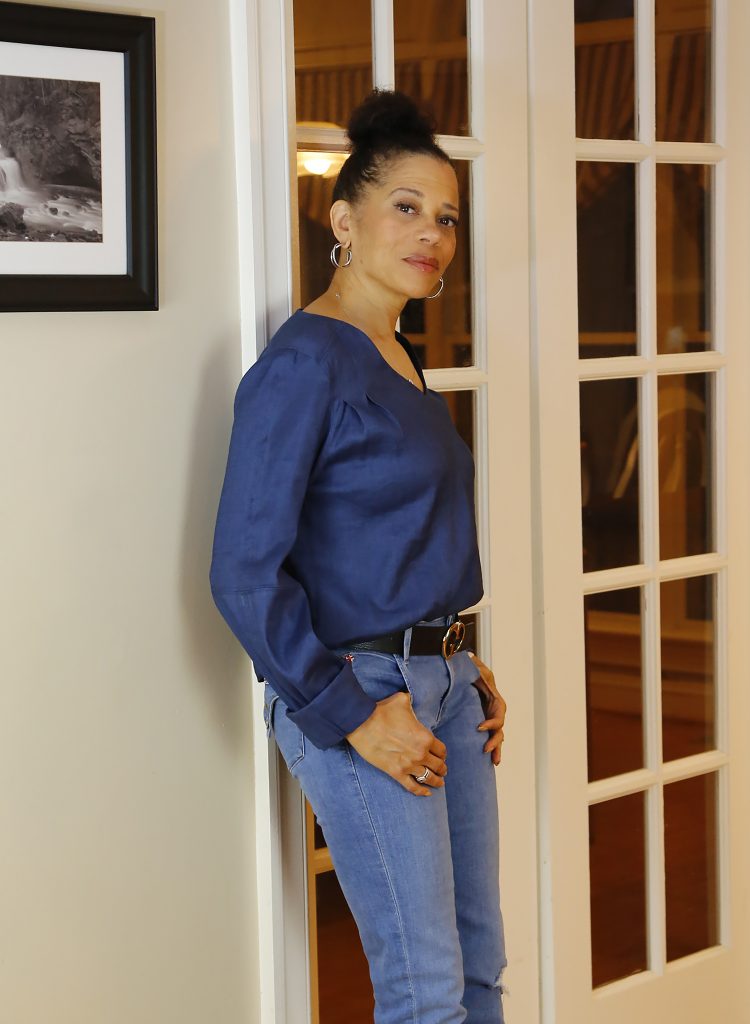
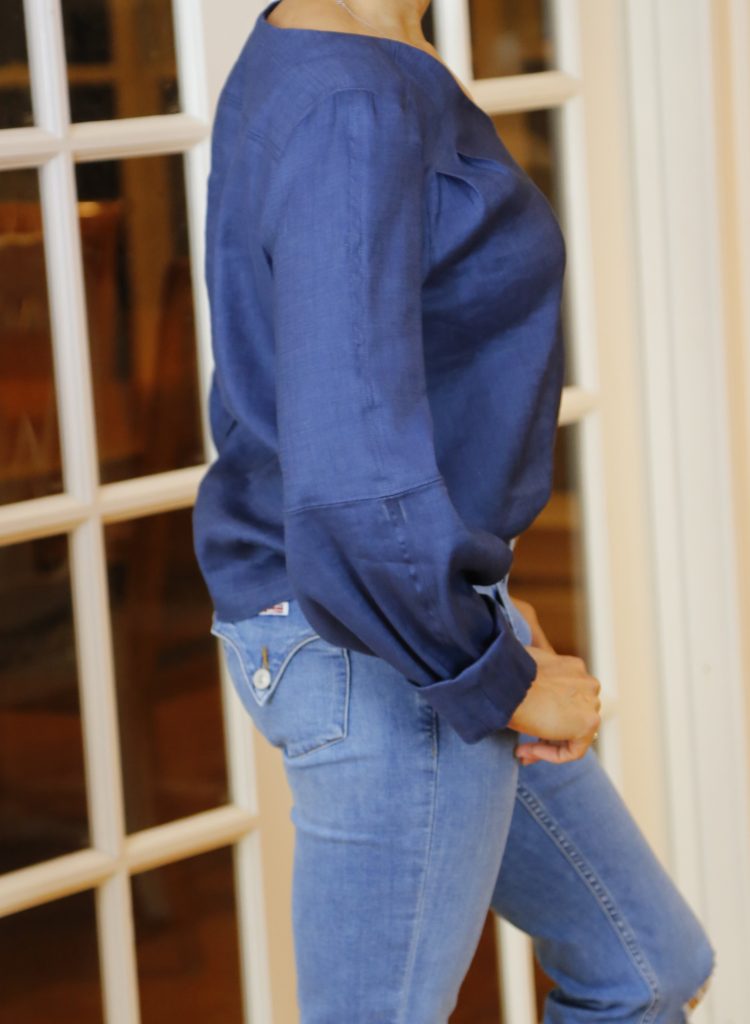
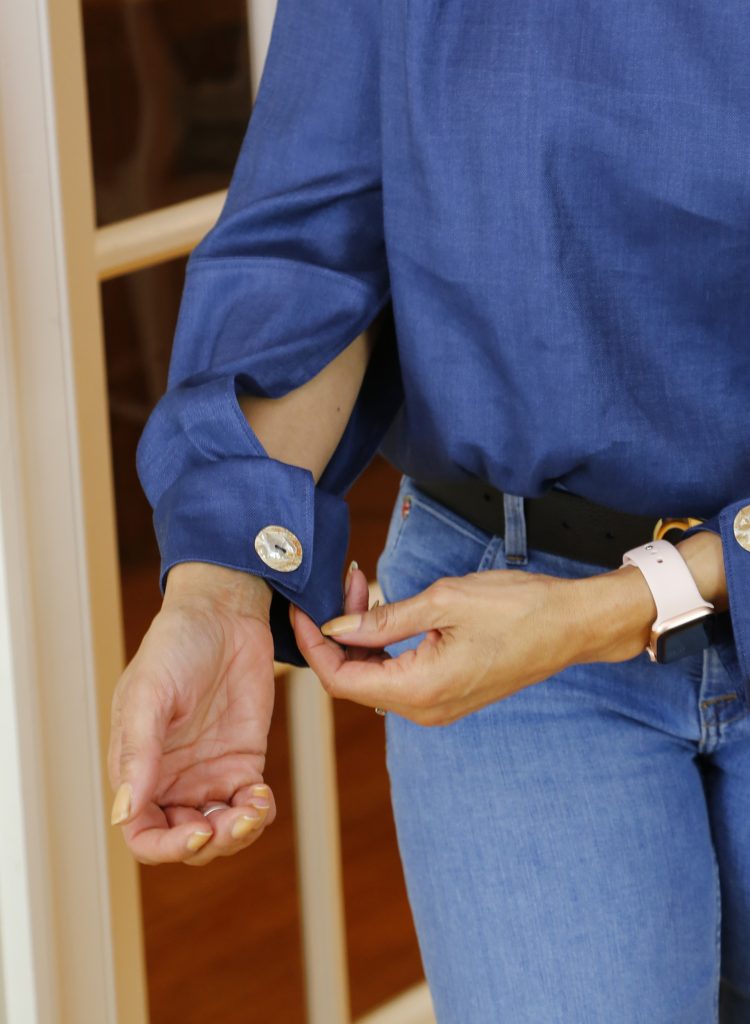
I chose to create a “reverse open cuff”…my own invention. 🙂 Big smile here because I was literally creating off the “cuff” so to speak. You can see the detail below.
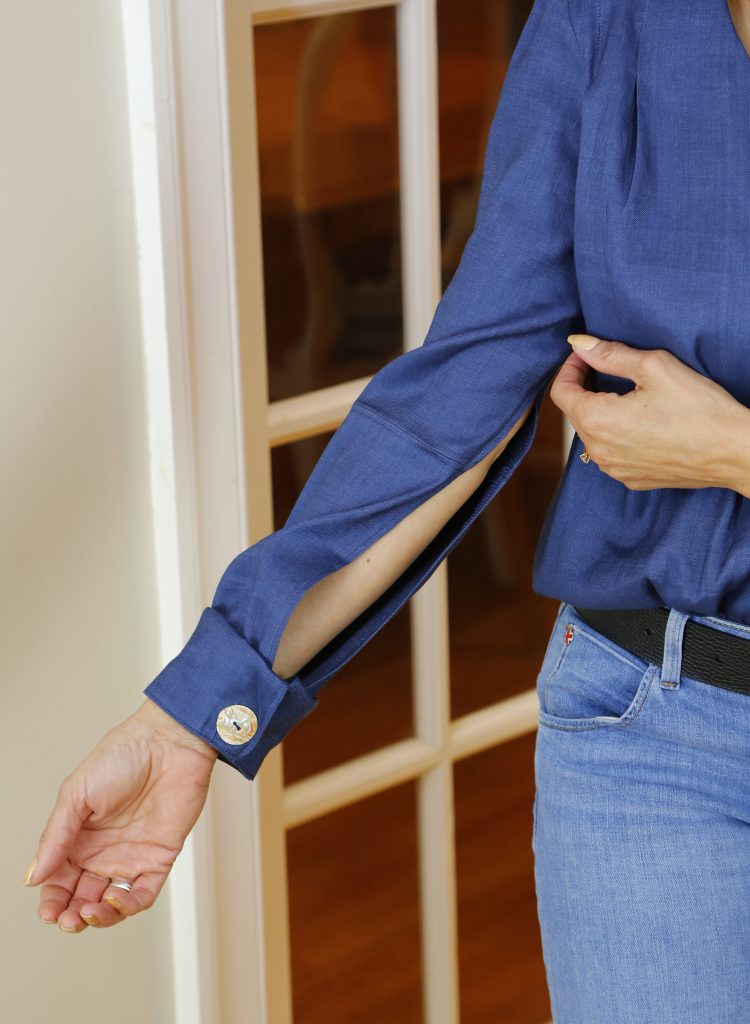
It is an open sleeve from just above the elbow along the under sleeve seam. The cuff is non-functioning as there is no button hole and the two ends are attached by the button leaving an opening wide enough to comfortably slip my hand through.
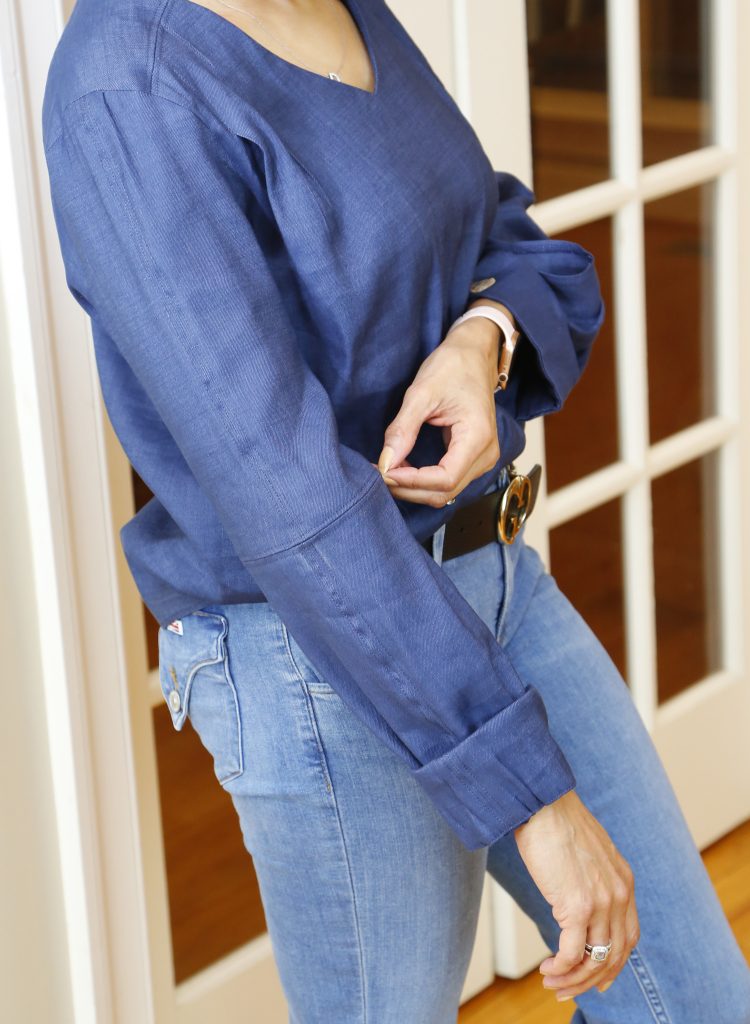
I wanted to highlight the sleeve seaming so I top-stitched the seam along both vertical and horizontal seams. The bottom of the sleeve has volume so I attached an elastic at the cuff bottom which is hidden.
Instructions
- Please note, ALL pattern pieces were edge finished with my serger.
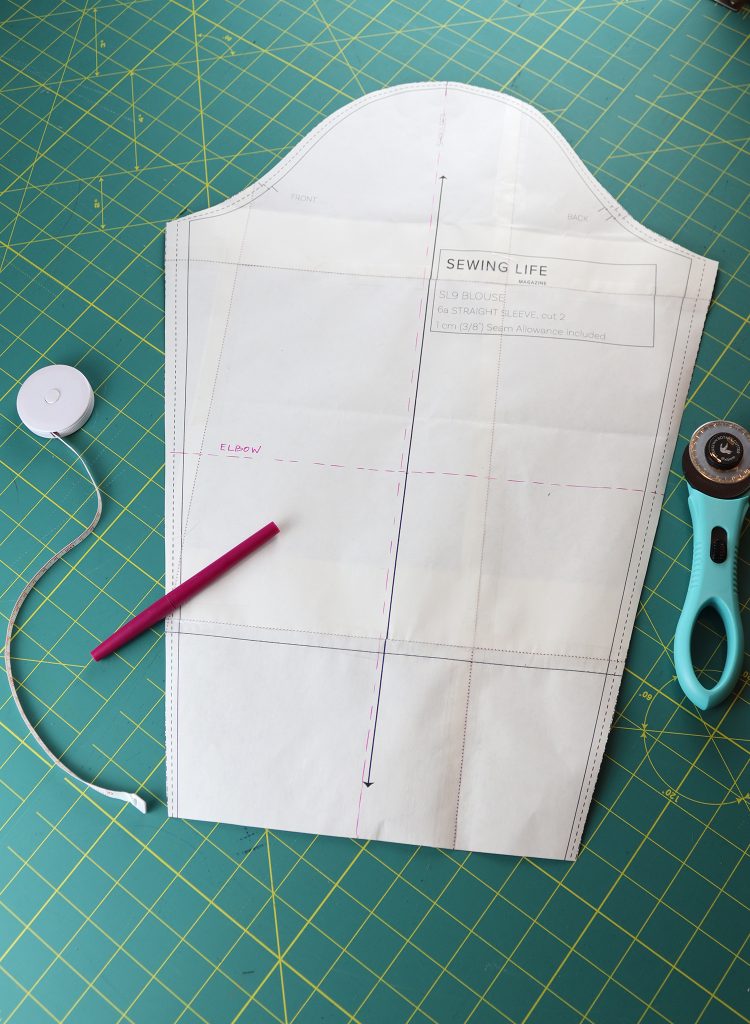
- I measured from my shoulder cap to my elbow and transferred that measurement to the pattern piece.
- I drew a line horizontally through the measurement and a vertical line from the center top of the sleeve to the bottom and then cut through both lines.
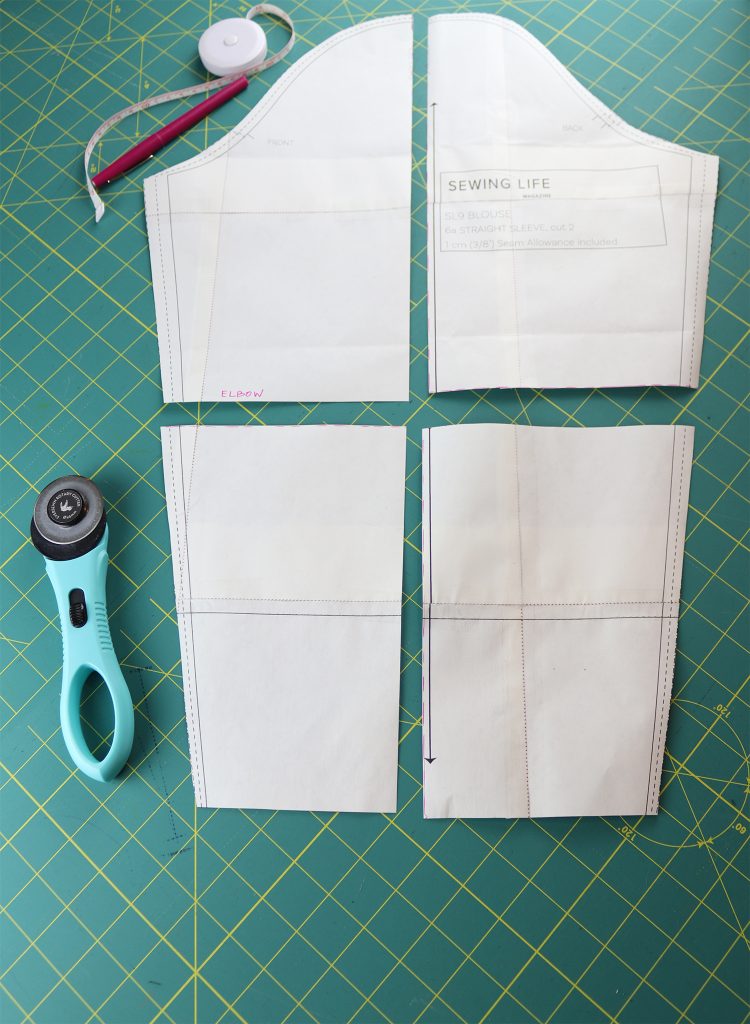
- Using the lower half pattern pieces, I added a few inches to the bottom hem and widened it at the bottom as well to create fullness.
- I sewed the top halves together at that center seam and top stitched and did the same for the bottom half.
- I then attached the two pieces together at the horizontal seam and topstitched.
- I sewed the under sleeve seam starting at the armscye and stopping approximately 2″ BEFORE the horizontal seam.
- For the cuff, I serged the hem, folded it over and top-stitched. I drew a horizontal line about 4″ from the hem.
- I then took a piece of 1/4″ elastic and stitched and stretch it along that line for a few inches to slightly gather it.
- The bottom finished hem was placed along that line and edge stitched in place. Then I folded the hem up along that newly stitched line, pressed and therefore creating a cuff.
- I attached the two open ends by stitching them together with a large button and that’s it.
Hopefully the image below conveys the sleeve detail properly.
Here you can see the blouse has a loose fit through the back so I took advantage of that by tucking the front into my jeans and allowing the back to hang…i.e., a French tuck.
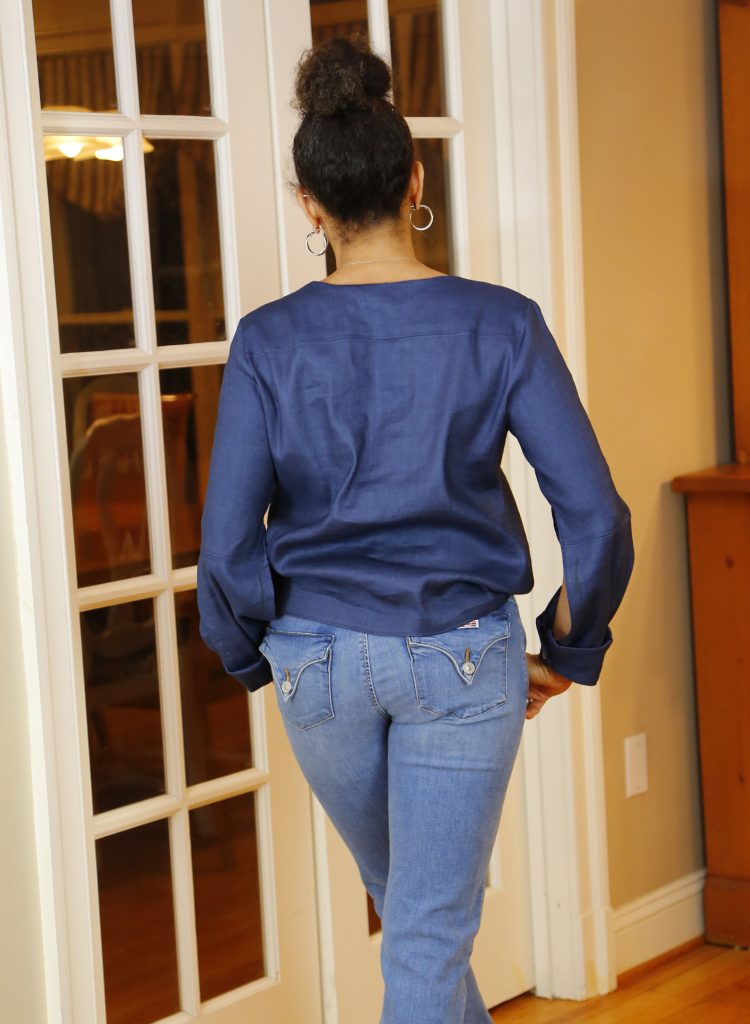
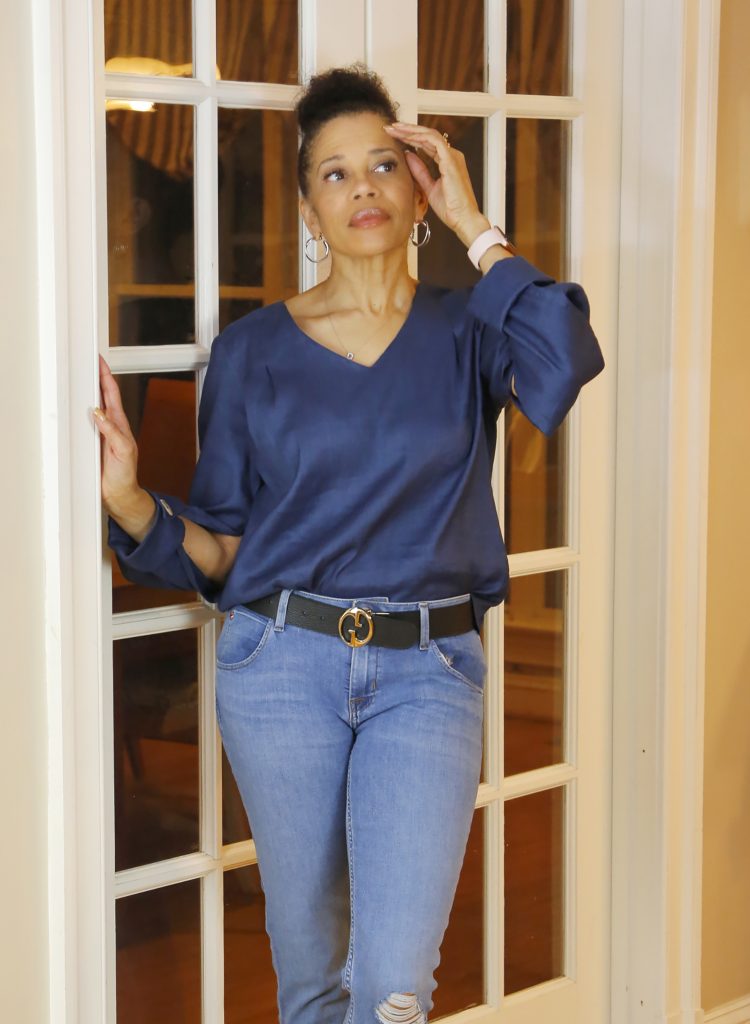
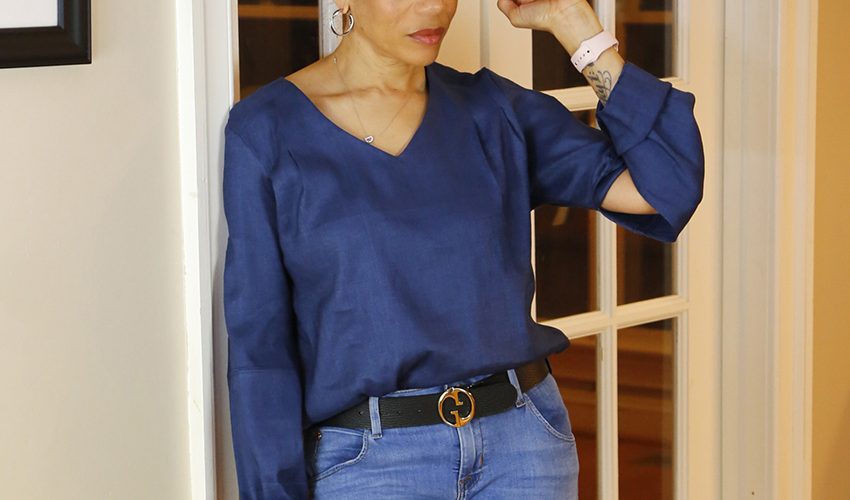
I really love how this turned out, casual and chic. And I must say, the fabric elevated the look even more. This is a scrumptious linen blend in royal blue from G Street Fabrics…and their wonderful clearance room. I can see I will get tons of wear from this DIY look because this is a not-so-basic basic.



Lovely top and your creative sleeve is so unique. Perhaps you should design your own patterns.
Thank you so much! I’m great at pattern hacking, but never really thought about pattern design. Maybe in the future. 🙂
I loved watching this one come together! Lovely new top!
Thank you so much Carolyn! It turned out much better than I thought it would.