Black tie galas…my chance to look pretty and get a new dress. I usually buy a dress that is worn once or twice and then gets stored in my closet. I may look at it from time to time, but it gets no wear. Well I had an event to attend and this time I was hoping to be a bit more practical. No more “one and done.”
I belong to a wonderful family organization called Jack and Jill. Every other year we host a “Beautillion” to recognize our accomplished young men…said black-tie affair…and the ladies wear full gowns in earnest.
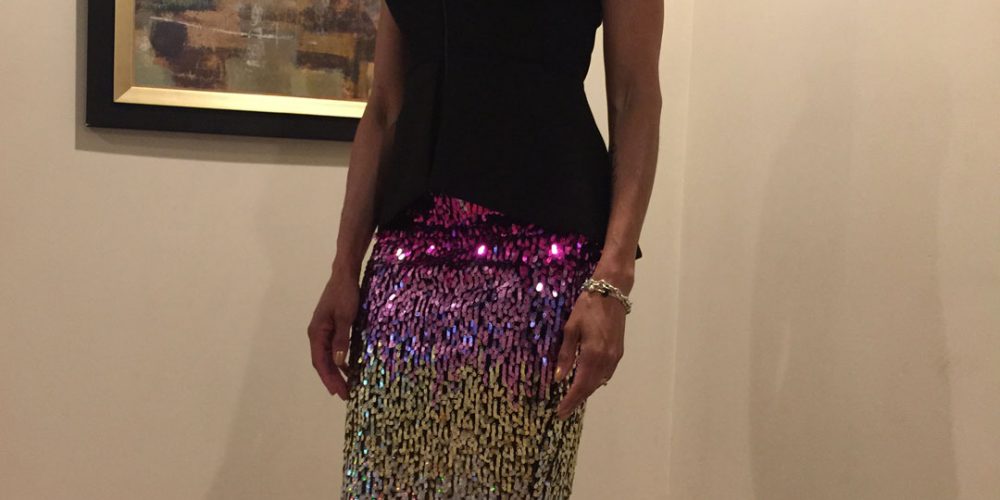
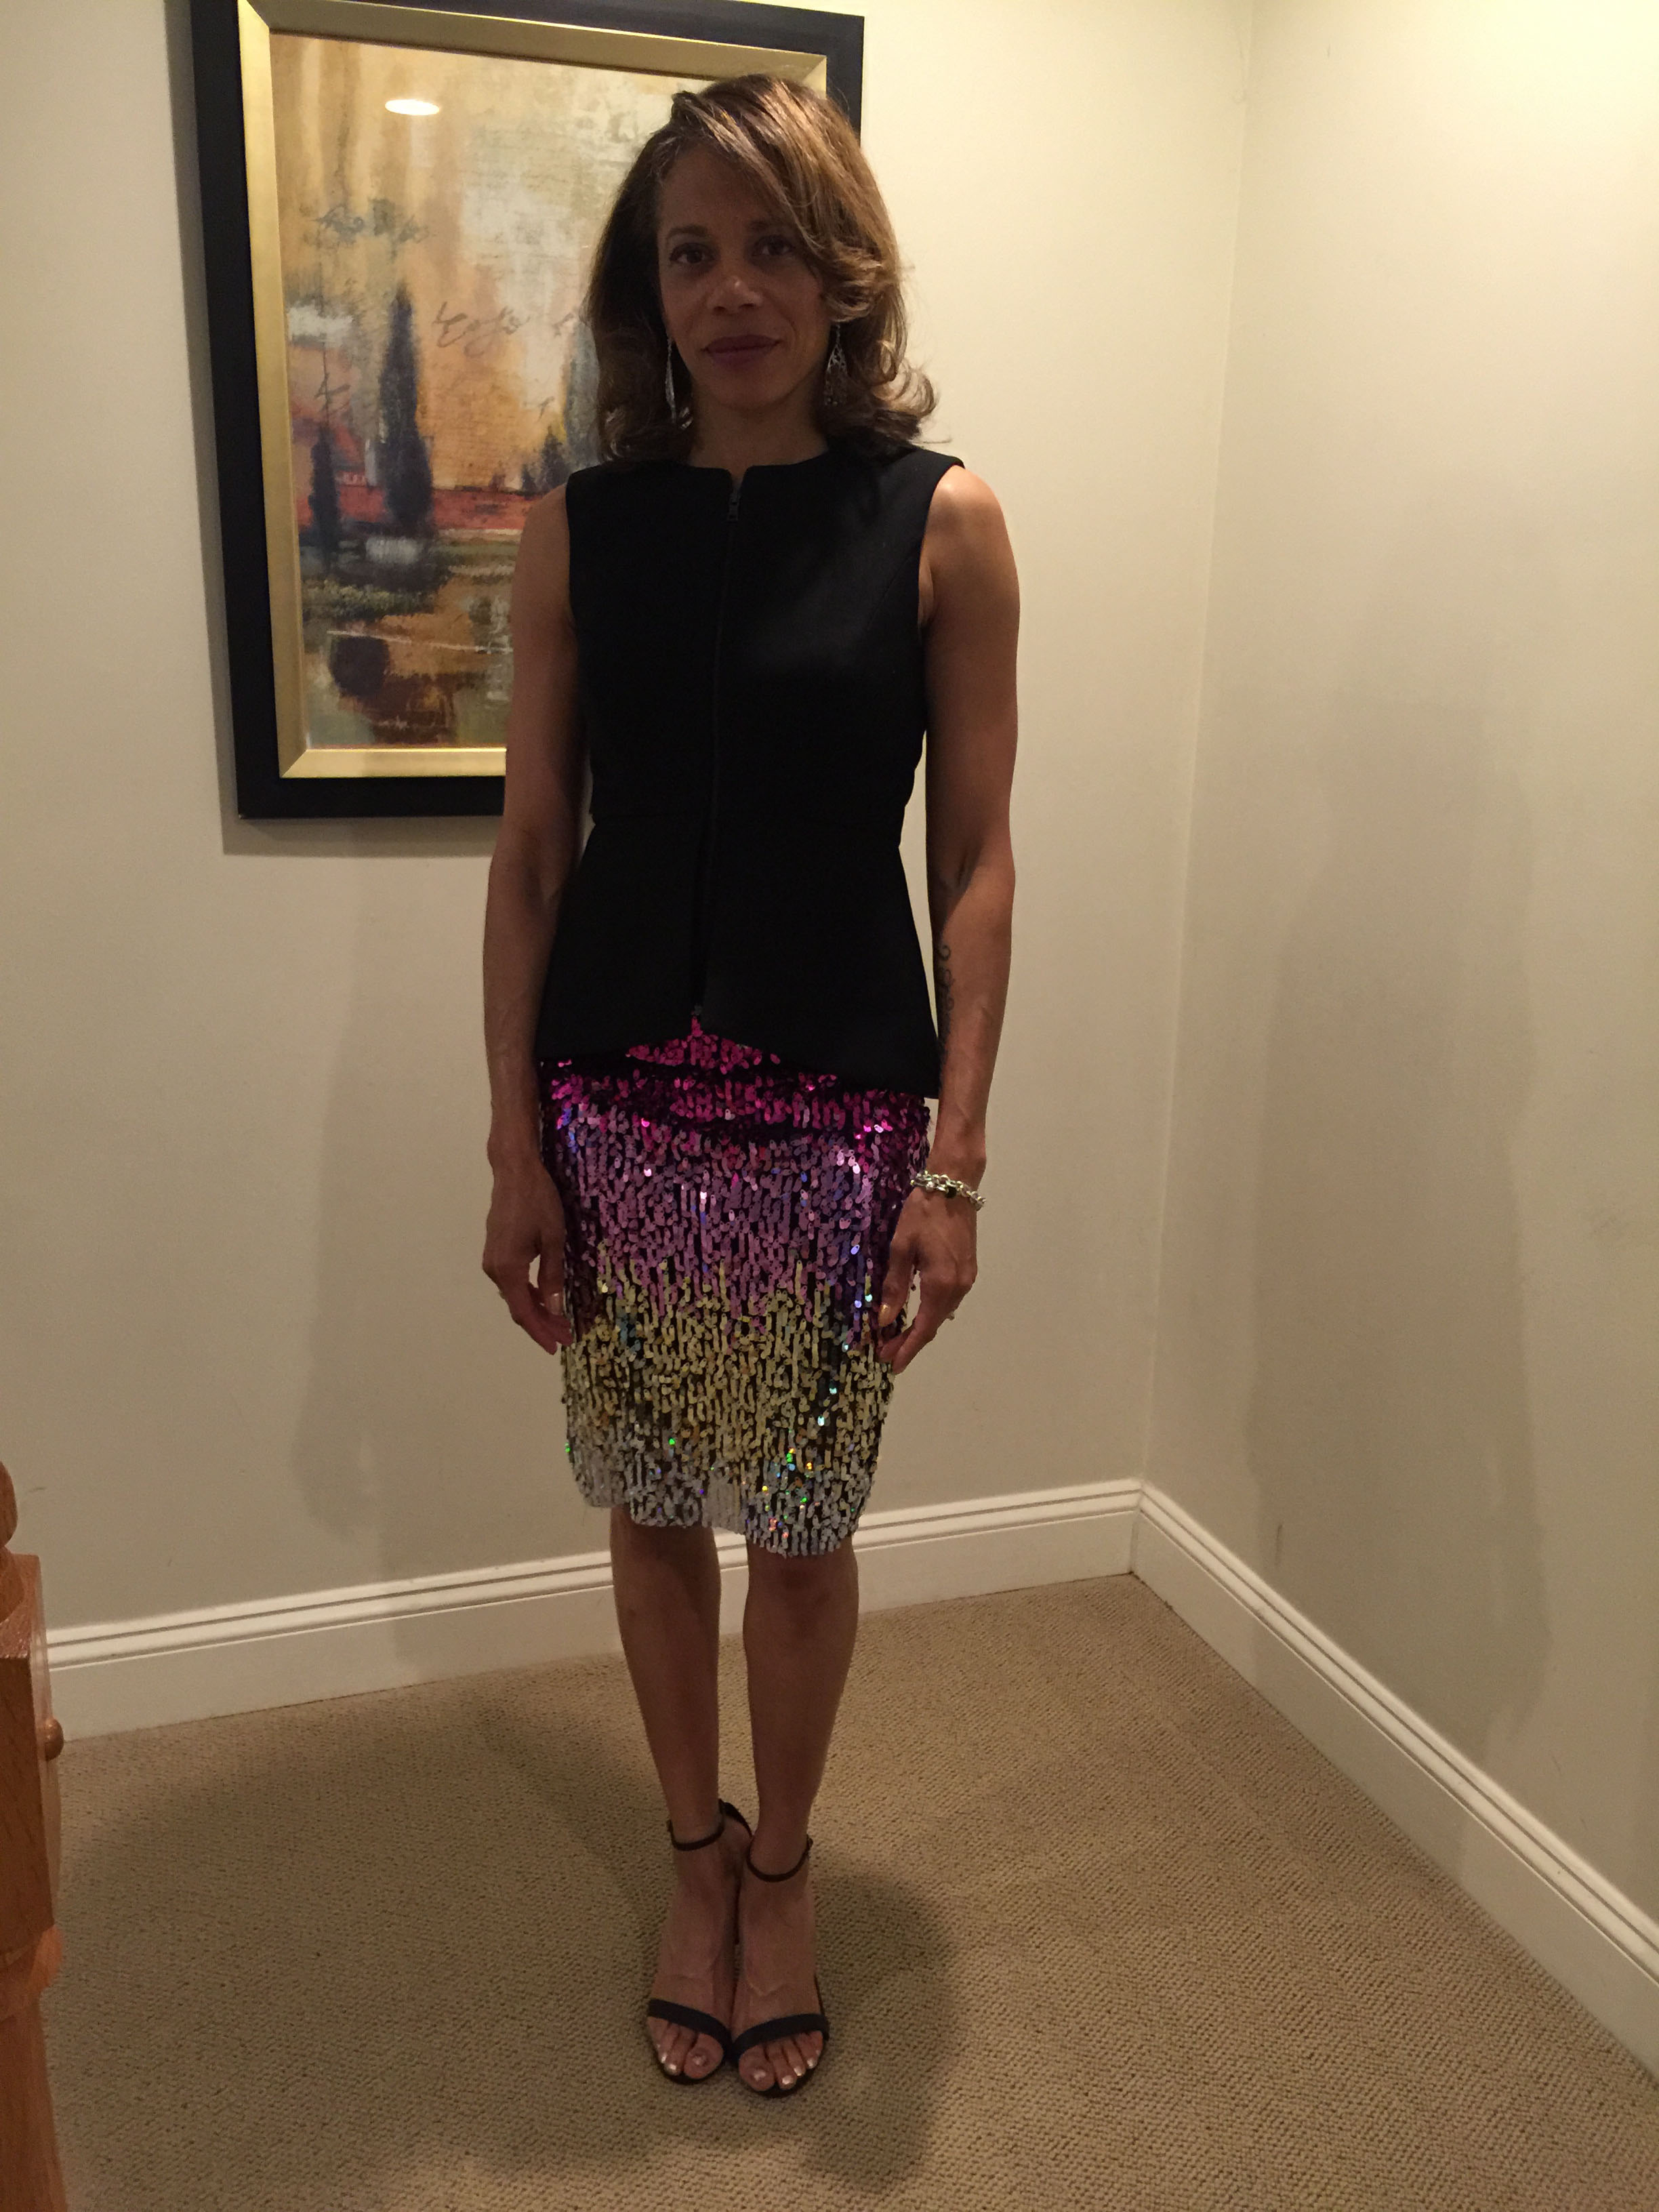
I instead went short and made a sequined skirt that I paired with a top I already owned. My thinking is I can dress the skirt down with a chambray shirt and wear to some other less formal affair. The fashion fabric is this yummy ombre sequin fabric and only one yard was needed.
My pattern source came from a “Style Sew Me” DIY tutorial for a high waist pencil skirt with color block panels. Eryn has a great site with lots of “how to’s” made simple. This particular skirt is super easy to make and she provides a pdf for download with instructions for measuring. The video is a step-by-step review of the pattern drafting, cutting and construction process.
I used this as a base for my skirt. Since the fabric is not quite as stretchy as that used in the tutorial, I adjusted the pattern for more of a woven fabric fit. Therefore the skirt is more “fitted” than “snug”.
Pattern Adjustments
1. Measured for slight ease as opposed to snug fit
2. Jersey lining added
3. Invisible zipper installed at side seam
4. Slit added at side seam for walking ease
5. Bands for waist and hem were NOT added as in the instructions
Cutting and Construction
I drafted the pattern per the instructions added a little bit to the width at all points for wearing ease. I then cut both the sequin and jersey fabric from the same pattern piece. Yes, that’s right, there is only is only one pattern piece. If you follow the tutorial there are three.
Please note: Sequins were removed along the seam line and into the seam allowance. This was to prevent sewing over the sequins and damaging the machine or breaking a needle.
I sewed just one side of the sequined fabric and of the lining fabric. I attached the lining to the sequined fabric at the waistline stopping about 3/4″ before the ends to allow turn for the invisible zipper. I guestimated where the zipper would end and where the slit would begin and sewed in between those two points. I then inserted the zipper and turned under and stitched the opening of the side slit. The lining was hand sewn to the zipper and then the remaining seam was sewn. You can see the right side of the skirt in the picture below showing the opened zipper and the slit.
The semi-sew thru look of the fabric was nice so I cut away the lining above the slit so you get a wee bit of a peek-a-boo affect. Neither the lining nor the sequined fabric were hemmed. It wasn’t needed. That’s it. Super simple and quick…all done in one day.


Leave a Reply